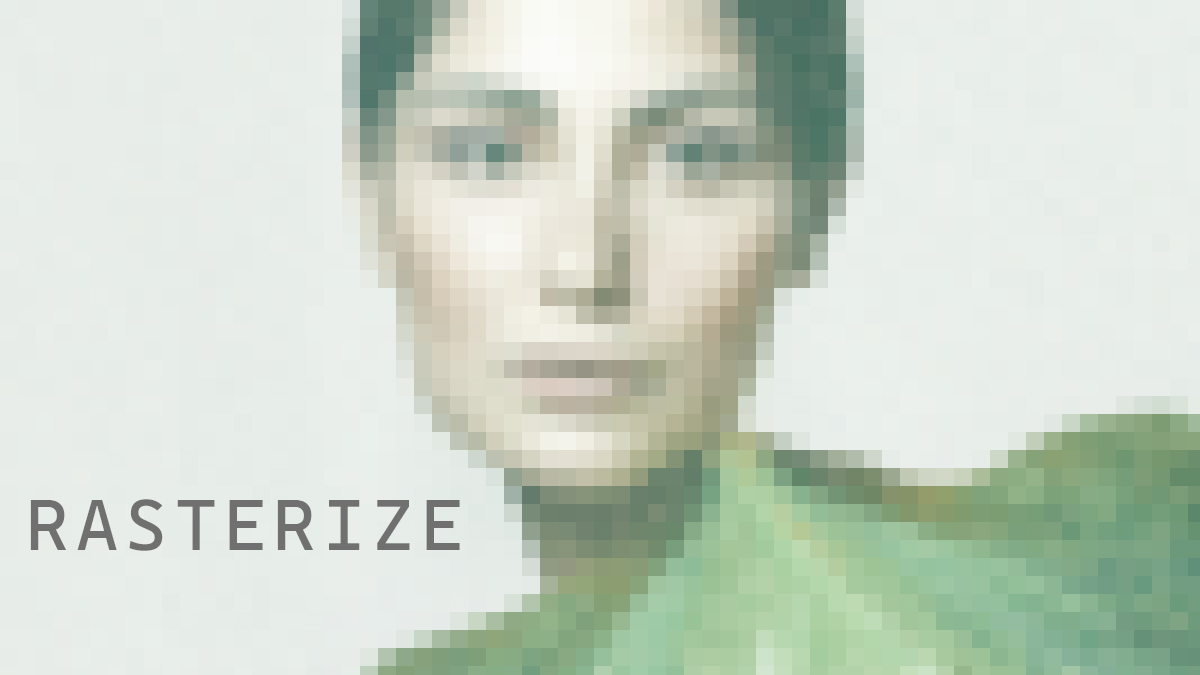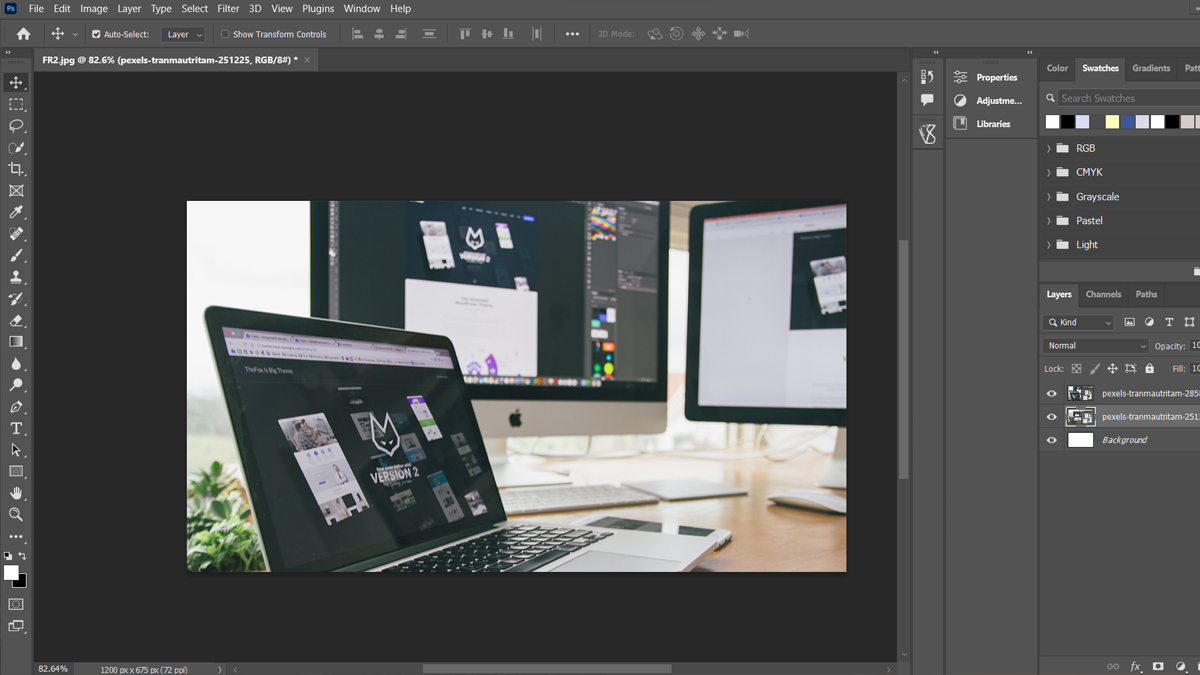
Rasterizing the layer is an inevitable step when working with vector items like text, forms, or smart objects. Rasterization is required if you want to make changes to the layer, or color, or to eliminate portions of the image. Since there isn’t much of a distinction between a rasterized layer and a vector, this term may seem ambiguous.
In this article, we will learn more about rasterize so let’s get started.

What is Rasterize?
Before you can understand what rasterizing does, you need to know a little bit about how computer images work: Graphics and fonts that are bitmapped (raster) are made up of tiny dots. Outlines are used to make object-oriented (vector) graphics and fonts.
Output devices like printers (except for some plotters) and monitors can only show dots, not outlines when they print or show images.
This means that when an object-oriented graphic or font is sent to a printer that prints in dots per inch or a monitor that displays in pixels, the outlines must be turned into dots. Rasterizing is the process of making the shapes of the objects into dots.
The process of changing a digital image from vector graphics to raster graphics is called “rasterization.” Raster graphics are made of pixels, while vector graphics are made of lines and shapes.

Why Rasterize?
You might be wondering why this would even be necessary; after all, isn’t there already an option for zooming? Well yes, there are…but there are also limitations.
When you use that option on a vector object (for example) what happens is that the program will show you a higher resolution version of that object—one that contains many more details than the original one did! But while this may look great at first glance…it actually has its downsides as well:
- Vector takes up more memory space
- It slows down your computer when opening/saving files with many objects.
By rasterizing, any type of vector layer can be turned into pixels. As a vector layer, your image is made up of shapes described by mathematical formulas. This works great for graphics that need to be scaled up a lot or have clean edges.
Pixel effects like brush adjustments and the eraser tool don’t work with vectors, which is a problem. That means you can’t mix a vector layer with a pixel layer, so sometimes you won’t be able to add the effects you need to a vector layer.

Types of Layers That Can be Rasterized
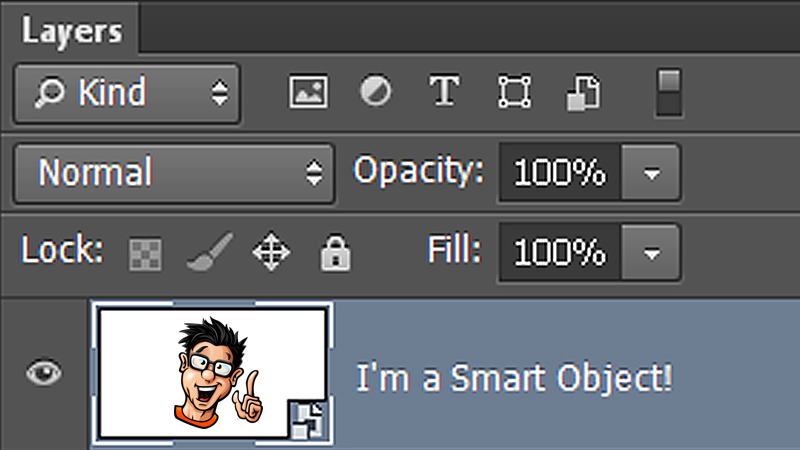
There are a number of distinct types of layers. Rasterizing will only be an option for some types of layers and layer combinations. The following are some examples of Photoshop layers that you might need to rasterize at some time in the future:
1. Smart Objects
2. Text Layers
3. Shape Layers

How to Rasterize Images Without Photoshop
As an alternative to Photoshop, we will now teach you how to rasterize an image using Colorcinch.
Step 1: Rasterizing an image using Colorcinch is super easy. Simply Upload your photo. By doing so, it will automatically rasterize your image.

It’s that simple. No complicated methods. This is the convenience Colorcinch has to offer.
Conclusion
We hope this article helped you understand what a rasterized image is and why you should use it on your image. As a quick review, we’ve talked about how to turn an image into a raster using Colorcinch.
If you find this article helpful, give us a like and comment. Happy editing folks!


