Urban photography is one of those exciting genres of photography that you may have seen or heard about but were never quite sure how to get started.
In this discussion, you will learn about the definition of urban photography and the different types of this genre. You will also learn how to approach shooting urban photography as a beginner. Finally, we’ll discuss a few challenges, how to overcome them as well as a few tips and tricks.
So, let’s grab a coffee and get started.
What Is Urban Photography?
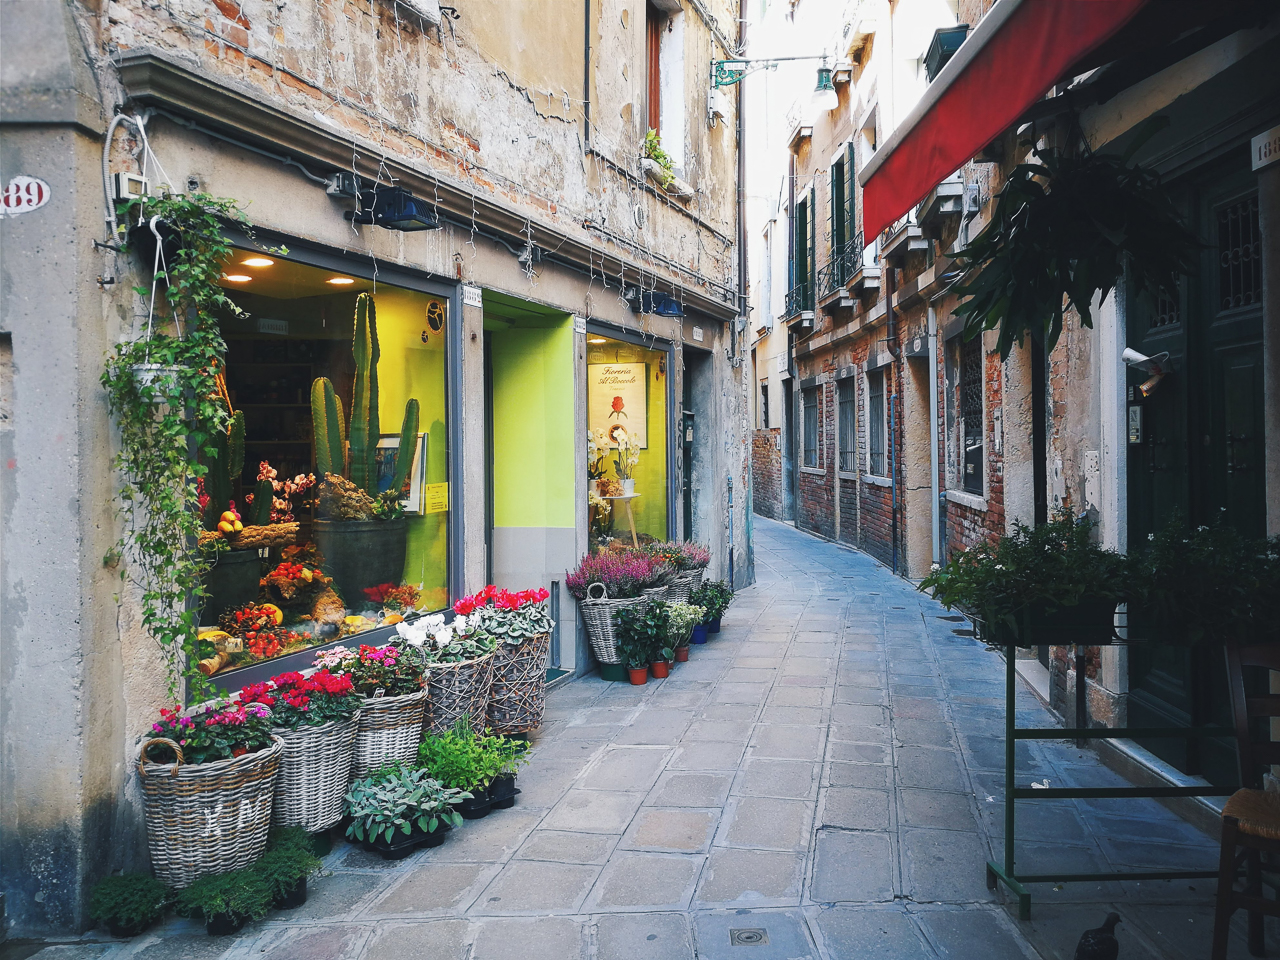
Urban photography is an umbrella term that combines a lot of photography subgenres. It is often mistaken for street photography. It is sometimes even referred to as fine art photography because it involves photographing city architecture. Urban photography is all of that and more.
It involves photographing architecture, cityscapes, people, and more.
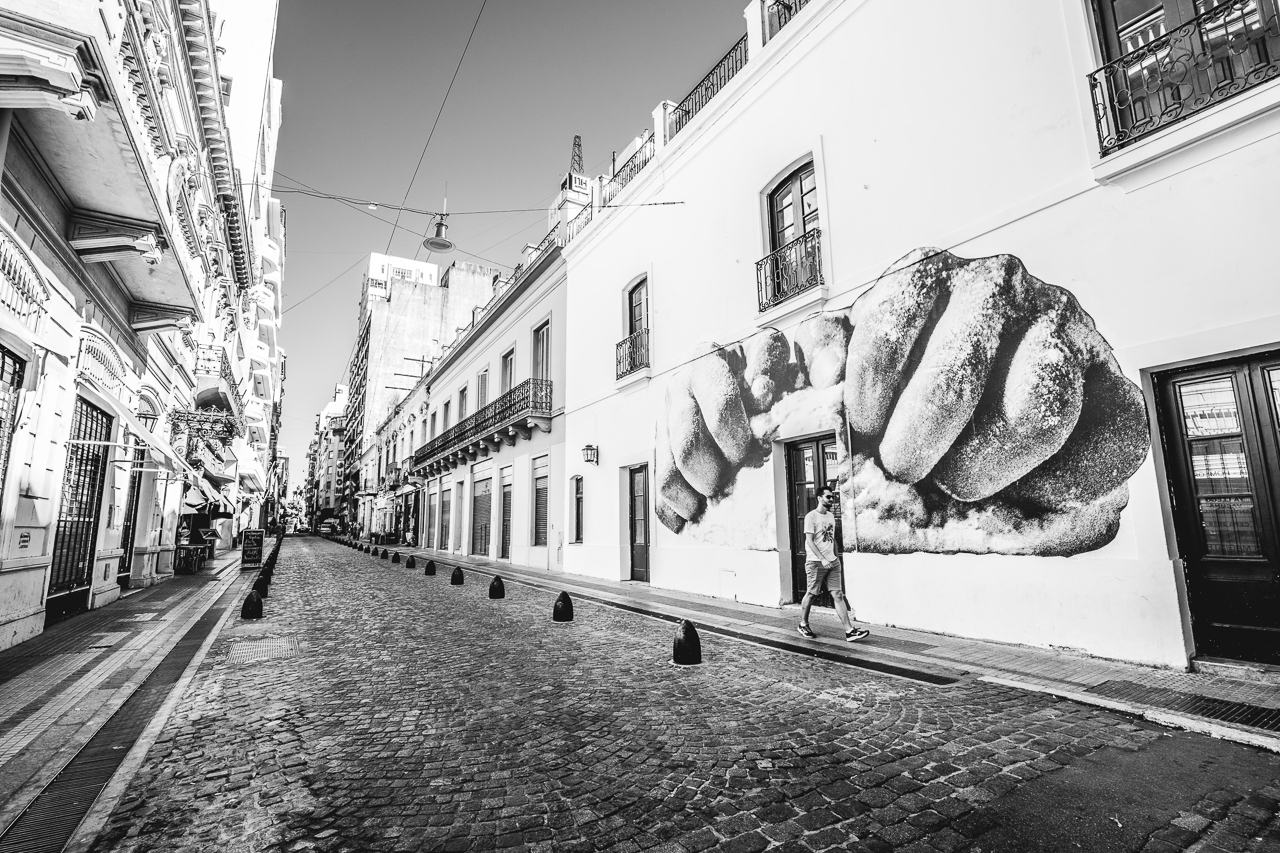
Urban photography does not limit itself to the constraints of street photography. In other words, street photographers photograph random people on the streets. However, this genre does not limit itself to only photographing people.
Another critical difference between street photography and urban photography is that street photography is mainly done in stealth. When you press the shutter release, the photograph’s subject rarely gets to know.
With urban photography, stealth is not necessarily a requirement.
What Camera to Use for Urban Photography?
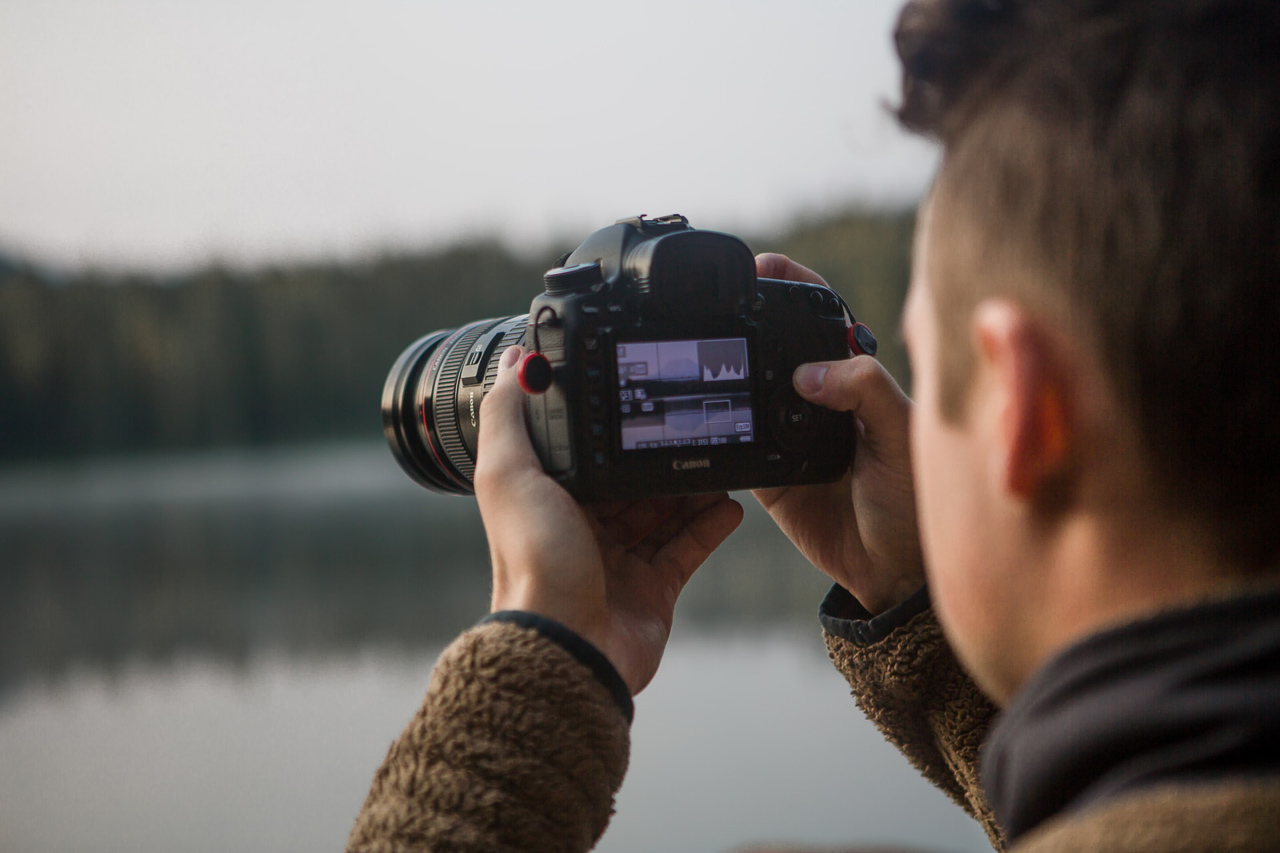
Urban photography is not exactly a genre that depends heavily on the kind of equipment that you’re using.
You can shoot even with a smartphone and capture breathtaking urban photos. An interchangeable lens camera gives you a few significant advantages. One of them is that you can change lenses according to your requirement.
Which Lens to Pick for Urban Photography?
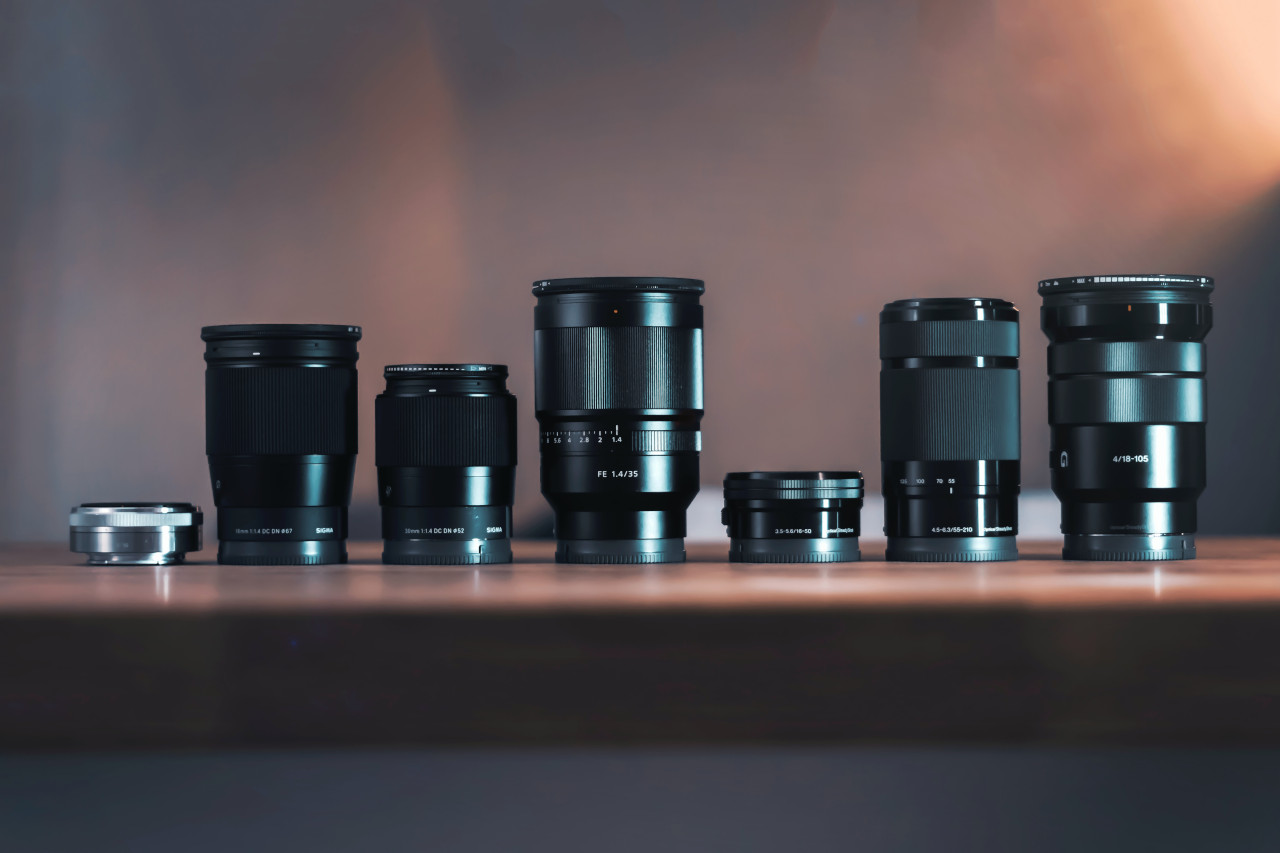
A wide-angle lens is a must-have if you’re shooting urban photography as a serious pursuit or avocation. I would recommend a wide zoom like the 16-35mm or the 14-24mm.
These two lenses offer a lot of flexibility regarding the focal length you can cover. You can capture a lot of the scene before you. Plus, you can easily zoom in using the variable focal length when you want to crop out.
But then, wide zoom lenses are not always the go-to lens for shooting this genre.
Many urban photographers prefer to shoot with a 35mm or 50mm lens. These two lenses arguably offer a similar perspective of view as the human eye. This is a major reason why some urban photographers prefer to shoot with either one of these two lenses.
As a photographer, you are constantly experimenting with your lens. So why should urban photography be any exception?
Camera Settings
Camera settings will depend a lot on the kind of composition that you want to capture. Slow shutter speed makes sense for slow-motion capture where you wish to incorporate movement in your frames.
A lot of urban photography is about capturing light trails from moving vehicles. A lot of urban photographers love shooting motion blur from moving people, moving water in front of a promenade, and so on.
All of these make for beautiful compositions.
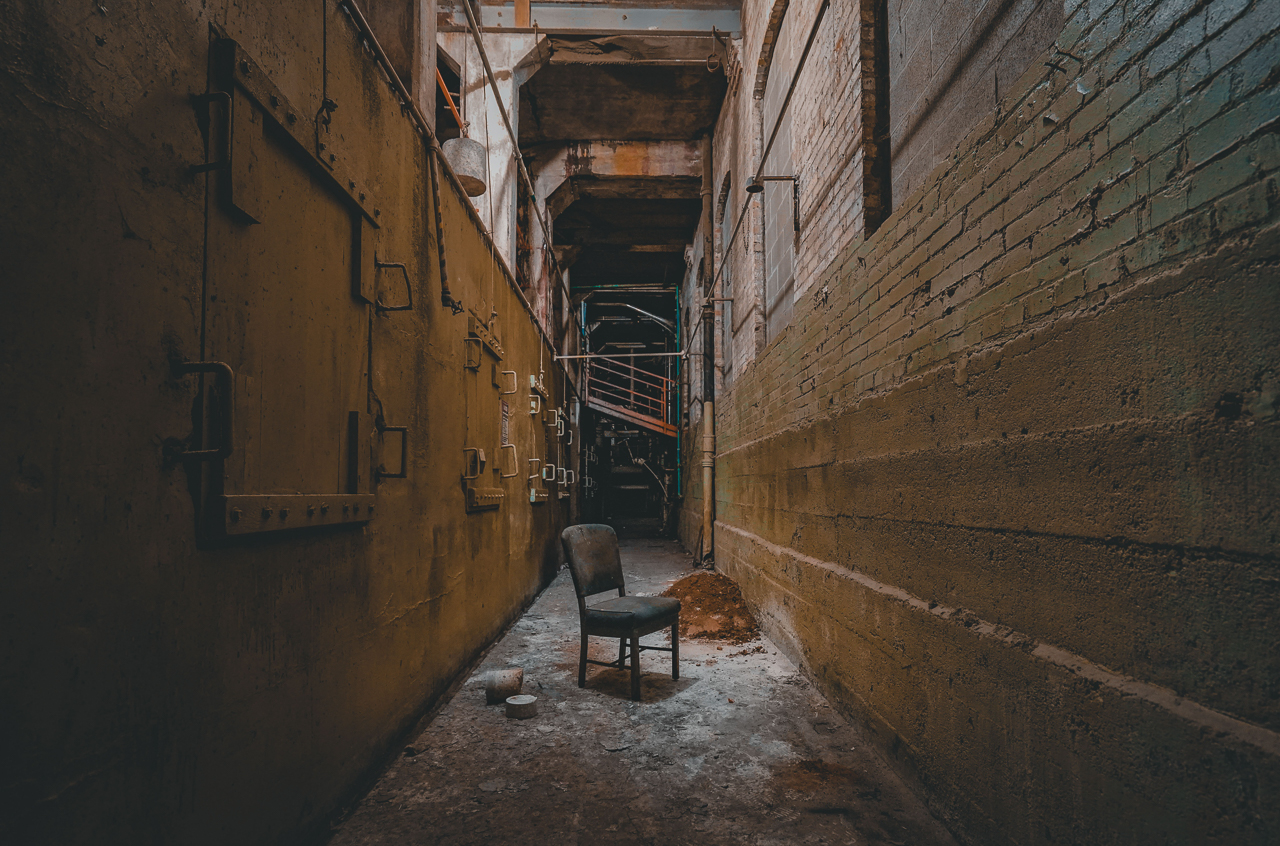
But you can explore more and try and capture photos of places in your city/town that are decaying or no longer inhabited.
1. Shooting Mode
Coming back to camera settings, you can start shooting with aperture priority mode because, with this mode, you can control the depth of field while the camera decides the shutter speed. It’s a lot simpler than managing both shutter speed and aperture simultaneously.
With manual mode, you will need to control many things on the fly. The risk is you may miss the moment while you are fiddling with your camera. 99% of the time, my camera would be set to aperture priority mode.
2. Quality of Image
RAW is the way to go. RAW makes a lot of sense even if you eventually convert an image into black and white. Shooting in RAW gives you total control over the hue, saturation.
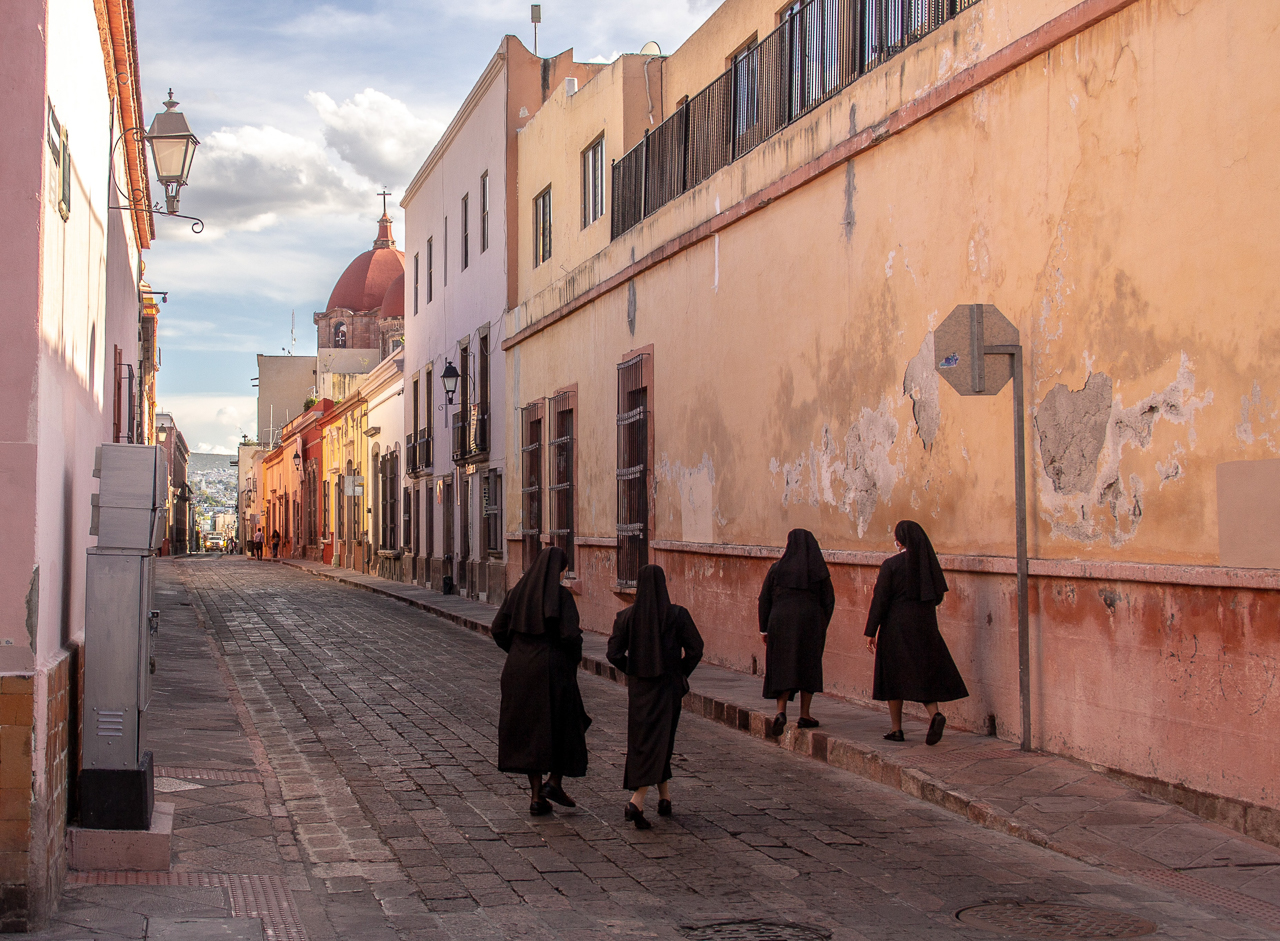
Prepare to walk because this is the only way to reach the final mile in some situations. Like street photographers, pack light because that will help you shoot longer.
How to Shoot Urban Photography at Night?
To shoot urban photography at night, you will require a tripod. Pick a camera with a low noise threshold so that you can shoot with a higher ISO.
Night urban photography is an excellent opportunity to utilize the shutter priority mode or manual. You can experiment by dragging the shutter for really long exposures.
What Time to Shoot Urban Photography?
One particular time that is highly recommended is the golden hour. Golden hour lighting is directional. You can produce some magical photos using both the backlit effect and the traditional front-lit effect.
There are no fixed rules regarding when you should be practicing urban photography. Light changes throughout the day, and with it comes different opportunities to shoot.
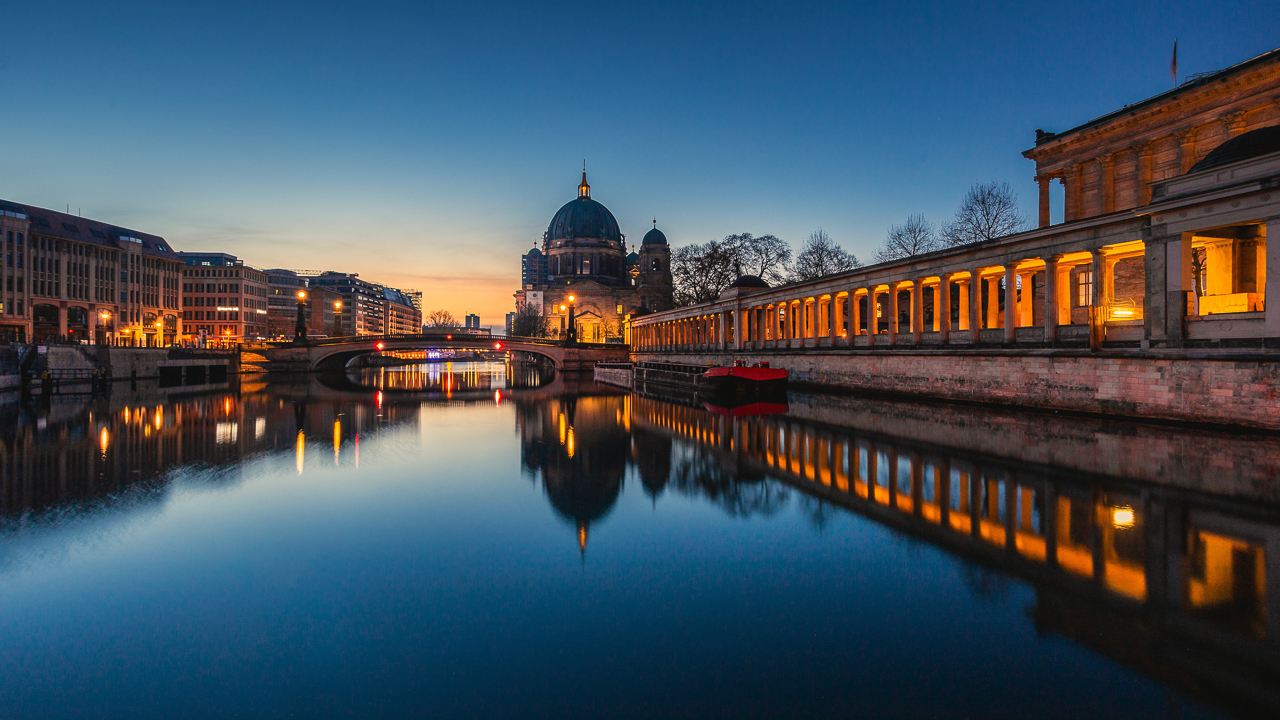
If you are a resident of a city, you have the advantage of coming back to a location again and again throughout the year.
Advanced research is a must-do for those visiting a city to find out the best times of the day and the best locations to shoot urban photography.
Changing the vantage point and shooting from a higher angle is something that I would recommend. It also makes sense to shoot from a shallow angle and experiment with it. Shooting reflections during monsoon, shooting from a high rise, and capturing an elevated view are some of my favorite perspectives.
How to Recover Images That Are Too Underexposed
Let’s quickly talk about a fundamental problem when shooting urban photography. Sometimes exposures don’t always come out the way we expect them to be. It becomes necessary to fine-tune an exposure during post-processing. Online photo editing tools such as Colorcinch are a great way to do that.
Step 1: Navigate to Colorcinch.
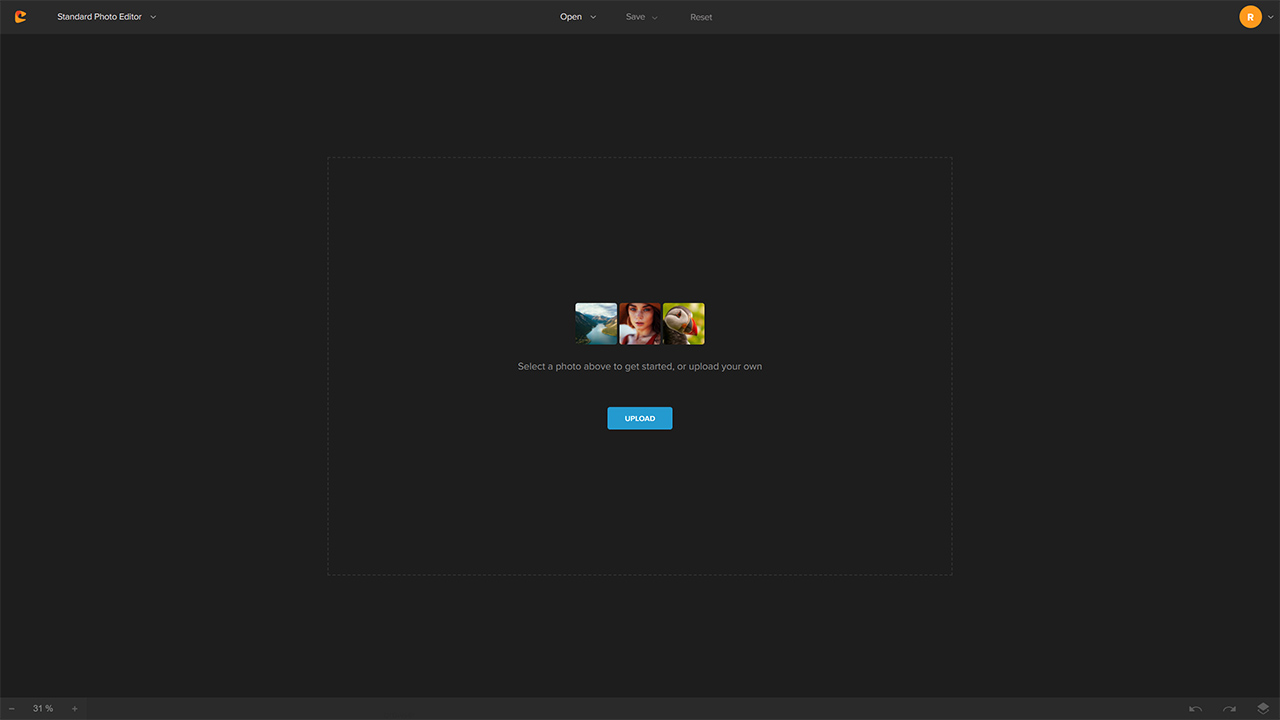
Step 2: Upload the photo using the Upload button.
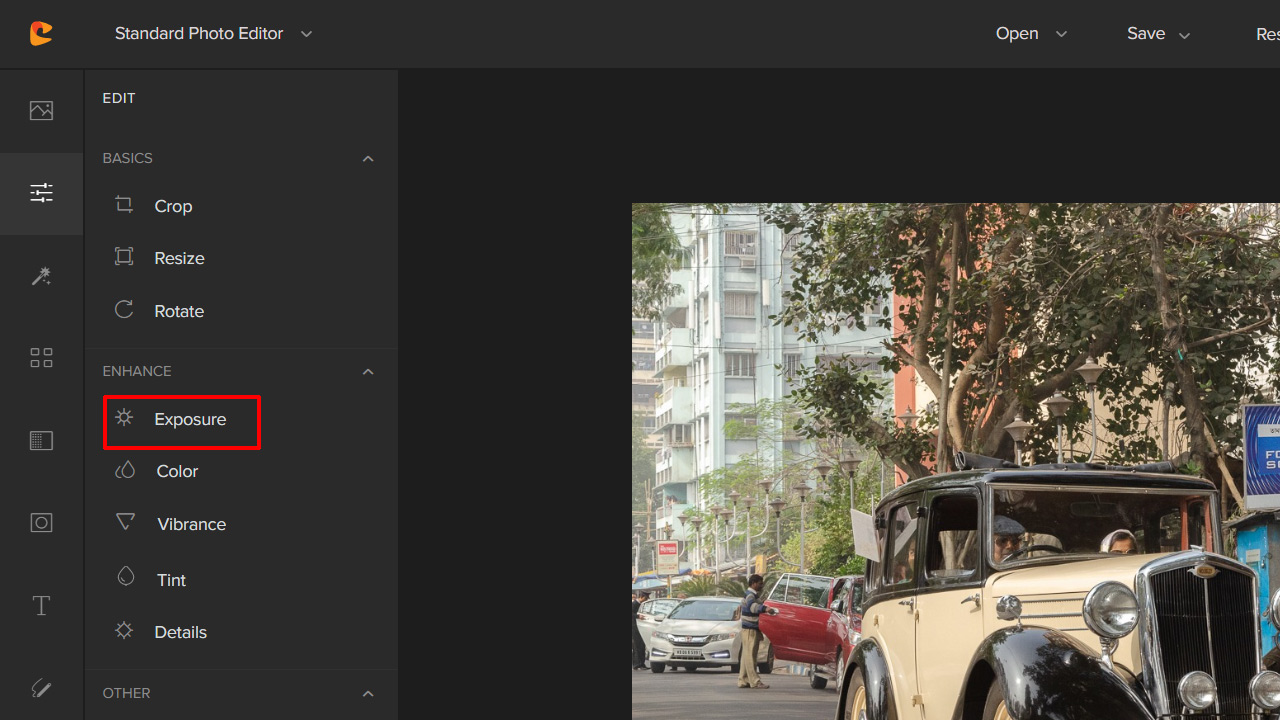
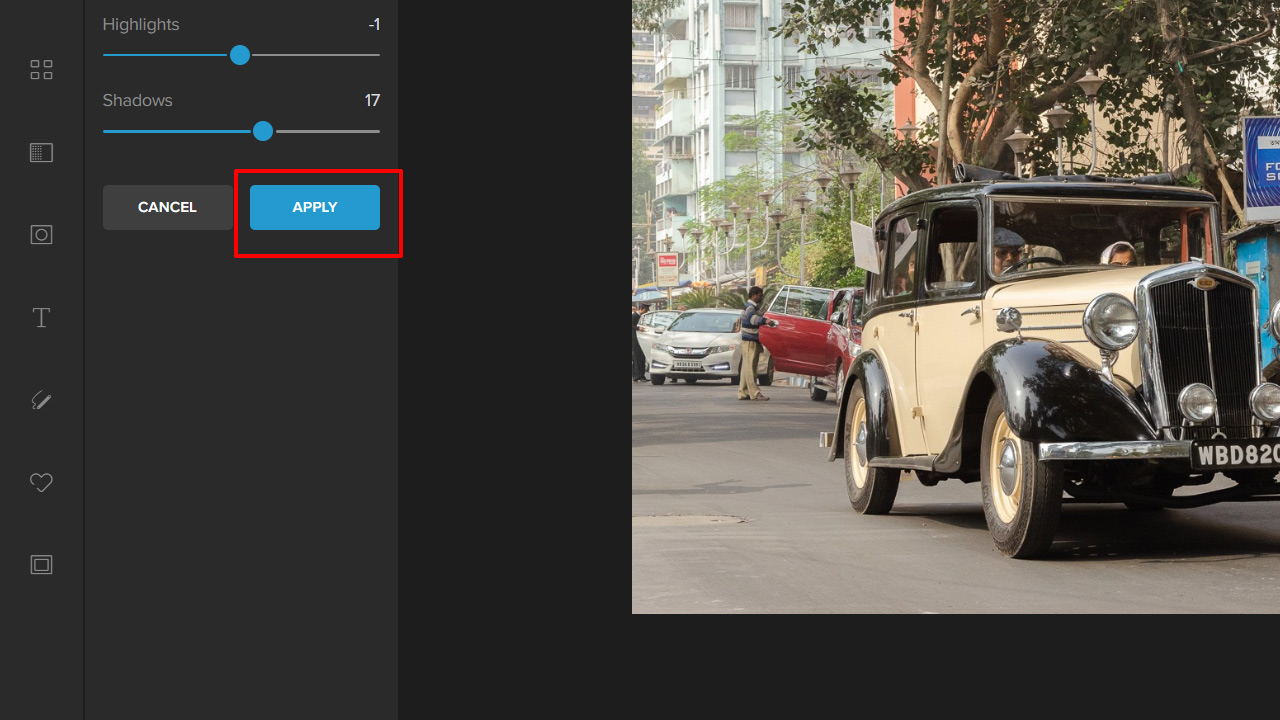
Step 3: Click on the Exposure button.
Step 4: Adjust the sliders to taste.
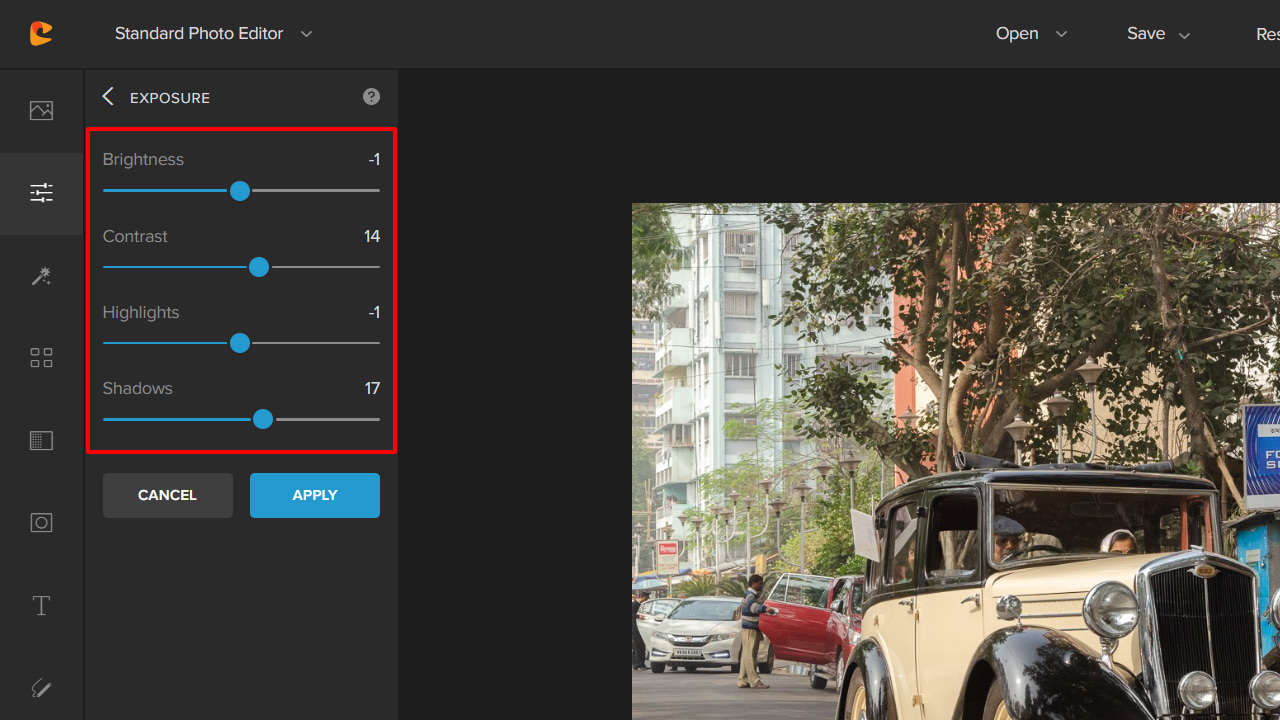
Step 5: Don’t forget to hit the Apply button when you’re done, or your changes will not be saved.
Adding Special Effects to Your Urban Photos
I love the black and white effects that many photographers use. The Black and White monochrome effect is easy to achieve using a photo editor like Colorcinch.
There are many tools under the Filters tab that you can use.
But I am referring to the Black and White tab specifically.
Step 1: Continuing with where I left the above edits. I navigate to the Filters tab.
Under that, there are a bunch of options.
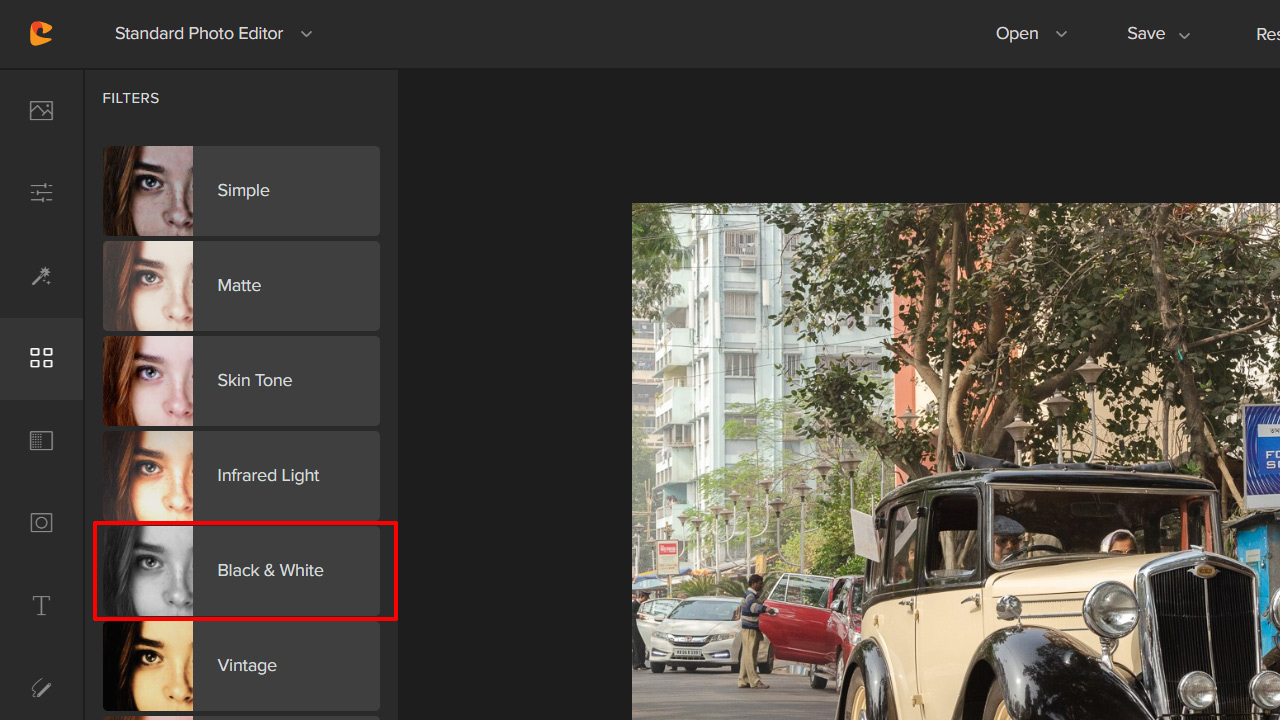
Step 2: Click the Black and White tab.
Under the Black and White tab, there are more than two dozen different effects.
Step 3: Choose the effect you like.
Step 4: Click on Apply.
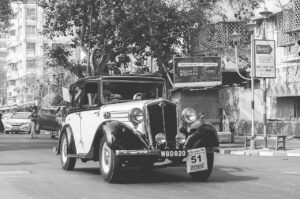
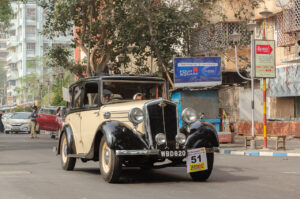
Here’s a quick before and after comparison.
Don’t forget to download the file when you’re done.
Concluding Thoughts
Urban photography is a fascinating and rewarding genre. It involves the techniques used in several other genres and sub-genres. It can be a lot of work but can offer some breathtaking captures.
beyond just a form of visual art, urban photography has several additional benefits. It’s a sort of documentation of the world around you, the changes that happen to a city over time. It is one way to document the new and chronicle the old symbols before they wither away in the sands of time.


