Many eCommerce merchants struggle with making sales and building their brand’s reputation. The lack of a physical store can make it hard for you to connect with your customers and build your brand’s reputation. Product photography can help.
Keep reading to find out how.
First Things First, What is Product Photography?
Product photography, also called e-commerce photography, is what it sounds like: pictures that are taken and posted on websites and social media platforms to promote sales of your good or service.
Having beautiful product photos helps you to entice customers into buying products from your online store.
You may be iffy about spending the money it takes to hire professional photographers for your product photos. However, as an e-commerce merchant, providing your customers with high-quality pictures is vital to their shopping experience.
Your customers can’t physically touch or see your products. Providing them with high-quality photographs increases their trust in your products and adds value to your business. It allows you to make an awesome first impression.
In addition to making a good first impression, adding images will increase your company’s conversion rate because visuals are one of the most critical parts of a customer’s decision-making process.
Having good pictures also improves your brand’s identity and perception, which further solidifies the trust between you and your customers.
6 Steps To Getting Started With Product Photography
Getting started with product photography can be difficult because there are a lot of factors that you need to consider. The type of photograph that’s best for you will vary based on the type of business you have.
Here are the steps to get started with product photography.
1. Decide How You Want Your Products To Look
You can photograph your product in several ways, and different methods convey different messages. Here are the six different types of product photography. Consider the products you sell and your brand image while deciding which one is right for you.
Studio Photography
Studio photos are the type of pictures that most people think of when they hear about product photography. These photographs were produced in a studio, as the name suggests. They keep the focus on your products by straightforwardly presenting them.
Due to the simplicity of these pictures, your product will always be the main focus. Shadows amplify this focus, which can help your customers focus on your product’s details.
If you’re doing studio photos, you need to do a lot of research to ensure that you find a talented photographer because there is a lot that goes into taking the perfect studio photo.
The photographer must be adaptable enough to alter several shooting parameters depending on each product’s textures, packaging, and materials. All the pictures need to look like they’re part of a cohesive set while maintaining each picture’s unique qualities.
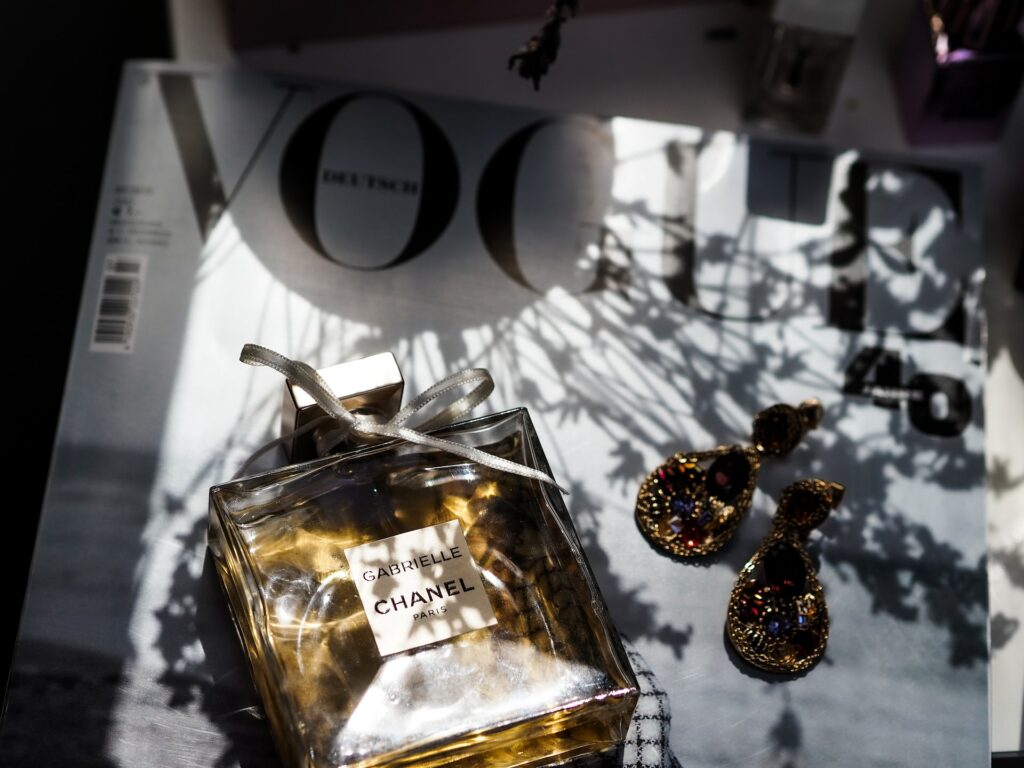
Whether you’re selling accessories, clothing, jewelry, shoes, perfume, or anything else, studio photography will clearly and efficiently showcase your product’s selling points.
This style of photography is not artistic, and it is often required to photograph every product at once in a set studio to maintain uniformity and light direction. In this kind of product photography, you can intensify certain shadows to emphasize your product’s form and alter the backdrop color depending on the focal point you want to emphasize.
Set Photography
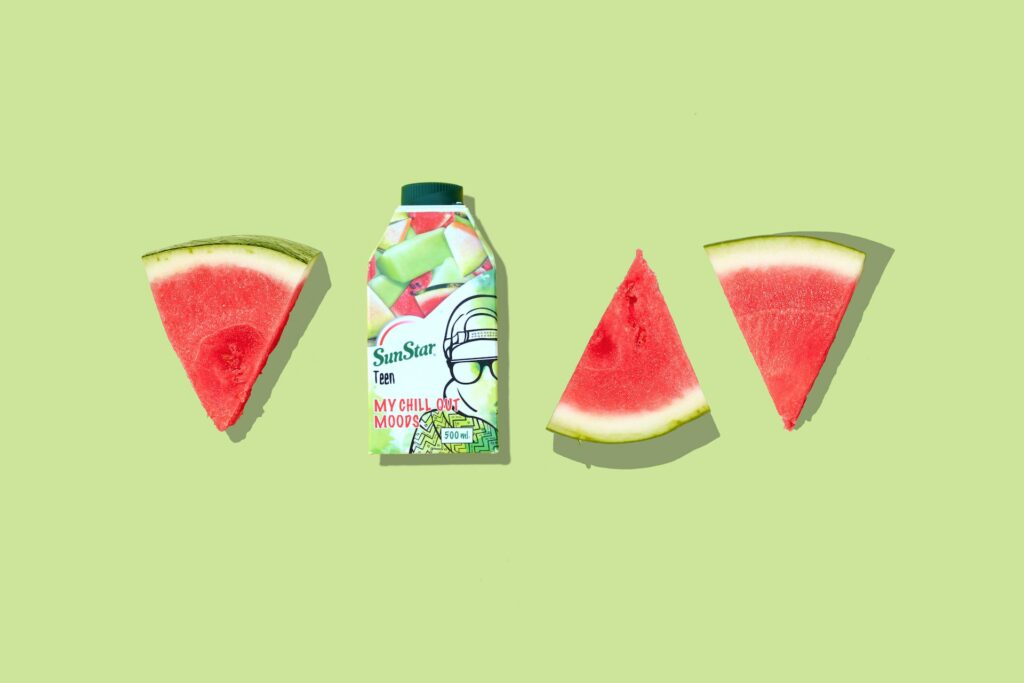
If you’re selling a product with multiple different variants of a specific feature, such as its color or style, set photography may be a good option because it shows your customers all their options in one spot. We highly recommend you follow up your set photos with individual photos of each product to allow your customers to see the fine details of their favorite product variation.
Set photography is the best option if you’re selling your products as a set or making a special sale where you’re selling different products together.
It’s a good idea to follow up your set photos with individual photos of each product to allow your customers to see the fine details of their favorite product variation.
White Background Photography
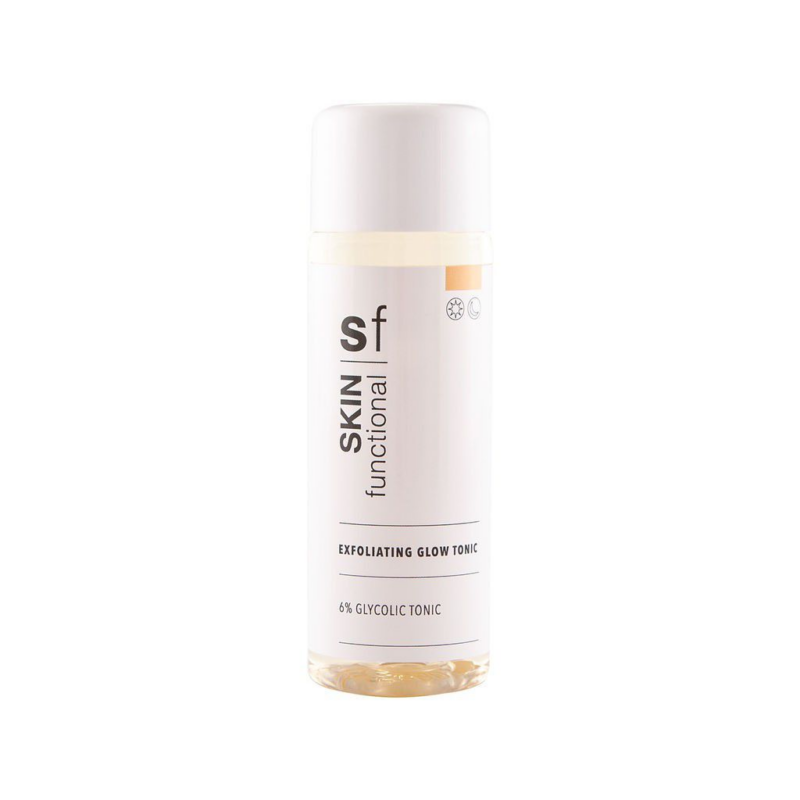
You’ve seen white background photography before because it’s the most common type of product photography. It’s what the name would suggest: pictures of your products taken against a white backdrop. These pictures have a clean appearance and place complete focus on your product.
While this is the standard approach, it’s often combined with other styles. Many editors also remove photo backgrounds to seamlessly place products on different backdrops, enhancing their appeal for marketing and branding. Shadows can also be adjusted to add depth or create a more polished look.
Real Environment Photography
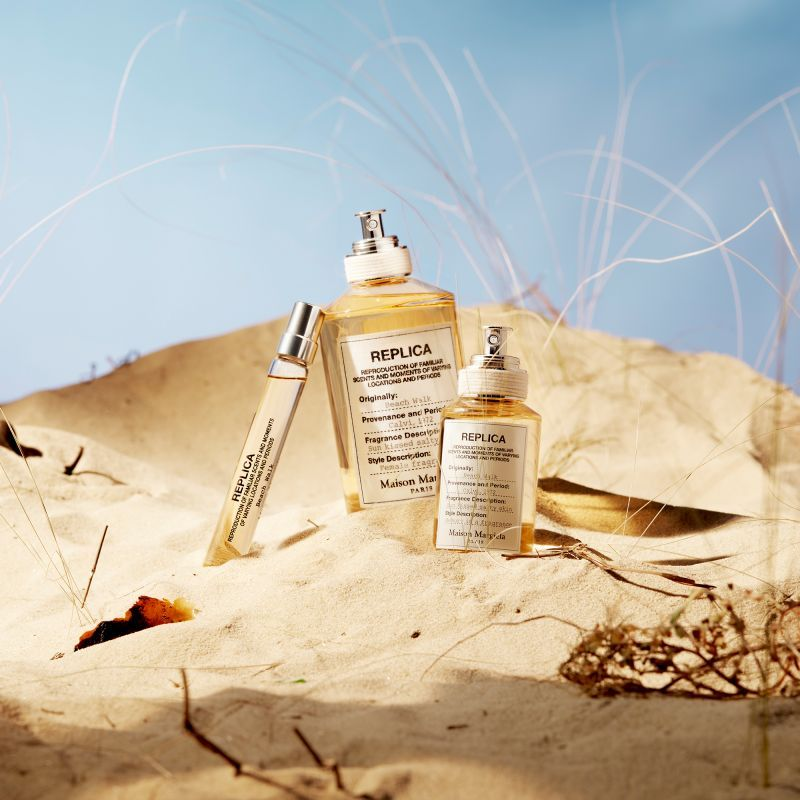
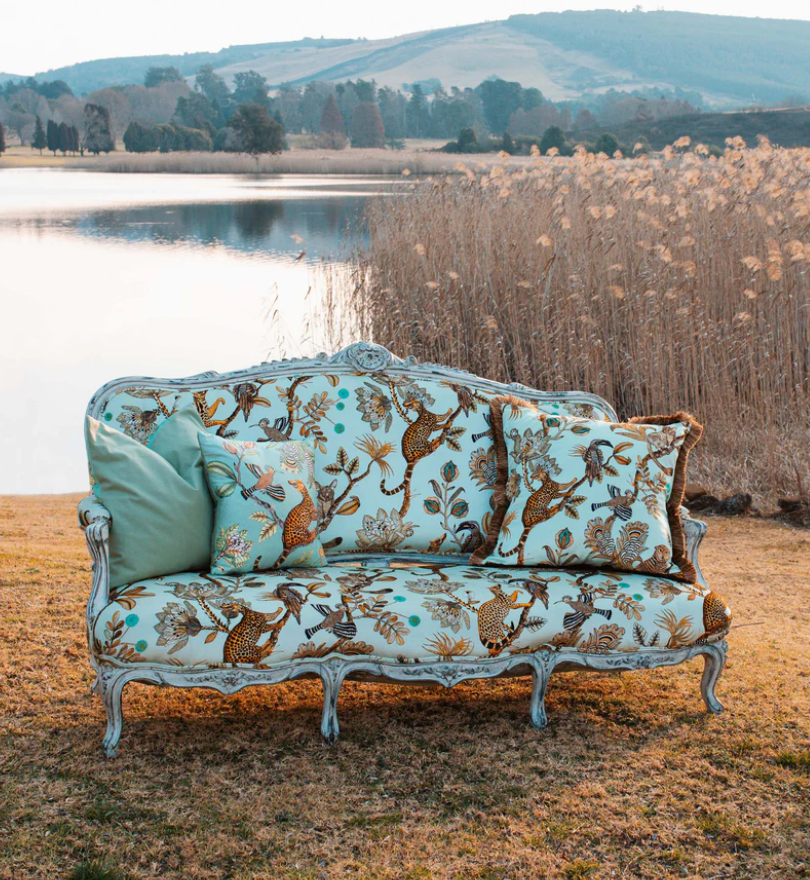
In some cases, putting your product on display in a real-life setting that represents a lifestyle may be the best way to showcase the appeal of your product. It’s also an effective way to build your brand’s image.
Taking this approach creates a deeper connection to your customers because it allows you to present your brand image and core beliefs with every one of your products. That’s why more businesses are choosing to use real environment photography.
Real environment photography is mostly used in the fashion and design industries to promote a particular style of living, foster empathy with the target audience, who has similar interests and can identify with the photography, and increase sales.
The customer ends up not making a more emotional purchase and forging a stronger bond with the brand because the business sells more than just one product—it’s also selling an experience and a lifestyle.
Comparative Photography
Sometimes it makes sense to include a related product in the photograph to show the buyer the product’s true size and prevent misleading them. In these cases, the best thing for you to do is ensure that whatever you’re using to showcase your product is something that has a size that’s recognizable to your customer base.
Dimensions can be depicted well by placing a person next to or using an object.
Back-and-white photography may not be enough for comparison with some products. In those cases, a scale can make all the difference. Because of this, the consumer can decide right away whether that thing is best for him or whether to get the larger or smaller version.
Photo Composing
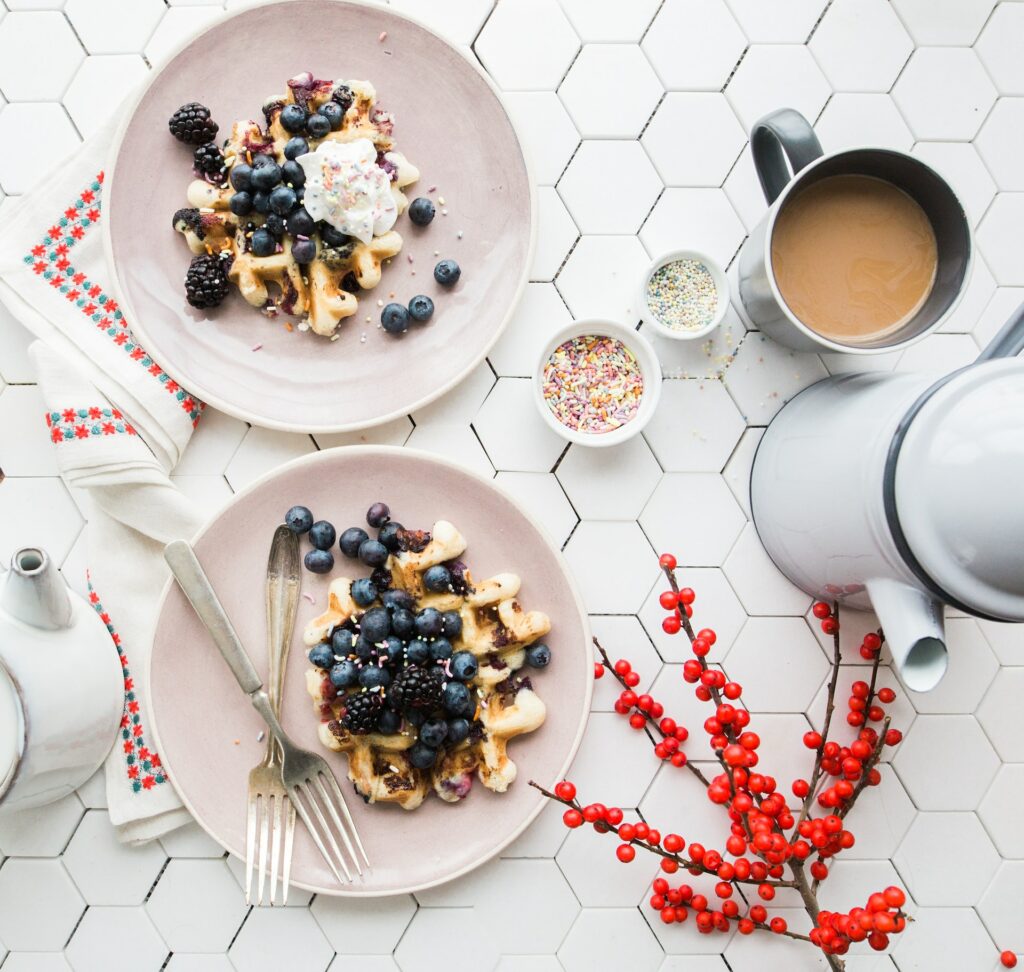
It’s generally a good idea to surround your picture with related items for an aesthetic shot. It works regardless of the angle you shoot your photos from.
However, you need to take your pictures strategically because the focus needs to be on the item you wish to sell. A picture with more details conveys a narrative and forges a bond with the viewer; also, it is far more intriguing and alluring than a picture of a single object against a blank background.
Because, as was already mentioned, it presents values, tastes, and lifestyles, it is a format that functions extremely well on social networks. It is a fantastic strategy for engaging the target market and increasing sales.
2. Get the Right Equipment
The most important factors in photography are your abilities and imagination. However, little creativity and skill can make up for low-quality equipment. Here are some of the equipment that can improve your product photography.
Some of the equipment you may need is a high-quality camera, a sturdy tripod with an optional ball head, a table, a light tent, a model or mannequin, a white background, a bounce card, a potent computer, and good lighting.
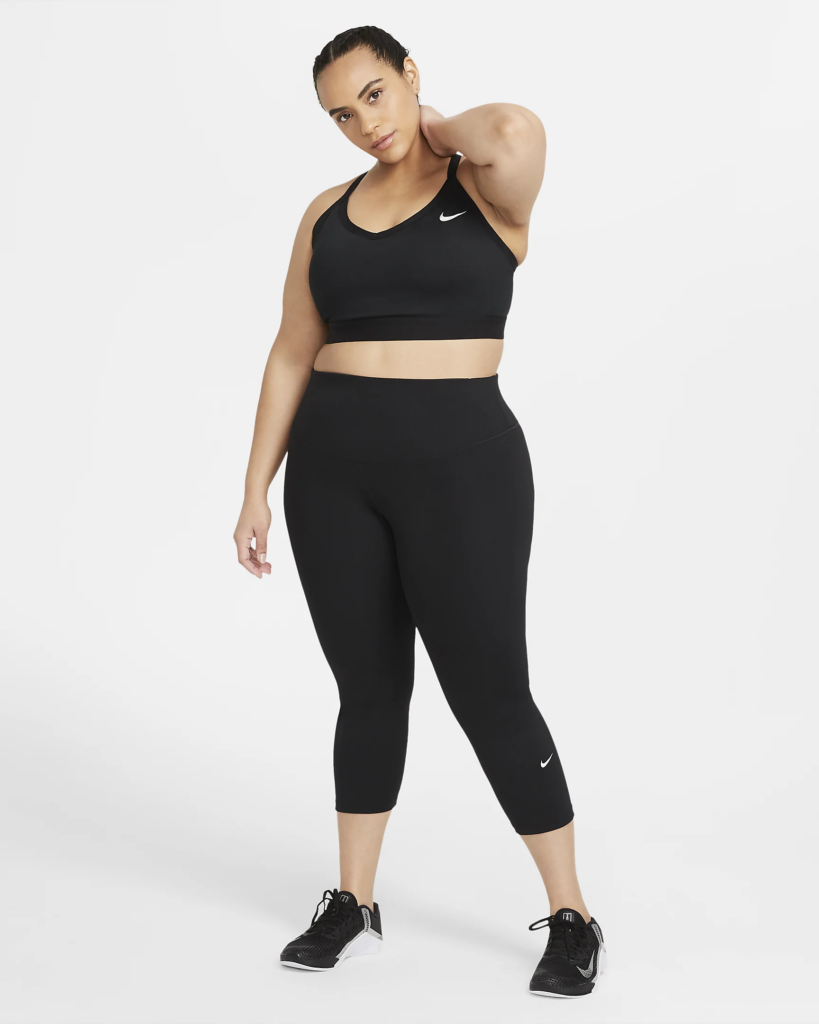
The needs of your photoshoots may vary, so you should discuss your concept with your photographer to make sure that they have the right equipment for your desired concept if you’re using one. You need to do extensive research if you’re doing your photos yourself.
3. Get Your Products Ready
You may think setting up your products for the perfect picture is easy, but you’d be wrong. It can take multiple attempts and a lot of experimenting to get the angle, lighting, and location precisely how you want.
Ensure your product is positioned in front of the backdrop and is stable and centered.
For products like jewelry and other accessories, you might want to use a bust that better displays the object. If the product has labels or other unique features, you might need to spend some effort centering it.
4. Set Up Where You’ll be Taking the Pictures
Finding the perfect background serves two purposes: it focuses the attention on the item you are photographing and makes post-production editing easier.
They’ll have the setup process covered if you’re using a professional studio.
You’ll have to communicate clearly to make sure that the setup matches the vision you had in mind.
If you’re taking your pictures yourself, use a white or light background while taking images so that you may more easily crop and alter them.
DIY photographers will be happy to learn that purchasing a pricey backdrop is unnecessary to capture the ideal photo. Here are two affordable options that you can try.
Shooting Table
All you have to do to create a shooting table is push a chair against a wall. Then you’ll tape a piece of craft paper on the wall above your chair.
Let the piece of craft paper hang all the way to the ground to cause a clear transition from the horizontal and vertical planes when you position a product on the chair.
5. Choose the Right Camera Settings
You should pay attention to four key settings: aperture, shutter speed, ISO sensitivity, and white balance. Here is what these words mean.
Aperture
Your camera’s aperture setting helps you to make certain parts of your images sharp and other parts are blurry. You can use it to make fantastic blurred backdrops that highlight your product.
Shutter Speed
Your speed determines how long the shutter is open when you take a picture. If you choose a fast shutter speed, your pictures will be dark and crisp. If you choose slow shutter speeds, your photos will be brighter. Unfortunately, they may also be blurry due to more camera light.
ISO Sensitivity
ISO sensitivity regulates how sensitive to light your camera is. Your camera will be less light-sensitive, and your picture will have vibrant colors when the ISO sensitivity is low. Although a high ISO sensitivity setting makes your camera more light-sensitive, it can make your pictures grainy.
White Balance
White balance is a camera setting that assists in making white items in your setup appear white in your photographs. The other colors will be correct if you can get your whites to look white. Having various light sources and bright colors in your environment negatively affects your white balance.
6. Get Snapping!
Once you have the perfect setup, lighting, and product placement, the next step is taking your pictures.
Make sure you take tons of pictures from several different angles and don’t be scared to play around with your camera’s settings to add some variety to your pictures.
14 Tips to Perfect Your Product Photography Pictures for Your eCommerce Store
Here are 14 product photography tips you can follow to ensure you get amazing product photos every time.
1. Have a Mood Board for Inspiration
If you’re using a professional photographer, you need to give them a clear idea of what you want your pictures to look like.
Creating a mood board is a good method of conveying what you want to your photography team. If you’re DIYing your pictures, it’s a great way to get inspired.
Mood boards are an assortment of pictures that express a specific shoot’s design theme, style, direction, and inspiration.
You draw inspiration for your mood board from anywhere you want.
If you’re looking for inspiration for lighting, mood, color, props, and anything else that might be used as references for the actual shoot, you could make a mood board. The more specific you are, the better your pictures will turn out.
2. You Don’t Need a Fancy Camera – Use Your Phone
While having a professional camera will produce better pictures if you can’t afford professional product photographs, if you have a phone with a high-quality camera, then you can use it to take amazing product photos.
3. Use a Rolling White Background (A Sweep)
Editing is a crucial part of e-commerce photography, but you can lessen your post-production retouching needs by taking your photos against a white backdrop.
In contrast to a black backdrop, a white sweep reflects white light on your object, providing you with a good product photo that requires little to no contrast and brightness tweaks.
4. Take Multiple Pictures From Different Angles
Taking pictures from different angles allows you to figure out what angles make your product look best. Another benefit of taking photos from various angles is that it allows your customers to see your products in several different ways.
Some customers want to see close-up pictures. Others might want to view objects directly. Taking pictures from several angles means you can appeal to everyone, which may increase sales.
5. Be Consistent
It’s crucial to keep a consistent aesthetic throughout your product shots as you take more of them to give your website a cohesive look. Create a technical style guide and template for your brand to make this process easy. Some of the things you need to include in your style guide are your color scheme, background saturation, and composition.
If you’re going for a pastel color palette and a simple 1 product composition then that needs to be communicated to the photographer before the start of the shoot. Otherwise you’ll be wasting precious time and money on photos that don’t match what you’re looking for.
6. Include the Entire Product in the Picture
Your customers value visuals, so you need to ensure that your photos show the entirety of your products, so your customers get a full idea of the product you’re selling. If you’re selling a highly detailed product, you’ll need to take several pictures of your products from different angles to showcase all your product’s details.
You should always ensure that all of your product is showcased fully. It also needs to be in focus.
7. Learn How to Edit Your Pictures
If you’re going to take your product photos, you’ll need to learn how to edit your pictures to produce the best results. Editing helps to remove flaws from your e-commerce photos. You can also enhance your pictures with special effects.
You won’t need to become a perfect graphic designer, but you’ll at least need to know the basics of editing.
8. Don’t be Afraid to Take Lifestyle Shots
A lot of amateurs feel scared of taking lifestyle shots, but it can be a great way for you to boost sales and curate your brand’s image. You’ll need to think about what you’d like your brand’s image to be, then think about ways that you can convey this to your customers.
Lifestyle shots work well on social media sites because they provide a sense of personality and authenticity that helps you to connect with your customers.

9. Artificial Vs. Natural Light: Make a Decision
Whether you should get artificial or natural lighting depends on what your product is, your budget, and the image that you’re going for.
If you’re working on a budget, natural light is the best option for you. You take incredible pictures with natural lighting, and it’s the best option for some products like food.
Another scenario where natural light is a great choice is when you’re shooting outside or with a model for lifestyle photos. Natural light is great. You need to carefully plan your shoot so that you’re taking your pictures at the perfect time of day.
Artificial lighting could be a better choice for you if you have the money to spend on studio lights,
You’ll need at least two soft light setups if you’re using artificial lights. This light will soften the shadows around your product.
After you get your lights, the next step is figuring out how you’re going to position them. You can place your lights where ever you want, but you should always have one light in front of your products. The other light can be positioned where ever you want. The light in front is your key light, and the other is your fill light.
10. Try to Get a Sense of Scale
A common complaint online shoppers have is that they can’t accurately tell the product size they’re purchasing. You might have listed the size of your product in the description, but if you don’t scale your pictures, there may be some misunderstandings.
If you scale pictures, you can avoid these misunderstandings by giving your customers a complete understanding of a product’s actual size by contrasting it with common everyday objects. Customers will feel more confident making online purchases if they can picture your products in their daily lives.

11. Hire a Professional
While you don’t need to be a pro photographer to produce lovely product photographs, there could be some restrictions, just like with any DIY project.
If you’re not an expert photographer, you likely lack the tools and software required for professional product pictures. High-quality equipment creates high-quality pictures, and a trained photographer will most likely arrive well equipped with the best of the best. A pro will also seamlessly edit your photos to make them uniform.
12. Optimize Your Images for a Website
Optimizing your photographs for the web is critical because images with a large file size can slow down your website. Resizing and compressing your photos in the appropriate image format can do wonders for the speed at which your website loads.
You can find loads of tutorials on image optimization online.
13. Make the Product the Focus
As the name suggests, the product is the most important part of e-commerce photography. You must ensure that your product is the main focus of all your pictures. There are tons of ways that you can do this.
You can use a blurred background effect, comparative photography, real environment photography, and many other techniques.
14. Use Product Reflections
A reflection is a useful tool for making your products look high quality in your eCommerce photography. For products shot against any neutral-colored background, it’s easy to make pleasing reflections with the right software and a little talent.
Final Thoughts
Something else you should keep in mind while you’re taking your product pictures is that the world moves at a very fast pace. Trends go out of style constantly, and technology is constantly evolving.
We recommend that you keep researching product photography to make sure you’re staying up to date.


