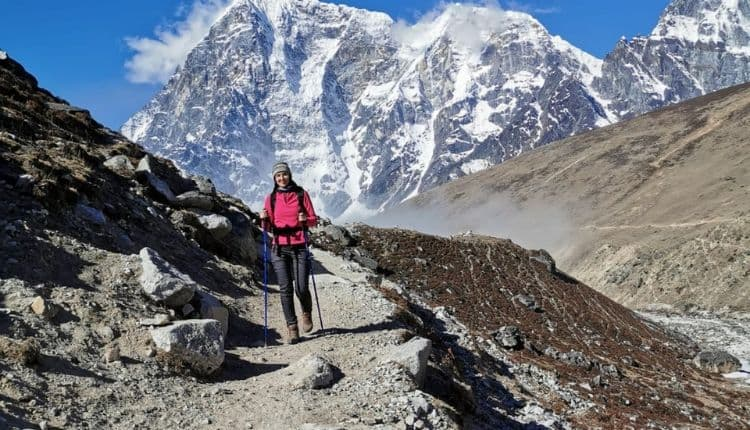
Which treks in Nepal are the most beautiful? Which trek should I go for? These are questions that many travelers ask when going to Nepal. Nepal is a unique country, where 10 of the 14 eight-thousanders are located, and most of the state is occupied by the ridges of the Himalayan mountain system. More than 40% of the territory is located above 3000 meters. This is why Nepal is considered the highest mountainous country in the world!
The choice of trekking routes in Nepal is huge. Therefore, answering “what is more beautiful and where to go” is impossible. This article will discuss the most beautiful trails in Nepal for your photography journey.
6 Tips on How to Shoot Hiking Trails
Here are 6 tips that will help you create incredible photographs of Nepal hiking trails.
Choose optimal times for shooting mountain landscapes
The first step in learning how to photograph mountains properly is choosing the right time to shoot. Advanced professional photographers tend to believe that sunset and sunrise photography produce the most beautiful photos due to the softness of the shadows and warm light.
Choose the right camera for mountain photography
The camera should not be too big to not interfere with your movement in the mountains. You should prefer a camera with a good zoom, as it will expand the possibilities of shooting objects at different distances.
Select the right lenses for mountain photography
We recommend you carry a small number of interchangeable lenses. When shooting in the mountains, wide-angle lenses are often used because they capture the entire panorama of the mountain landscape. Such lenses are also excellent for shooting mountain gorges and trails.
It should be remembered that wide-angle lenses remove the background, which can spoil the overall impression of the photo. Also, when shooting mountain landscapes, long lenses are used, which allow you to photograph objects that are far away from each other.
Capture unique perspectives of mountains
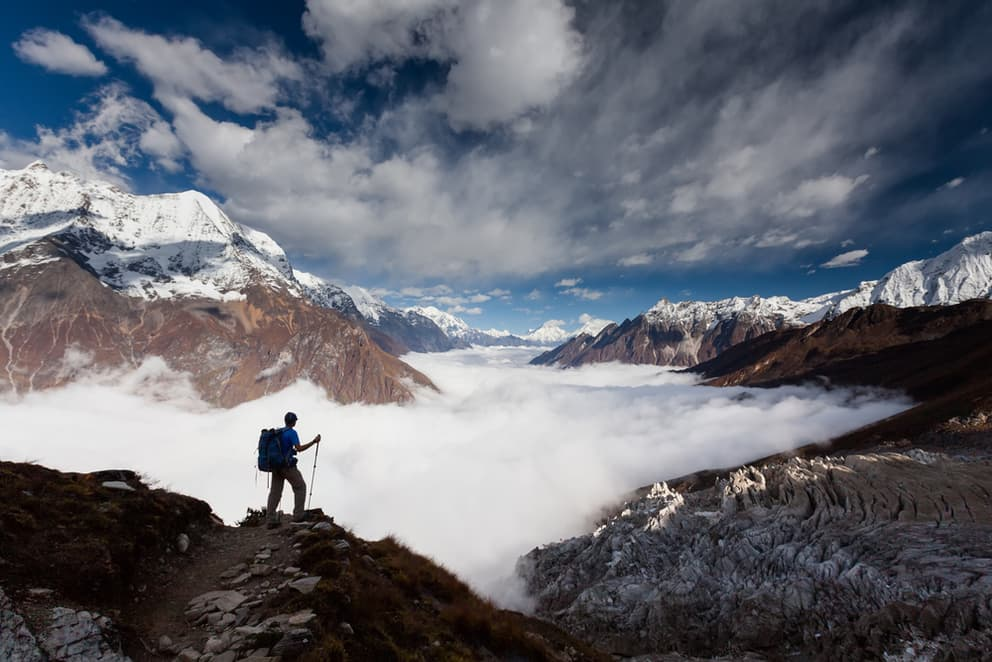
To get a spectacular shot, take the photo from an unfamiliar angle – from top to bottom. Do not choose a point of view like a mountain valley or a road overlooking a mountain – this angle is familiar and will not catch the viewer’s eye. Try to choose an unusual, high enough point of view where people rarely enter, as this will make the photo look fresh and effective.
Remember about proper exposure in mountain photography
Now, having the basic knowledge of how to photograph mountains, let’s present the finishing touch in the form of a few words about exposure. Take into account that a photo with three objects (foreground, middle, and background) will look harmonious. Beginners often forget about this rule and get not very effective shots.
Apply the Golden Ratio Rule in mountain photography
You should also take into account the rule of the golden ratio, which will make the photo psychologically receptive. This rule implies the division of the frame into nine parts by two horizontal and two vertical lines, on the extremes of which the object should be placed. Remember to watermark your images to protect them from content thieves.
5 Hiking Treks You Can Go to Capture Nepal`s Beauty
1. Everest Base Camp (EBC) Trek
This amazing travel route has gained world fame, and, of course, who would not dream of seeing the highest mountain of our planet – Everest – with their own eyes? Many tourists arriving in Nepal for the first time go to Everest.
If you want to go for the Everest view trek, it is better to turn to Bookatrekking. This team of travel experts offers treks of different difficulty, duration, and budget. They can help you to find the track according to your needs.
This trek is breathtakingly beautiful. The trek is above 3000 meters, which is beautiful and challenging. You will be close to the highest peaks of our planet, such as Everest (8848 meters), Lhodze (8516 meters), Taboche (6367 meters), and one of the most beautiful peaks in the world – Ama Dablam (6856 meters) as well as other stunning mountain peaks.
Your journey starts in Lukla, which can be reached by a small airplane. During the trek, you will reach Namche Bazar (3450m), the capital of the Sherpas. This amazing place is steeped in the spirit and stories of Everest climbing. It is worth spending a few days here to get used to the altitude, as the elevation gain here is noticeable.
With magnificent views of the high Himalayas, you will progress further and reach an overnight stay at an altitude of 5,000 meters. The body behaves differently at this altitude, so if you are heading to Everest and have no experience of being there, it is recommended to use the services of experienced high-altitude guides. Next, your route will take you to the Everest base camp, from where all ascents to the highest point on the planet begin, as well as to Mount Kala Patar (5,605 meters high).
Everest Base Camp (EBC) trek cons:
- Domestic flight
- Expensive region (accommodation, food)
Everest Base Camp (EBC) trek pros:
- Seeing Everest and the stunning mountains around it with your own eyes
- Comfortable gest-houses
- Airplane/helicopter flight
Everest Base Camp (EBC) trek duration: 15-16 days in Nepal, 13 walking days, 14 trekking days with road. As the first rays of the sun go down, you will get a breathtaking view of Everest, Lhodze, and Nuptze (7,879m). This place is simply breathtaking in its beauty and grandeur.
How to shoot the Everest Base Camp (EBC) trek?
In this region, the lighting is usually favorable. This may seem unusual for those used to bright sunlight in mid-latitudes. Still, in the mountains you can achieve impressive and picturesque images, especially if you shoot against the light. Some photographers recommend using polarizing filters, but it’s worth noting that they can be less effective at higher altitudes.
Getting early out of bed can also be rewarding, allowing you to capture the first rays of sunlight illuminating the mountaintops before they reach the valleys. Neutral gray gradient filters can be useful to balance exposure when there is a great difference in light between the sky and the ground.
2. Manaslu Circuit Trek
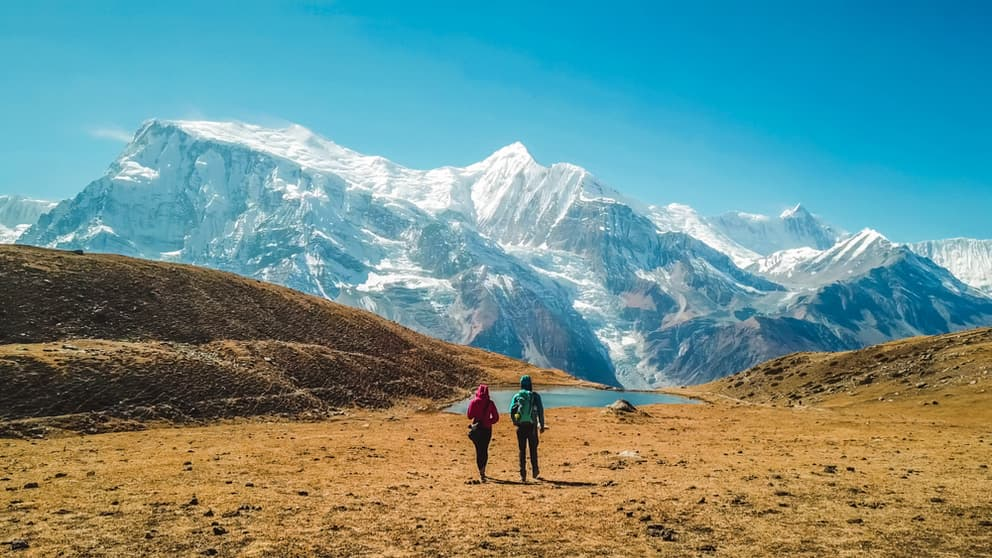
The Manaslu Circuit trek is as beautiful as the trek around Annapurna. It remained a closed region until the early nineties. Then, it was only available as a camping trek for a long time.
Now, there are (already good) lodges all along the route. To go for this trek, you need a special permit. A local guide is also mandatory, which reduces the flow of tourists many times.
The Manaslu Circuit trek is wonderful. The eight-thousand-meter Manaslu is incredible. Snowy beauties, high-altitude villages, and yaks against the backdrop of majestic mountains replace breathtaking views of waterfalls, deep river mouths, and picturesque forests. You will absolutely love this Nepal route!
Manaslu Circuit trek cons:
- Fairly long trekking
- 1 day by bus/jeep there and 1 day back
Manaslu Circuit trek pros:
- Beautiful
- Circular route (no need to return on the same road)
- Tourists are 10 times less than in the Annapurna and Everest regions
Manaslu Circuit trek duration: 15-16 days in Nepal, 12 walking days, 14 trekking days with road. You will climb from 1000m to 5000m through all climatic zones. Acclimatization is gradual, with a maximum altitude of 5,160 m at Larkya La pass.
How to shoot the Manaslu Circuit trek?
You may encounter mountain shadows and bright skies while shooting. The dynamic range in some scenes will be large for a single image. So try a series of shots that may consist of 3,5, or even 9 frames. The most common use is bracketing of 3 shots.
You can also balance the exposure by using graduated filters. But be careful. The transition zone of a graduated filter is linear. If any part of the mountain sticks to this area, it will be darkened, while the rest will remain bright.
3. Langtang and Gosaikunda Trek
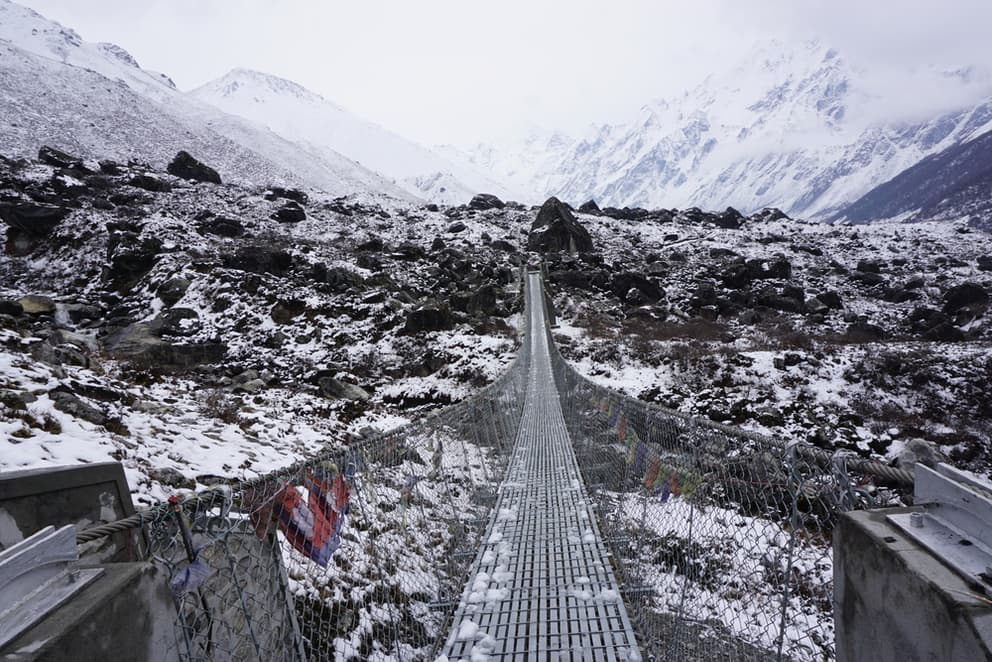
This route holds a special place in tourists’ hearts, and there are good reasons for this feeling. Why do tourists love it so much? Because it is impressively beautiful and varied. Moreover, there are fewer tourists than on the Annapurna and Everest treks.
Langtang and Gosaikunda trek takes you into the forested area, where the trail follows a rushing mountain river. You cross small villages that still retain their unique authenticity and eventually reach the foot of Langtang Lirung, a majestic mountain that forms a grand circus. Here, you have a unique opportunity to climb to a height of 5,000 meters and admire the beauty of the world around you like a bird in flight.
Further, you cross into the neighboring gorge, following picturesque trails among forests and cliffs, and reach the high mountain lakes of Gosaikunda. The charm of these lakes cannot be described in words – their beauty simply amazes the imagination.
And in spring, you will see something amazing – endless fields of blooming rhododendrons, which create a magical atmosphere. The forests in these places are simply transformed, and the magnificent rhododendrons add to the magic of your journey.
Langtang and Gosaikunda trek cons:
- The lack of views of the 8,000 meters mountains near the route
- 1.5 days downhill on the trail that was used to ascend
Langtang and Gosaikunda trek pros:
- Beautiful and large-scale mountains, lakes, different gorges, cute villages
- Not very far from Kathmandu (return trip about 6 hours)
- Small maximum altitude on the route – 4610m (Lauribina pass)
- There is an opportunity to radially descend to 5000m
Langtang and Gosaikunda trek duration: 14 days in Nepal,11 walking days, 12 trekking days with road. Langtang and Gosaikunda trek is beautiful and unique and provides an opportunity to enjoy nature away from the big tourist flows. All these factors make it a special and unforgettable journey.
How to shoot the Langtang and Gosaikunda trek?
This trek represents a completely different side of Nepal compared to EBC and the northern parts of the country. Because of the forested area and differences in lighting, taking into account the “golden hours” becomes even more important to get the best shots.
In the middle of the day, the strong sun can create harsh shadows and discolor images, so consider early morning hours and evening light for the best traveling photos in this scenic and wild location.
4. Kanchenjunga Trek
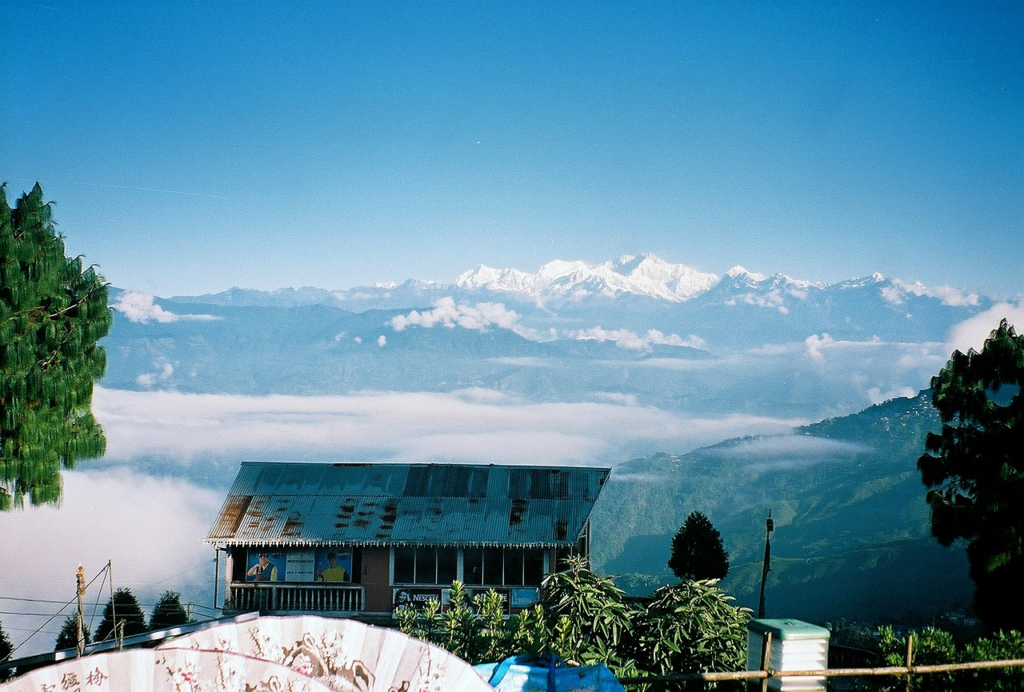
Kanchenjunga is a name that speaks for itself. It is the third-highest mountain in the world, standing at an impressive 8,586 meters. It is located on the border of Nepal and the Indian state of Sikkim and is considered one of Nepal’s most remote and wild mountainous areas.
Traveling to this area is about immersing yourself in the pristine beauty of the mountains and encountering virtually untamed places, as most of the trek is at an altitude where humans do not dwell. Starting from the picturesque forests, you gradually ascend into an area of alpine meadows, with views of the snow and ice walls of the mountains as a backdrop.
This route is a real dream for experienced trekkers. It promises to be deserted and exciting. It will surround you with the most beautiful and highest mountains, including Kanchenjunga, as well as several other peaks reaching a height of several thousand meters.
Kanchenjunga trek cons:
- Long and fascinating journey to the start of the trek and back (flight and relocation)
- 22 days in time
Kanchenjunga trek pros:
- Views of the magnificent peaks of Kanchenjunga
- Visiting two base camps
- Semicircular route
- Practically no tourists
- Great guest houses
Kanchenjunga trek duration: 22 days in Nepal, 17 walking days. It should be noted that this route is suitable for people who are already experienced in the mountains and confident in their abilities, as it can be somewhat challenging due to its desolation and high altitude nature. However, this difficulty makes it so attractive to true lovers of adventure and the beauty of the mountains.
How to shoot the Kanchenjunga trek?
Pay attention to long focal lengths. It can open your eyes to different compositions. If something interesting is happening on top of a mountain, such as the morning sun sliding across a textured rock, use a lens.
When you learn to catch a sunrise or sunset in these conditions, try a long focal length to detail the elements. To give a dramatic effect to the mountains in a photo, monochrome or sepia effects can help.
5. Annapurna Circuit Trek

This route is considered one of the world’s most scenic and popular tourist destinations. Around 20,000 mountain travelers from different countries come here annually to enjoy its beauty. The highest altitude you will reach on this route is 5416 meters above sea level, the Thorong La Pass.
Historically, the route was opened and equipped with guesthouses for hikers back in the late 1970s. Back then, it was a measured trek that took more than three weeks to complete. Today, the journey from Jagat to Jomsom is about 10 walking days. You can start the journey earlier or finish lower, but if you follow the dusty road where jeeps rush by, you will miss out on the most interesting and scenic section where every new day brings you new amazing views.
Annapurna Circuit trek cons:
- Too many tourists in season
- Most of the route goes on a dirt road
Annapurna Circuit trek pros:
- Amazing
- Circular route (no need to go back on the same road)
- Can officially be done without a local Nepali guide
Annapurna Circuit trek duration: 13 days in Nepal, 10 walking days. The difficulty level can be rated as medium, but it is worth remembering that proper preparation and acclimatization play a key role due to the high alpine terrain and passes. However, for active and healthy people, this route provides an unforgettable experience and an opportunity to enjoy the beauty of the Himalayas.
How to shoot the Annapurna Circuit trek?
Like the region around Mount Everest, the Annapurna mountain range is breathtakingly beautiful. The majestic ice-covered mountains stand out sharply against the deep blue sky. Again, gradient-neutral gray filters are recommended when exploring this area. Still, it’s worth remembering that, unlike the region around Everest, the trek around Annapurna begins in a hot and humid climate. Here, there is also a greater likelihood of being suddenly hit by a downpour, so it’s important to ensure your camera and backpack are well protected from this unexpected element.
Conclusion
Nepal offers travelers from all over the world an unparalleled experience and endless opportunities to explore. Every year, thousands of people embark on this adventure to enjoy the beauty of nature and experience the area’s rich culture.


