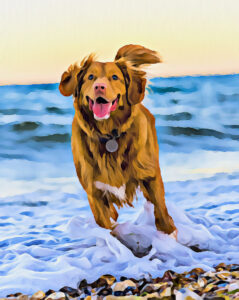

How cool would it be if you could turn your photos into a sketch, or even an oil painting!?
The great news is that you can do just that in a few simple clicks!
But, before take a look at these sketch Photoshop actions and amaze yourself.
In this quick tutorial, I’m going to showcase some of my favorite features and effects using Colorcinch to transform my photos into art. And when all is said and done, be sure to also check out the beautiful collection of sketch Photoshop actions for true inspiration.
Let’s get right to it!
How to Turn any Photo to Sketch
Step 1: Upload an Image
Click on Upload and select an image.

Step 2: Select an Effect
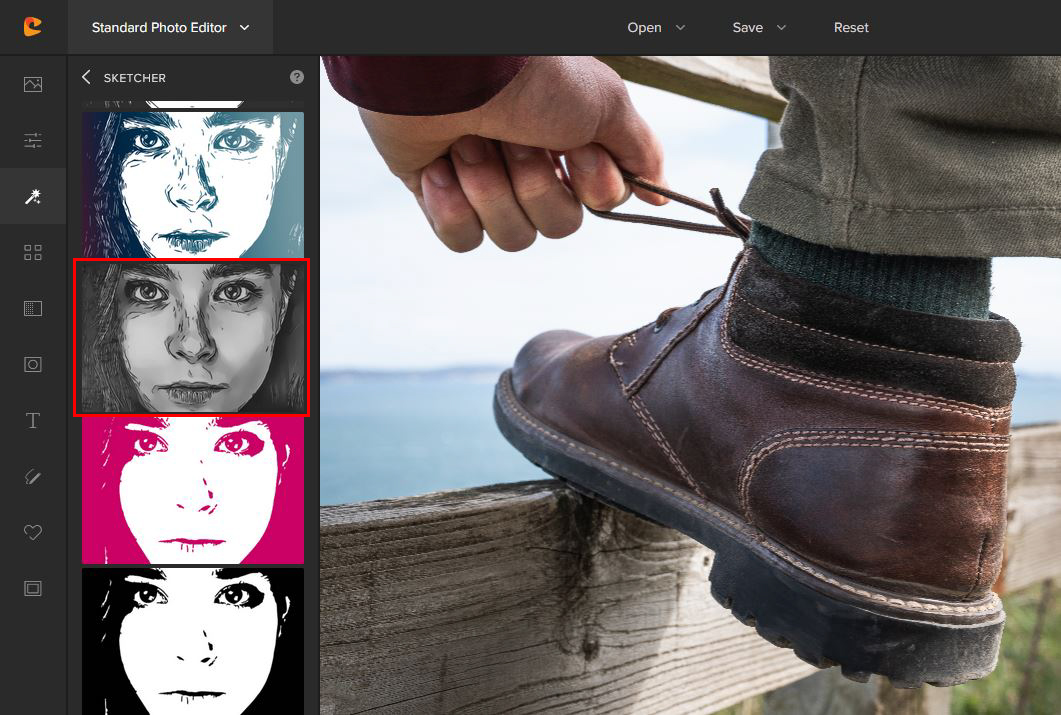
On the left-hand column, select Effects, followed by Sketcher.
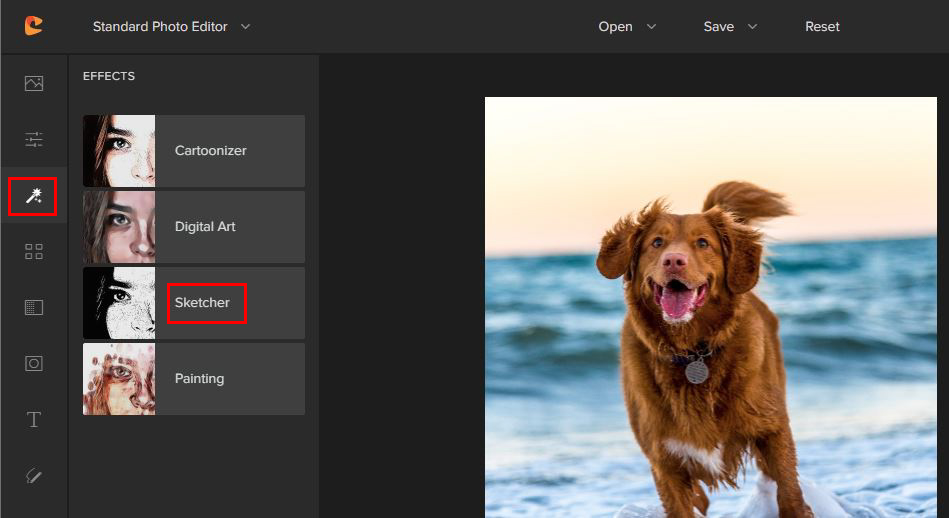
After selecting Sketcher, you will see a whole range of different sketch-based designs to choose from. We offer both free effects, as well as many additional Plus Feature Effects, which are part of our Colorcinch Plus Subscription Plans. (This provides access to all of our premium features and effects!)
However, for this example, I’ll be using one of our free sketch effects. Effect IC221.
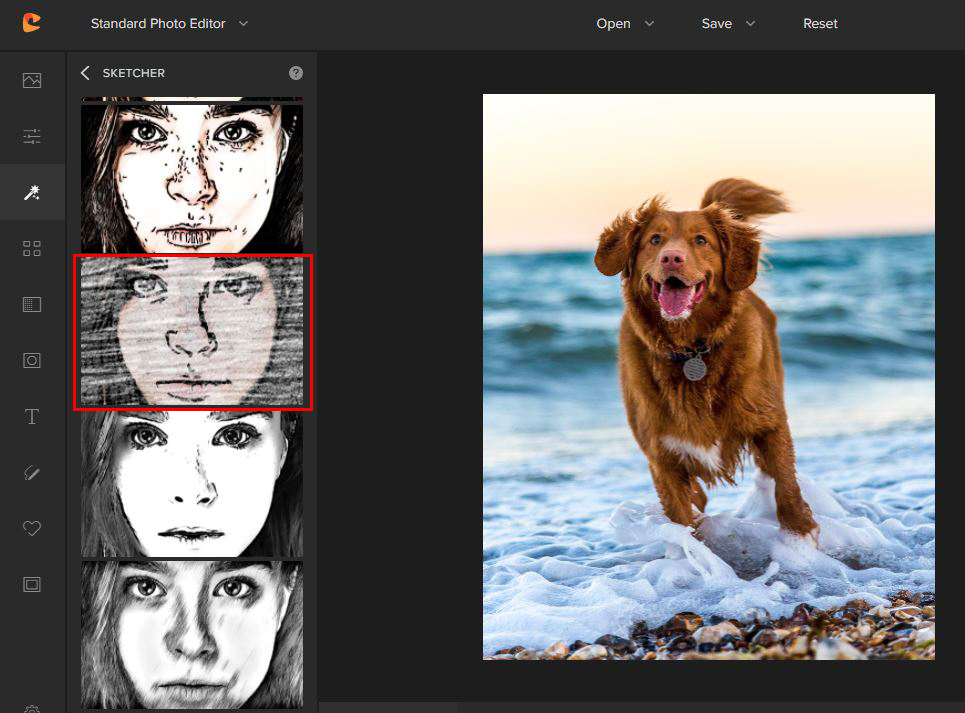
And now for the magic!
All that you need to do is to click once on one of our sketch effects. Boom!
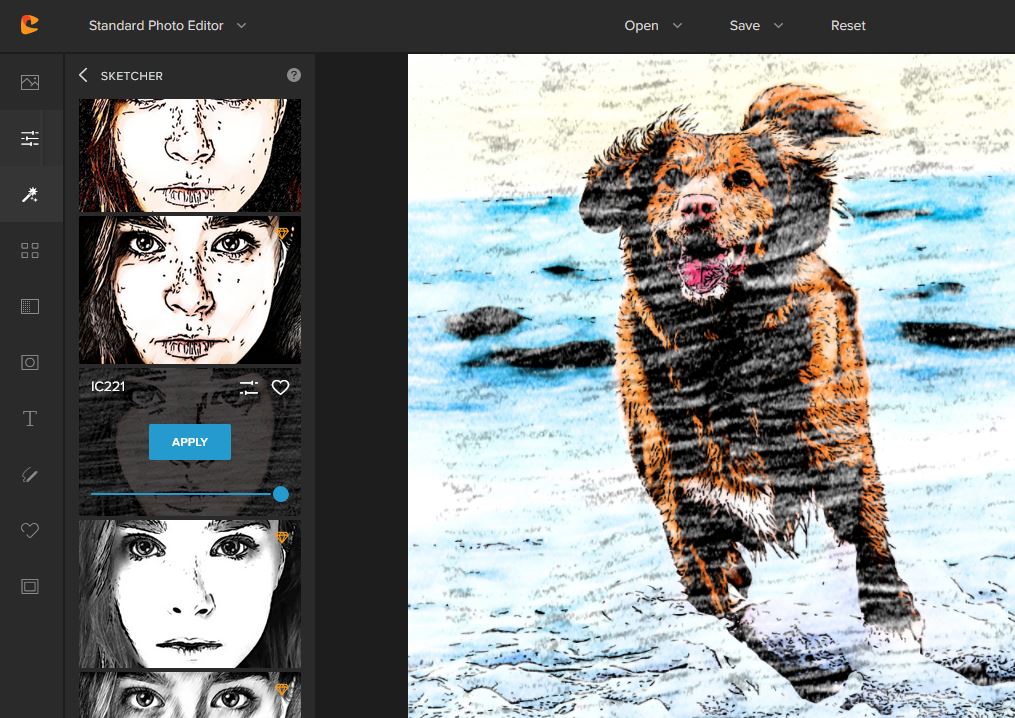
Easy enough, right!?
Now, while some effects might look great right away, I always like to make tiny adjustments to my effects.
In the next section, I will show you how to further customize your sketch effects.
Step 3: Customize your Sketch
Part 1: Using the Effect Slider
The first thing to do is to adjust the Effect slider.
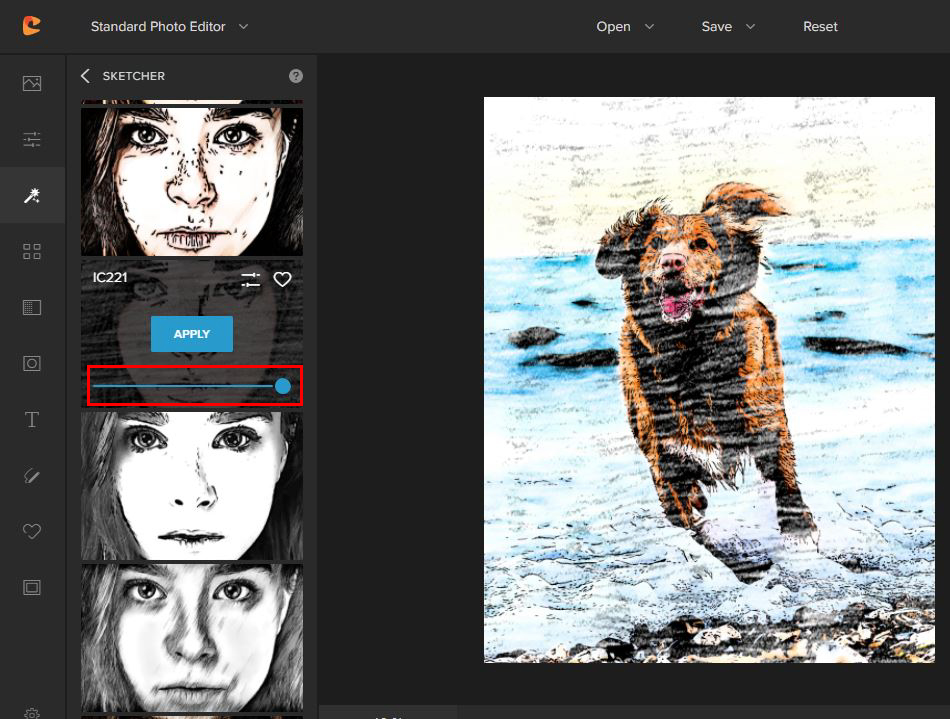
By default, it will apply the effect at 100%. The further you move the slider to the left, the less intense the effect will be.
If you move the slider all of the way to the left, the effect will not be displayed at all.
Below you can see this effect applied at 100%.
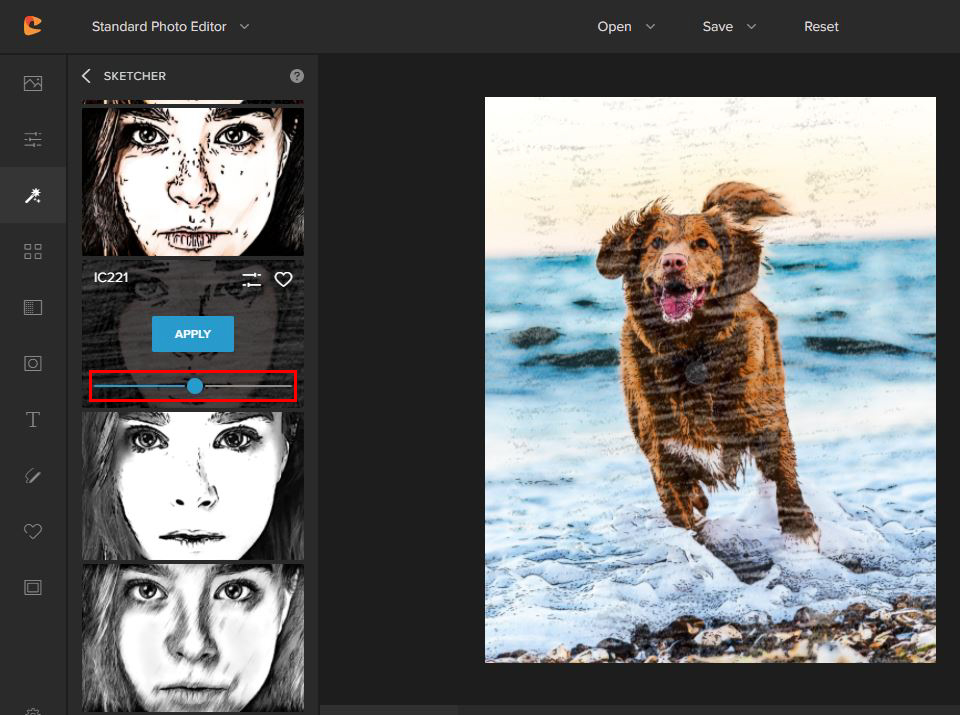
Here’s what the effect would look like at 50%.
Now, this is all down to personal taste, so have fun with it and play around with the slider until you find the look that you’re after!
Part 2: Using Effect Settings
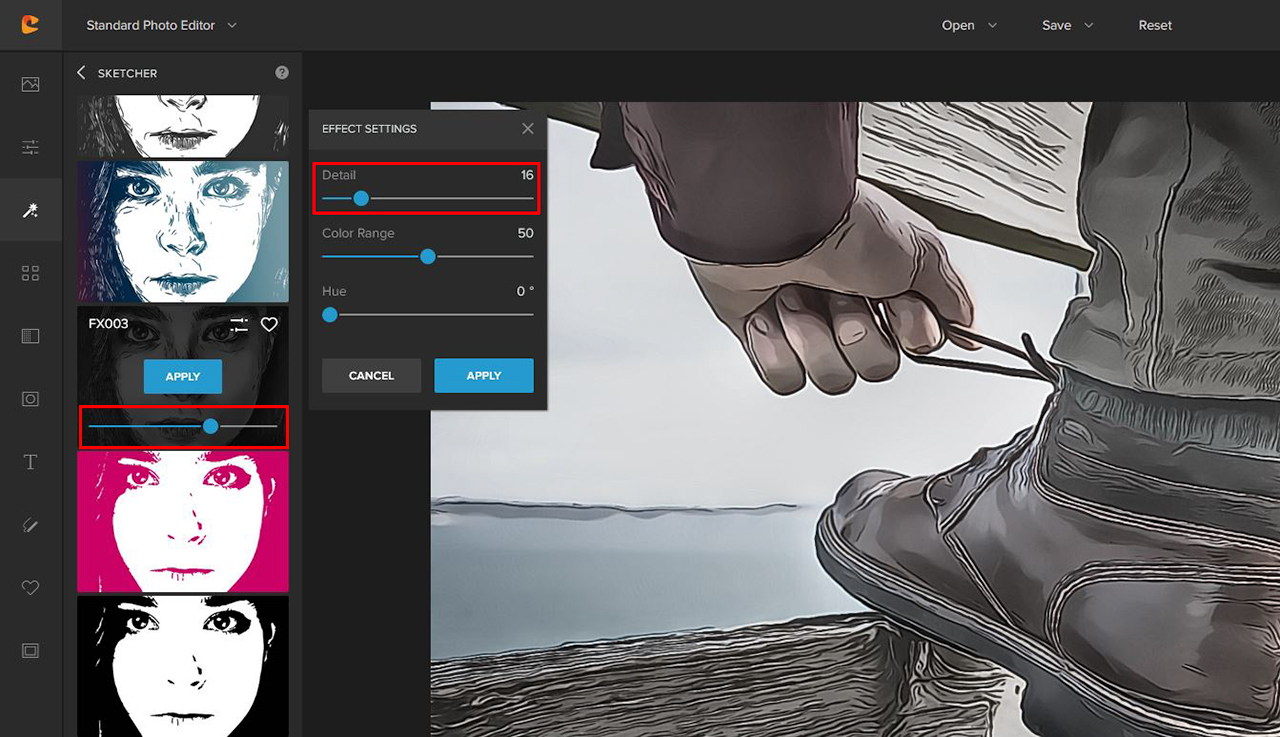
To customize the effect further, simply click on the Settings button.
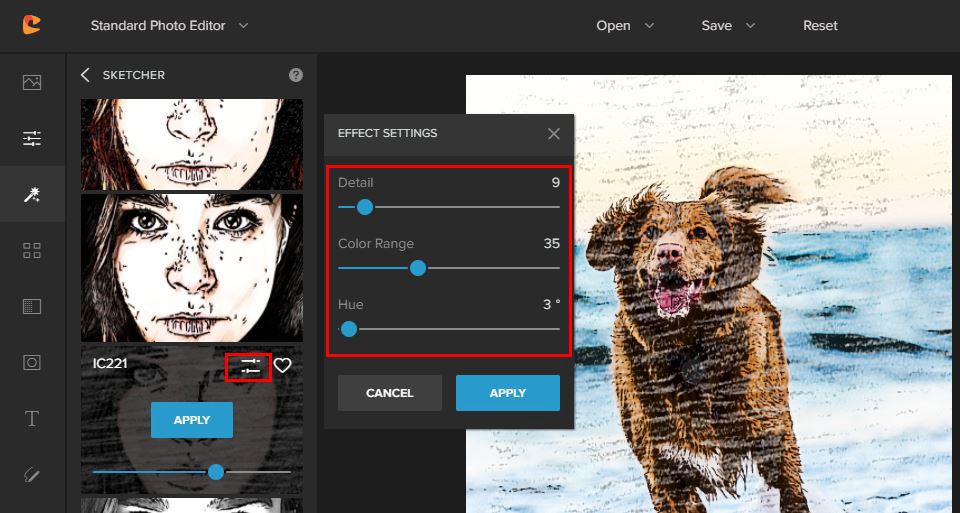
Here we have 3 additional options: Detail, Color Range, and Hue.
- Detail: This slider essentially adds more texture/sharpness to the effect
- Color Range: If the chosen effect has color, you will be able to add additional saturation to the image by moving the slider to the right
- Hue: This will shift the color/tones within the image
In my example, I added 9 to Detail, 35 to Color Range, and 3 to Hue.
Once you’re happy with your adjustments, make sure to click on the blue Apply button for both the Effect Settings box, as well as for the main Sketch Effect slider. To see how to save your image, click here. Before we move on to the next section, I’d like to showcase one of my favorite sketch effects, FX003, using the same steps as above.
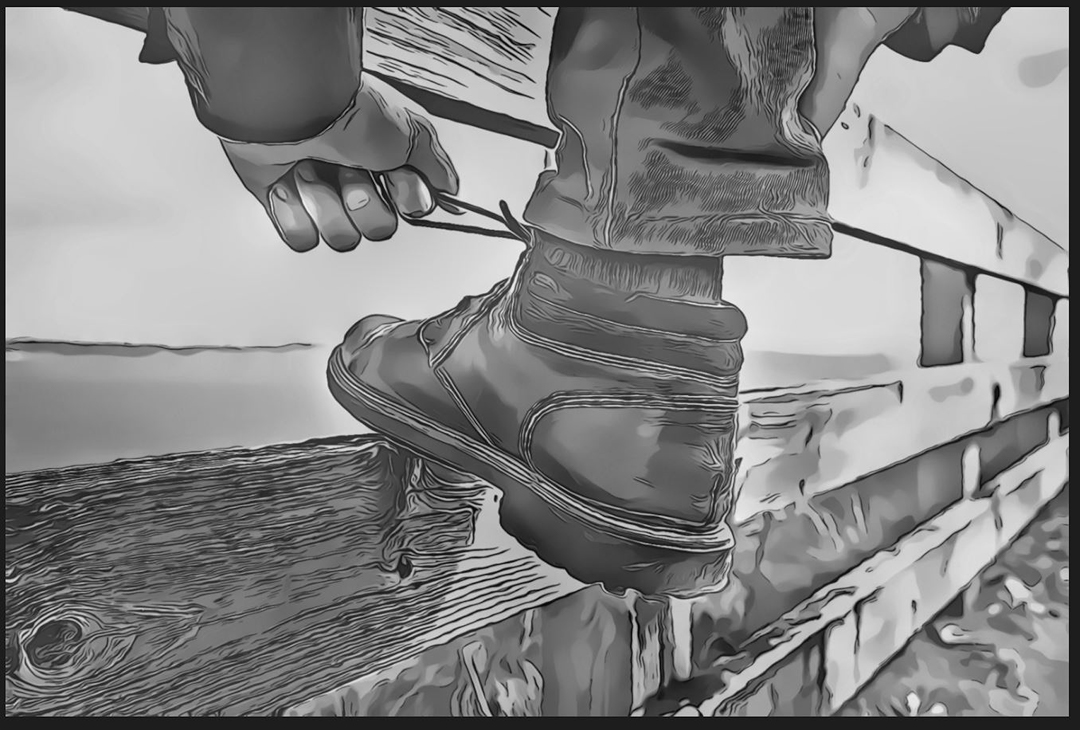
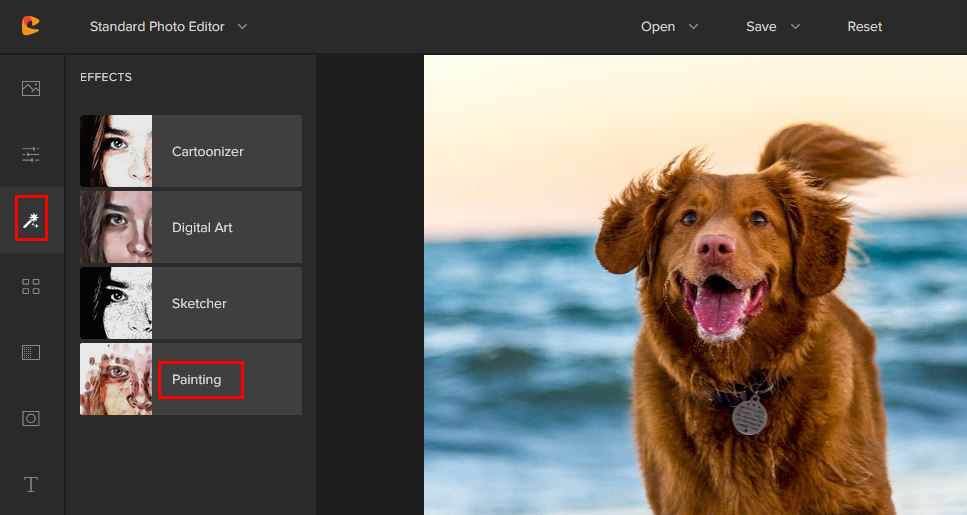
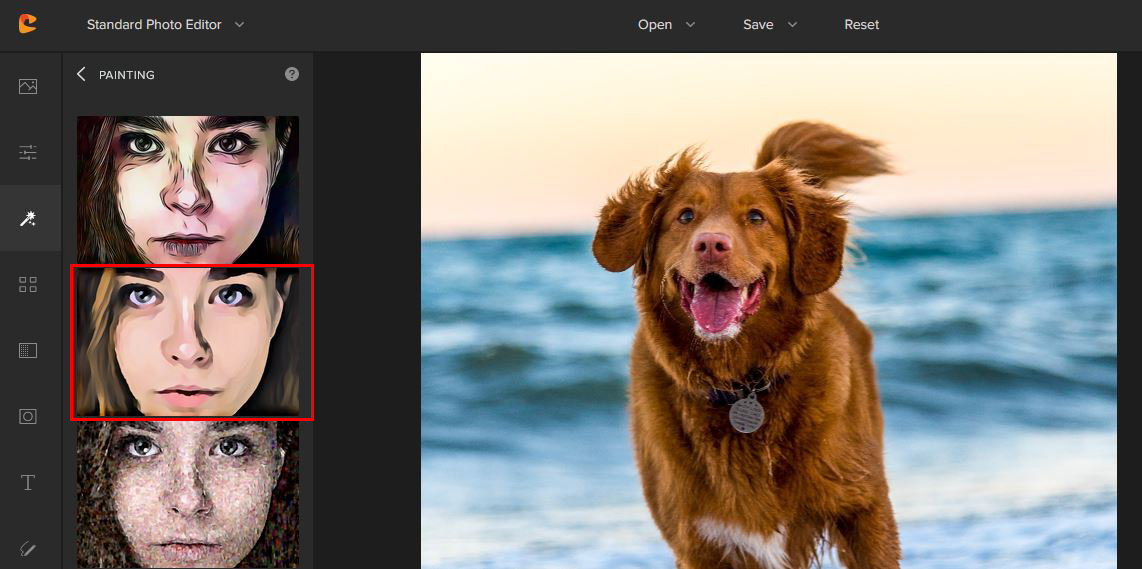
Here is the result after only one click. Pretty amazing, right!? I personally love how smooth this black and white sketch effect looks, as well as all of the detail that this effect brings. Let’s take it a step further and use some of the Effect Settings. In this example, I wanted to retain some of the colors rather than the image be purely black and white. To achieve this, I simply reduced the FX003 Effect slider slightly to remove some of the overall effect and added a bit of Detail, which brought in more of the sketch detail. I didn’t want the colors to be too heavy, just a hint, and with two quick adjustments, here is the result. Click on Effects, followed by Painting. We offer multiple paint effects and, in this example, I’m going to use one of my all-time favorite effects, FX006! After clicking on this effect, it will apply the effect at 100%. Right away — after one-click — it already looks amazing! As usual, I like to make some additional changes, and in this case, I wanted to add some more detail to this paint effect. Below are the settings that I used to further enhance this image. I slightly lowered the main FX006 Effect slider so that the effect wasn’t super intense before clicking on the Effect Settings button. The big adjustment that I made was with the Detail slider. I raised the Detail slider value to 35, as I wanted the image to be more defined. Additionally, I also slightly increased the Color Range slider from 50 (default) to 59, just to give it a tiny saturation kick. This is definitely subjective, so have fun with this slider! As always, make sure to click on the Apply button for both the Effect Settings box, as well as the FX006 Effect slider when you’re happy with your adjustments. And here is the result! Seriously, how cool is that!? Whether you’re looking to create sketches out of your photos for Instagram, get them printed, or make an infographic, Colorcinch is a one-stop-shop for achieving your editing goals. As you can see, with a simple click or two of a button, you can turn any photo to sketch, or an oil painting with ease. It doesn’t get easier than that! With all of the different effects that we offer, you can easily lose a few hours trying them all out while turning your photos into art. (At least I did!) I really hope that you enjoyed this tutorial and were able to turn some of your images into digital art. So until the next tutorial, have fun with these effects and let your imagination run wild! Start editing.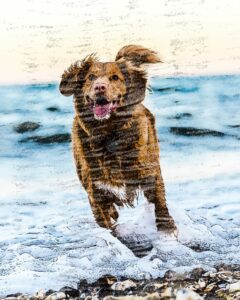



How to Turn any Photo into an Oil Painting:
Step 1: Select an Effect
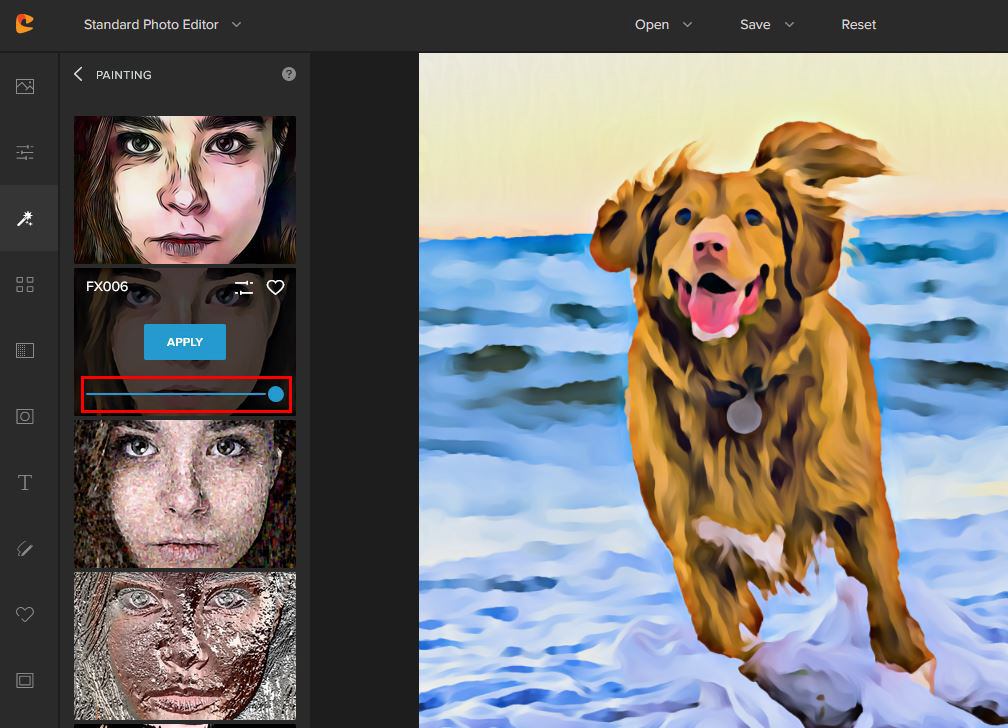
Step 2: Customize your Oil Painting
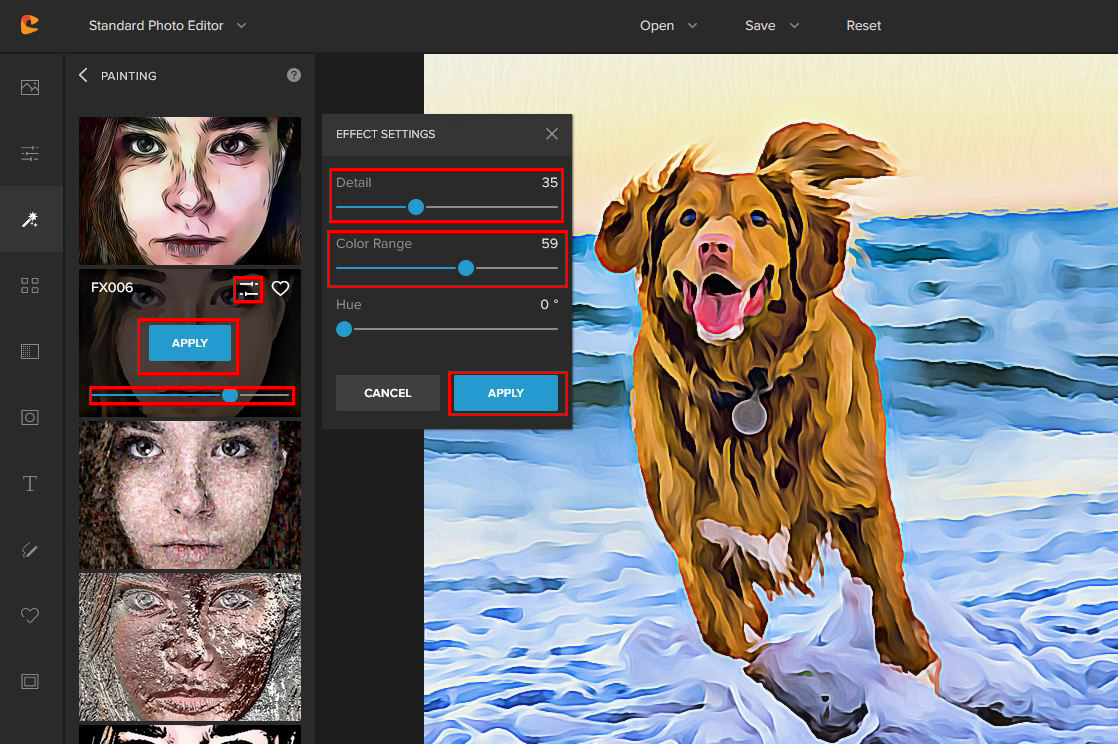


Conclusion:


