Nature is the best healer there is and nature photography is one of the best hobbies one can possibly have. Whether you’re a photographer or not, you can’t stop yourself from taking nature photos. This shows how we can’t cease ourselves from appreciating nature.
Nature photography isn’t only about photographing landscapes. It can include taking pictures of even the smallest belonging of nature.
Whether you photograph the grand vistas or a tiny insect, it can still be considered nature photography. The genre of nature photography is thus very broad.
Within this broad scope of photography, there are various other sub-genres that are magnificent in themselves. So, whether you’re a beginner or a seasoned pro, nature has everything for you to photograph.
Types of Nature Photography
1. Landscape Photography
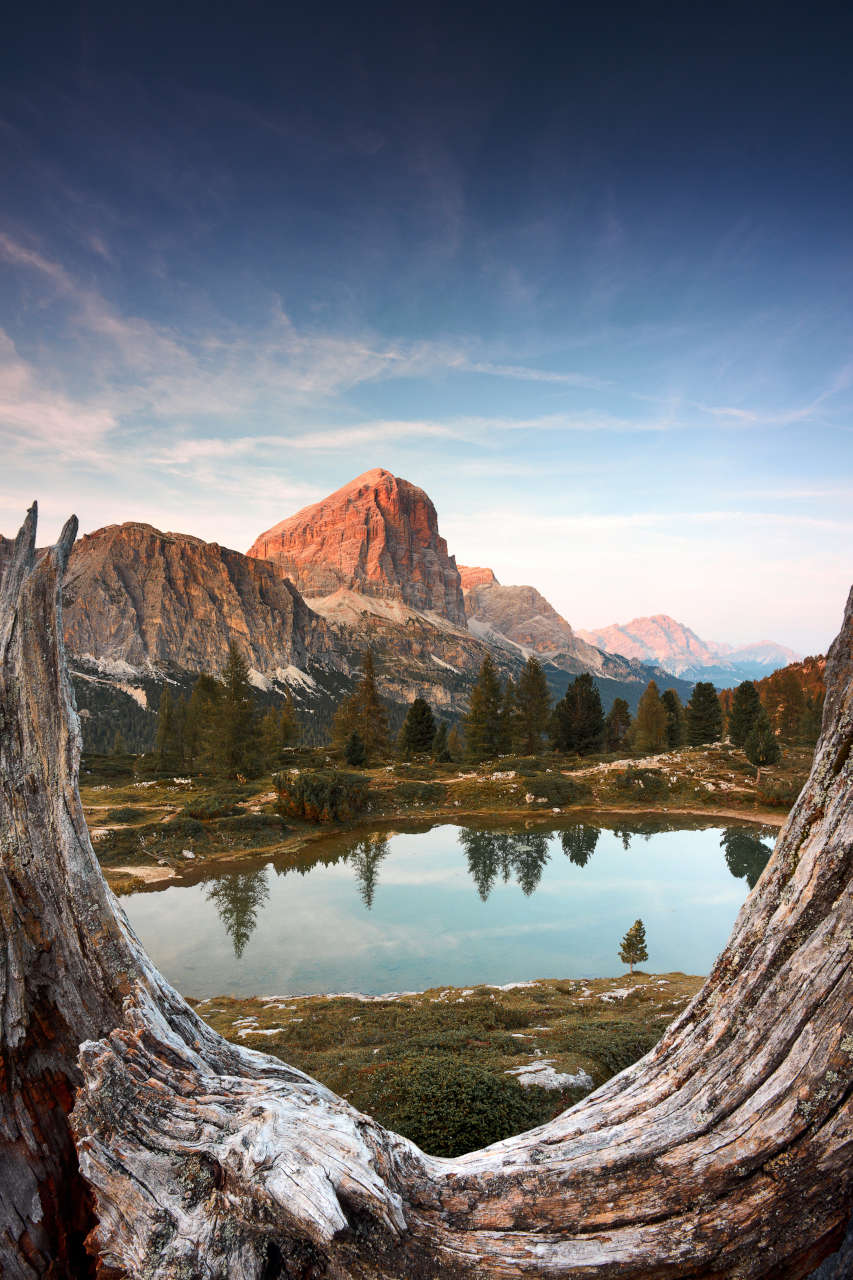
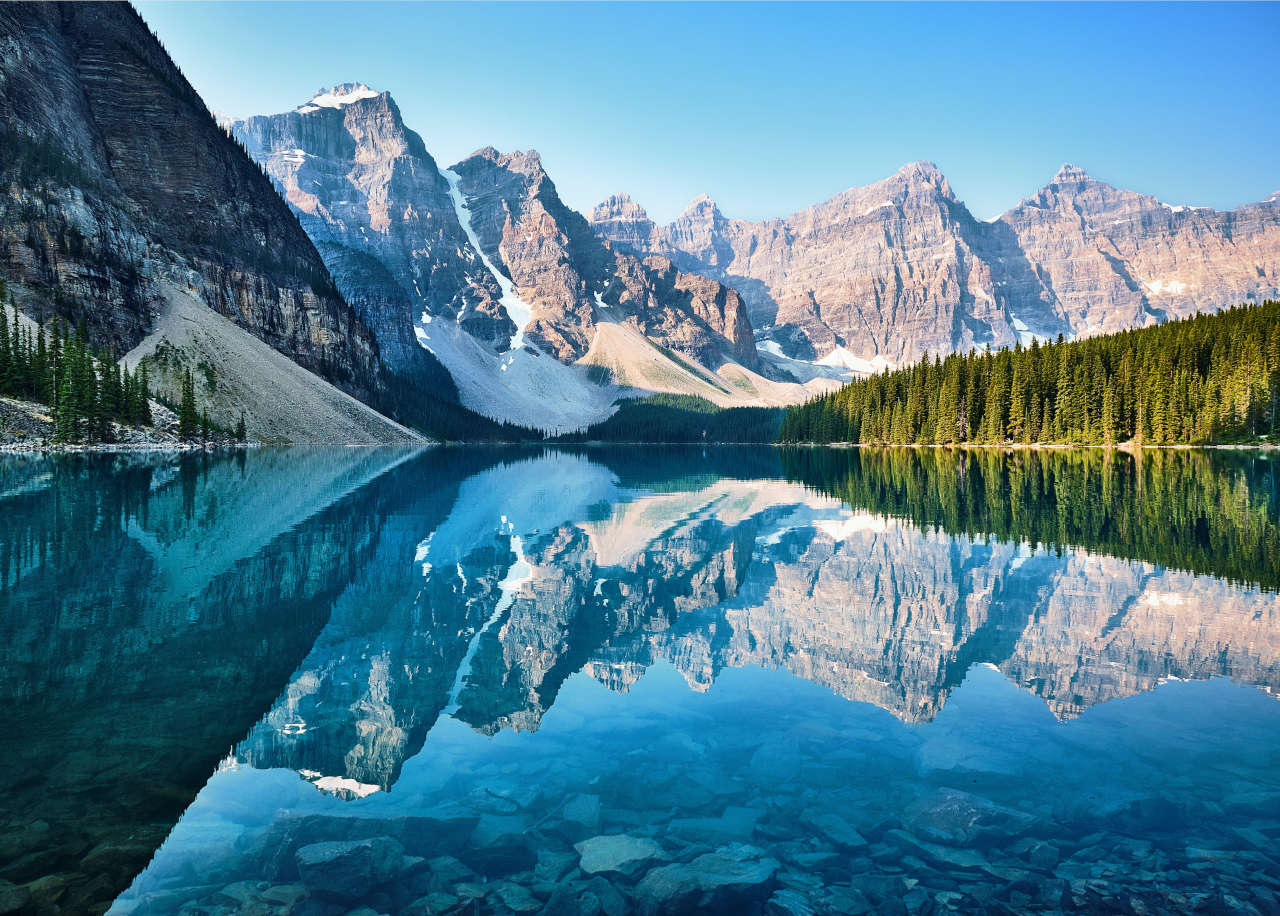
Landscape photography is one of the most popular types of nature photography out there. This includes photographing the grand mountain vistas, the hills, rivers, lakes, and waterfalls amongst others.
2. Woodland Photography
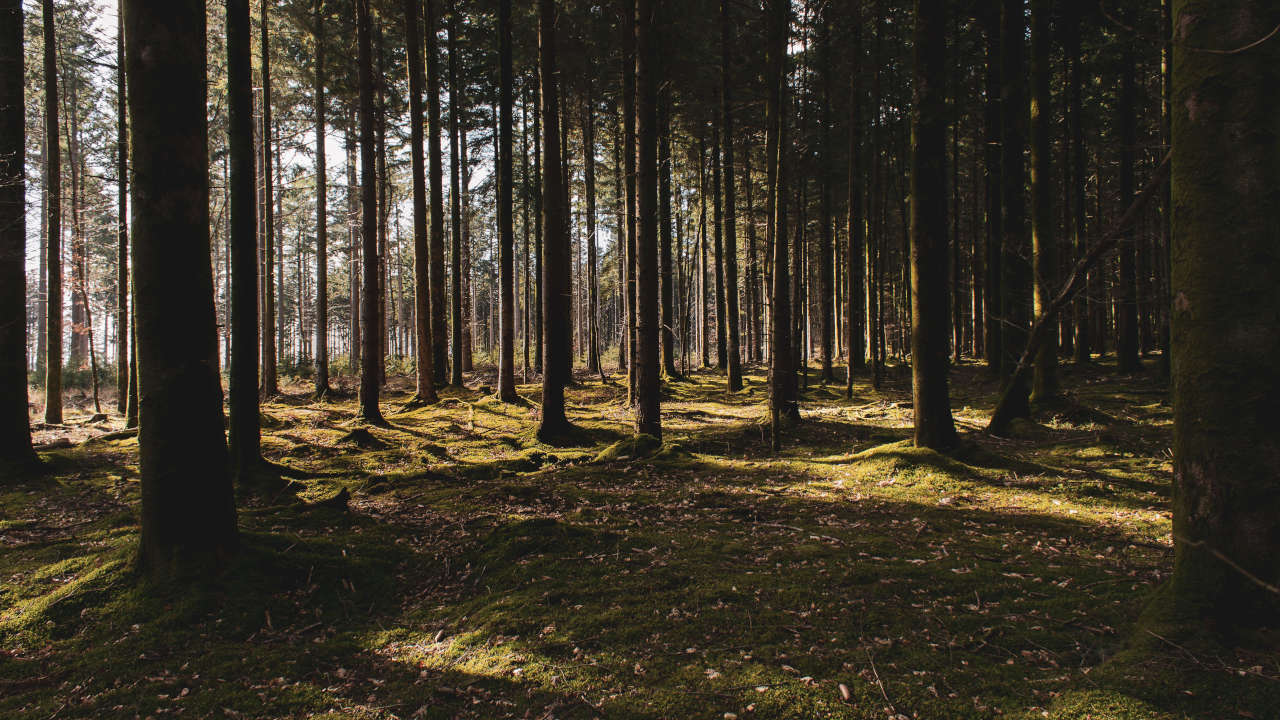
As the name suggests, woodland photography is all about being inside a woodland to capture the vegetation and other natural elements there. Unlike in landscape photography, you get a very limited space here depending on the vegetation density.
3. Wildlife Photography
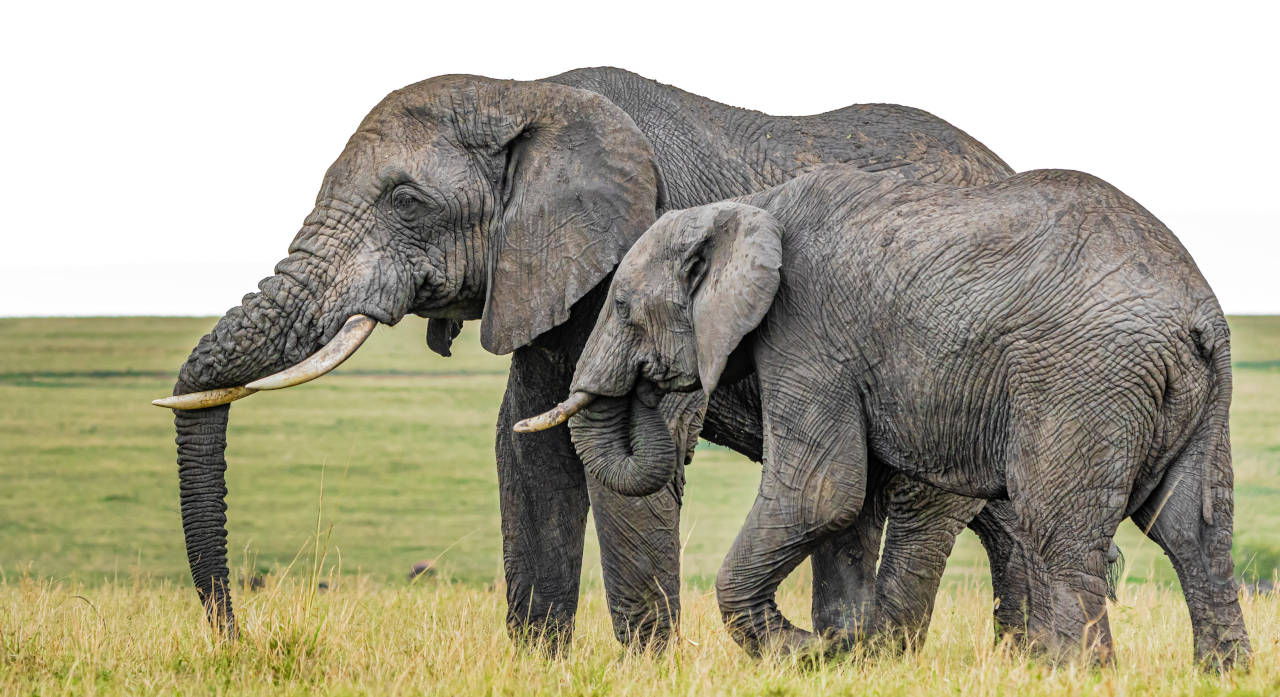
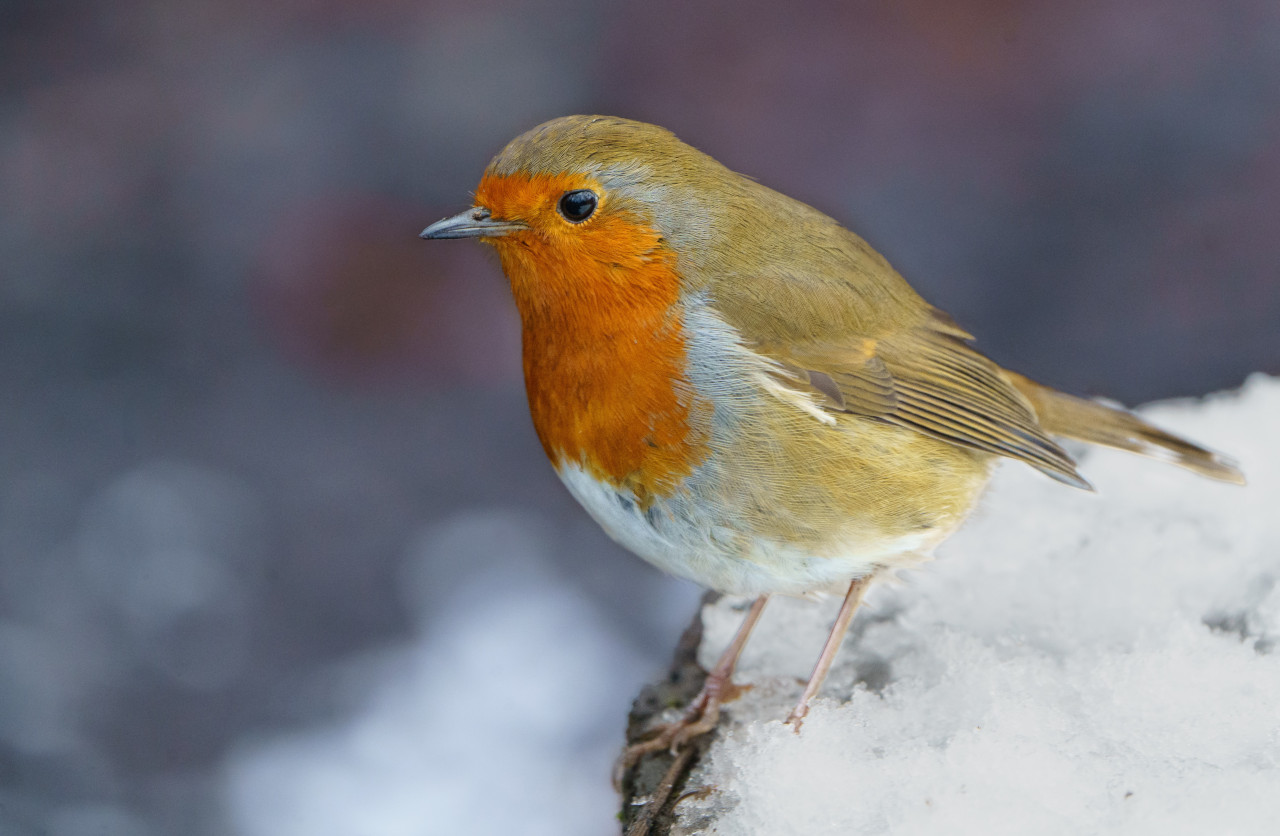
Another very popular type of photography within nature photography is wildlife photography. This includes taking photos of birds, animals, and insects in their natural habitat.
4. Macro Photography
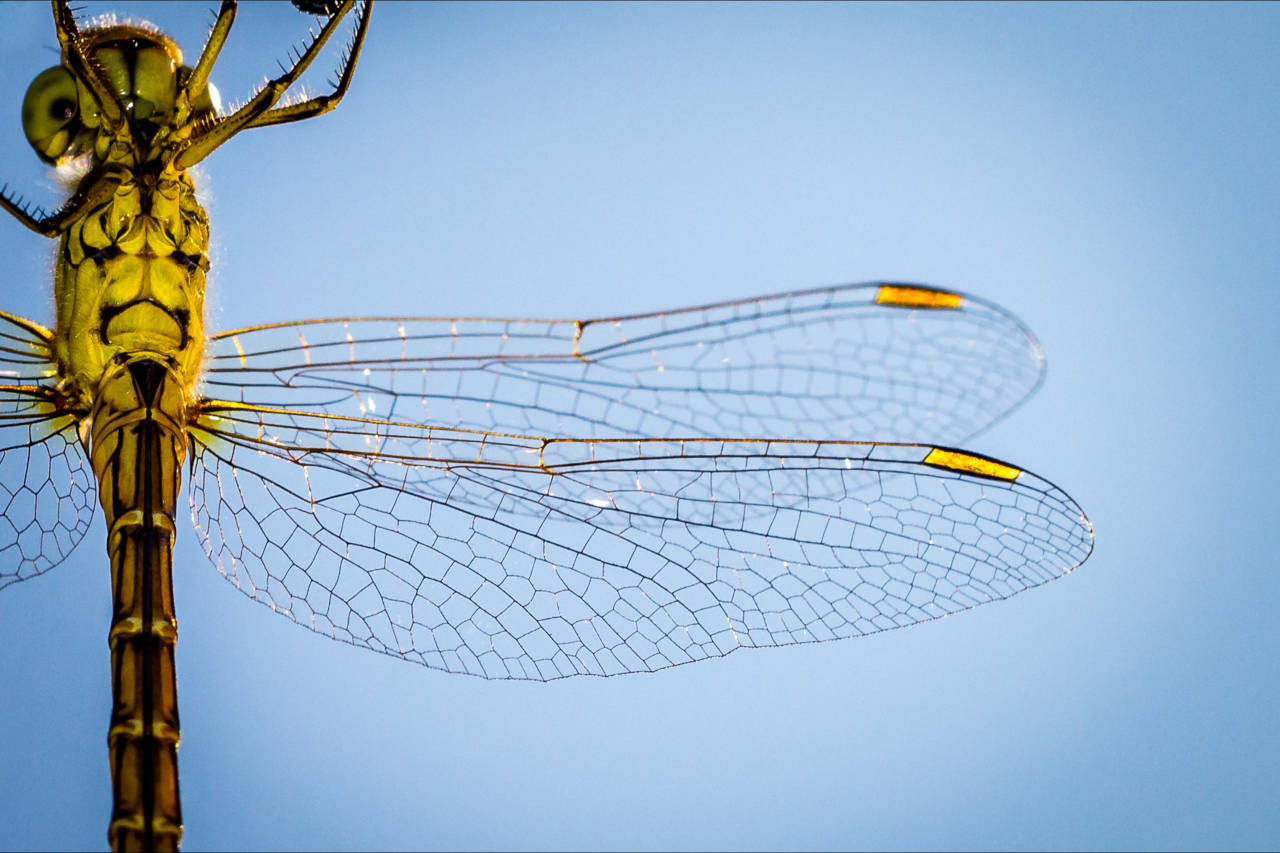
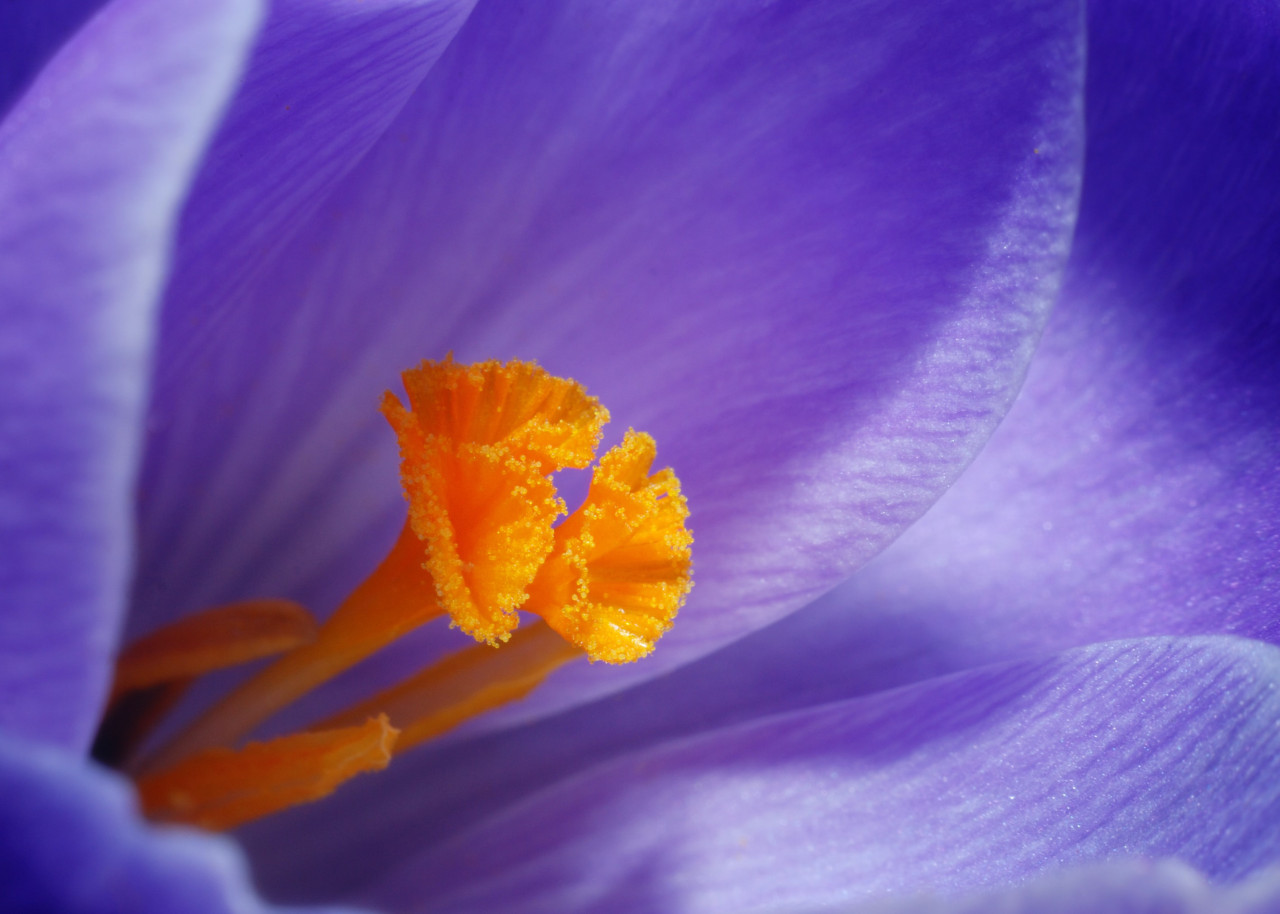
Macro photography is about capturing small subjects in photographs that are near-to-life-size. This genre of photo requires specialized macro lenses that have the ability to focus very near and are very sharp.
While macro photography too has a wider scope, it wouldn’t be wrong to consider that a majority of the macro subjects tend to be natural elements like flowers and insects.
10 Handy Tips for Nature Photography
Now that you’re acquainted with the major types of nature photography, you know that there’s a lot you can photograph in nature. So, it is a good idea to prepare yourself for a couple of those genres whenever you’re planning to spend some time in nature.
Whether you’re a beginner or an enthusiast, keep these 10 nature photography tips handy to shoot some beautiful images of nature.
1. Choose the Right Lens for Nature Photography
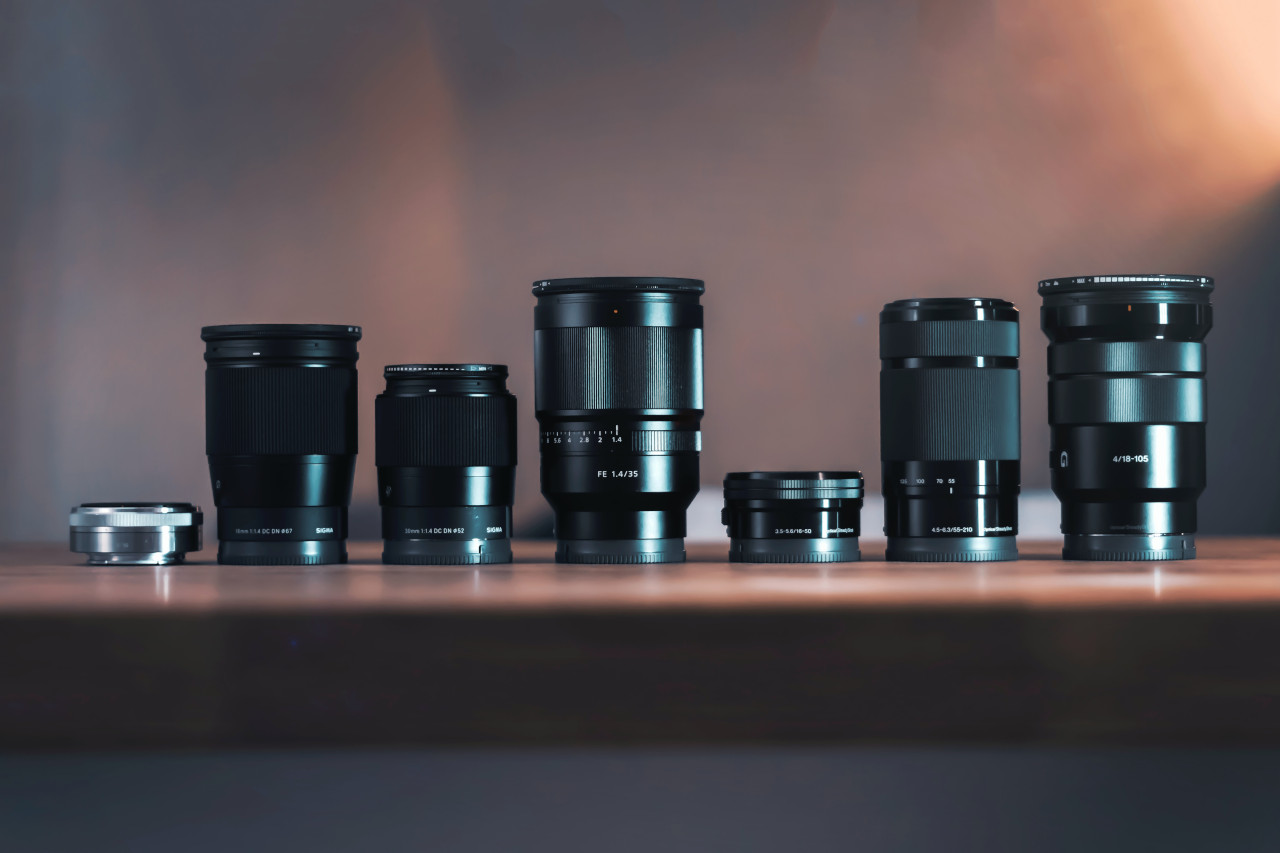
Your choice of the lens makes a huge difference when taking nature pictures. Depending on what you’re planning to shoot, it’s important that you take the right lens with you. Here are some use cases:
| Use Case | Suggested Lens (Full Frame Equivalent) |
| Landscape vistas | Wide-angle (12-24mm) |
| Wildlife photography | Telephoto lens (70-200mm or greater) |
| Woodland photography | Wide to medium telephoto Lens (16-70mm) |
| Flowers and insects | Macro lenses (at least 90mm for safe working distance) |
2. Best Camera for Nature Photography
With every new iteration of cameras, manufacturers claim their cameras to be the best. But keep in mind that there is nothing such as the best camera.
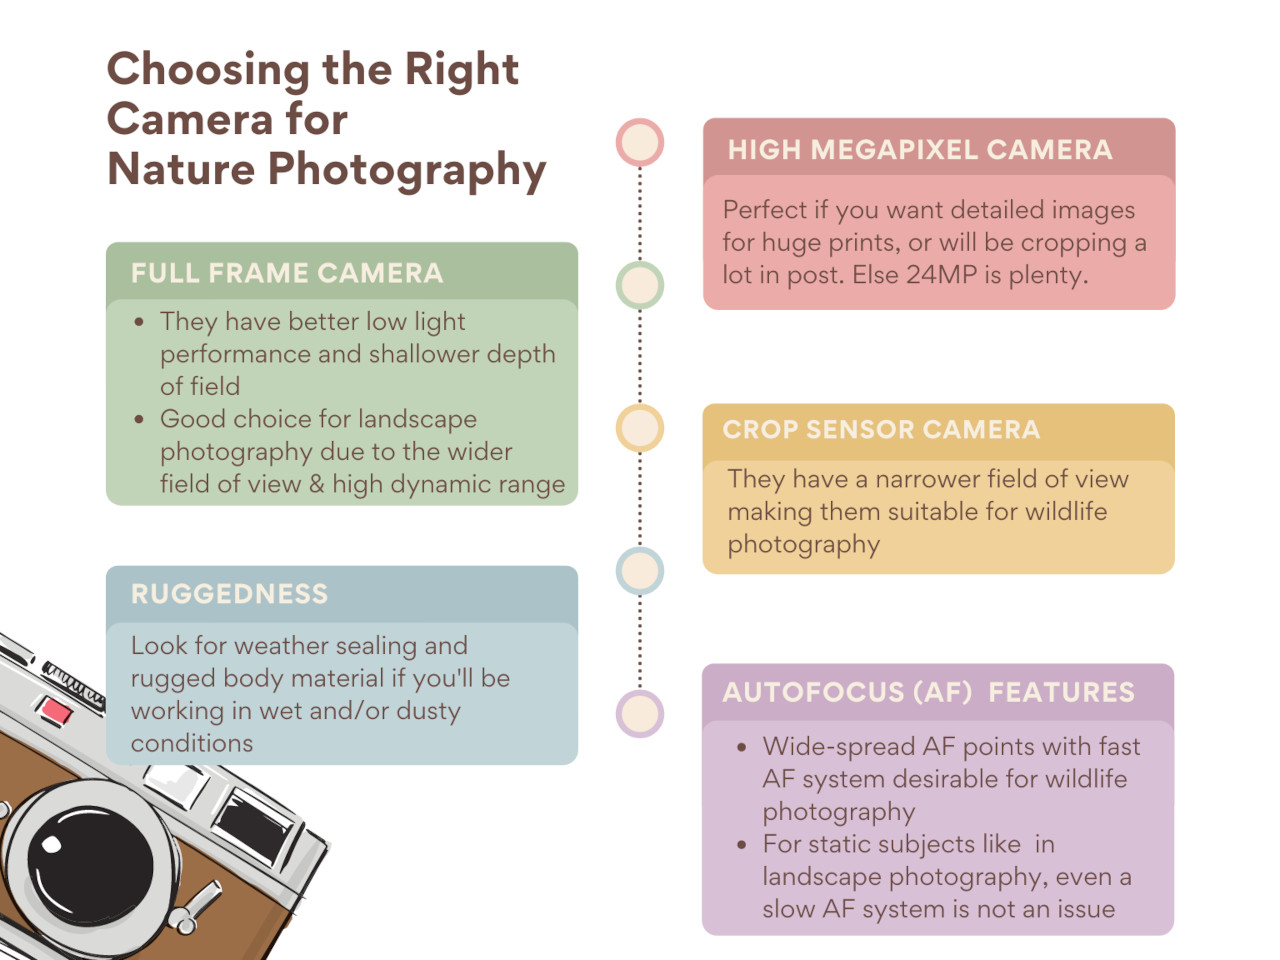
Instead, when deciding to get a camera for nature photography, think of what you want to do with the results and get the right camera. These days, even the most basic cameras are feature-packed and should suffice for your everyday need.
You can refer to the graphic below and decide on what sort of camera you should get for taking nature photos.
3. Enhance Your Nature Photos with Filters
Filters are physical pieces of glasses that you put in front of the lens for a certain effect. Let’s have a look at the three most common filters used in nature photography.
Neutral Density (ND) Filter
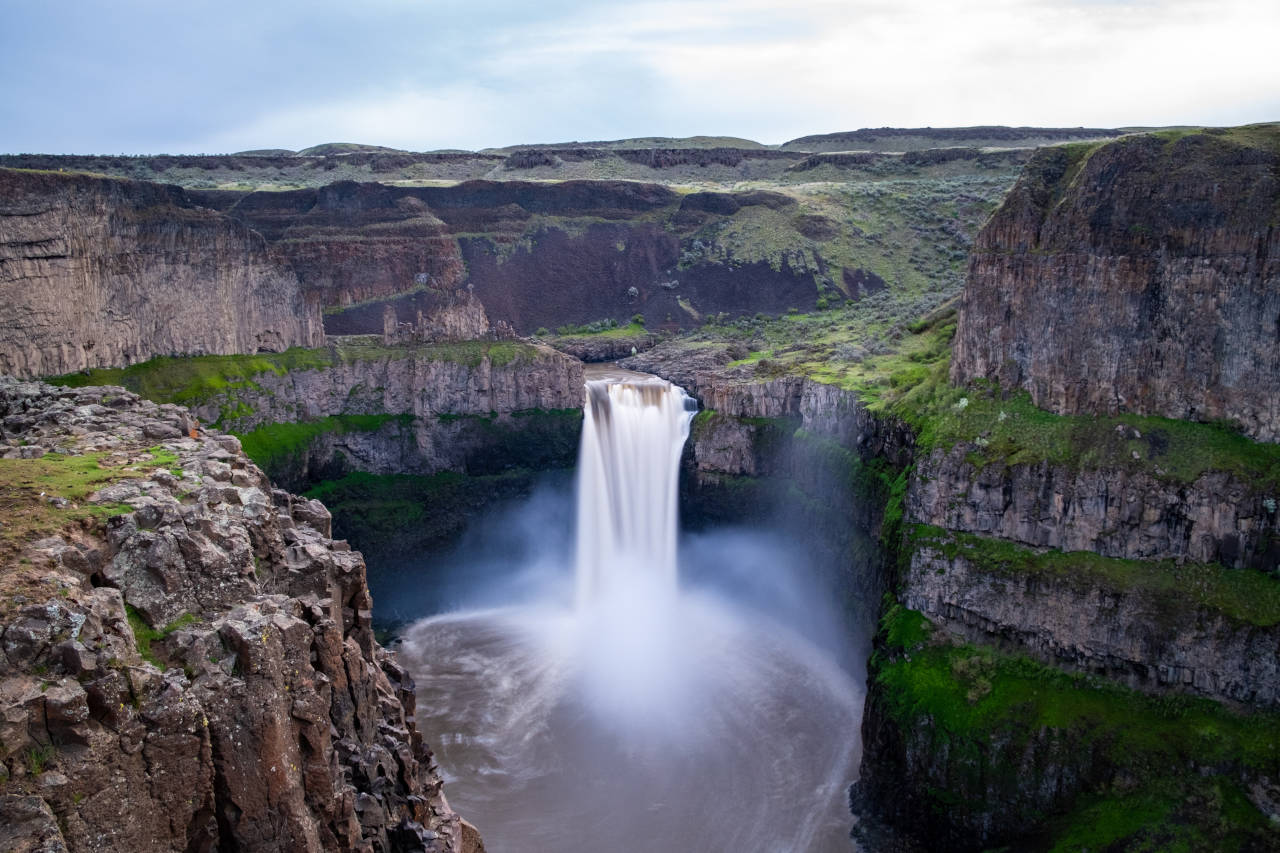
They work like sunglasses for the camera and simply cut down the light intensity. They come in various strengths like 2-stop, 4-stop, or 10-stop ND filters where higher value represents higher strength. They’re useful when you want to take long-exposure images during the day.
If you’ve seen landscape photos with silky smooth water in rivers or waterfalls, or smooth clouds and ocean waves, they were taken using an ND filter.
Graduated Neutral Density (ND) Filter
A common challenge we face during landscape photography is the difference in light intensity between the sky and the landscape. The bright sky and the darker land result in a scene with a high dynamic range that is difficult for cameras to capture.
A simple solution is to make the sky a bit darker by using an ND filter that is only partially darkened at the top. Such a partially darkened ND filter is called a graduated ND filter.
Polarizer Filter
When photographing nature, reflections can be a real issue. The light reflecting off of the water surface or even the leaves can cause glare and reduce the contrast in the image.
A polarizer filter works by blocking the rays of light from the reflection thereby getting rid of it. The resulting image is thus clear and a bit punchier and saturated.
4. Select Your Aperture for Nature Photography Wisely
If you’re familiar with how aperture works, you should remember that a higher f-value will result in a greater area of the scene being in focus, and a lower f-value will have a smaller region of the scene in focus.
So, based on what kind of nature photography you’re doing, you’ll need to set your aperture accordingly. A narrower aperture (high f-value) like f-8, f-11, or f/13 is idle for genres like landscape photography or woodland photography where you want everything in sharp focus.
Also, since macro lenses have a very shallow depth of field, you must use a higher f-value for most parts of the subject to be in focus.
On the other hand, in cases where you want to isolate the subject from its surrounding, use a smaller f-value like f/2.8. If you have a lens with a long focal length like 200mm, then even a higher aperture like f/4 can isolate the subject beautifully.
5. Set the Correct Shutter Speed for Nature Photography
Like aperture, your choice of shutter speed also varies with the subject you’re dealing with.
When the scene is static, and there is minimal or no chance that your subject(s) will move, you can do away with using a slower shutter speed. For instance, your mountains are going nowhere, so even a slow shutter speed like 1s should be manageable considering that you use a tripod.
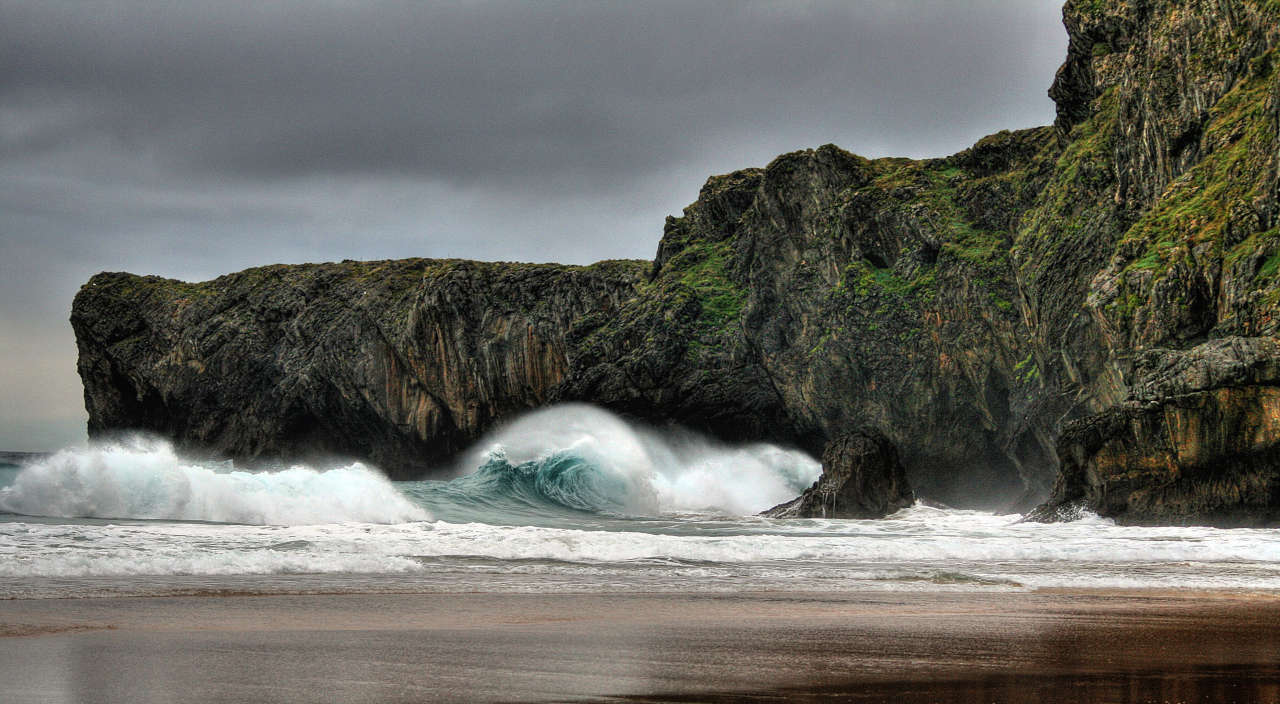
However, if the conditions are windy, you need to counter the movement of the waves, shaky branches, and leaves with a faster shutter speed like 1/125s or faster. Otherwise, they’ll appear blurry.
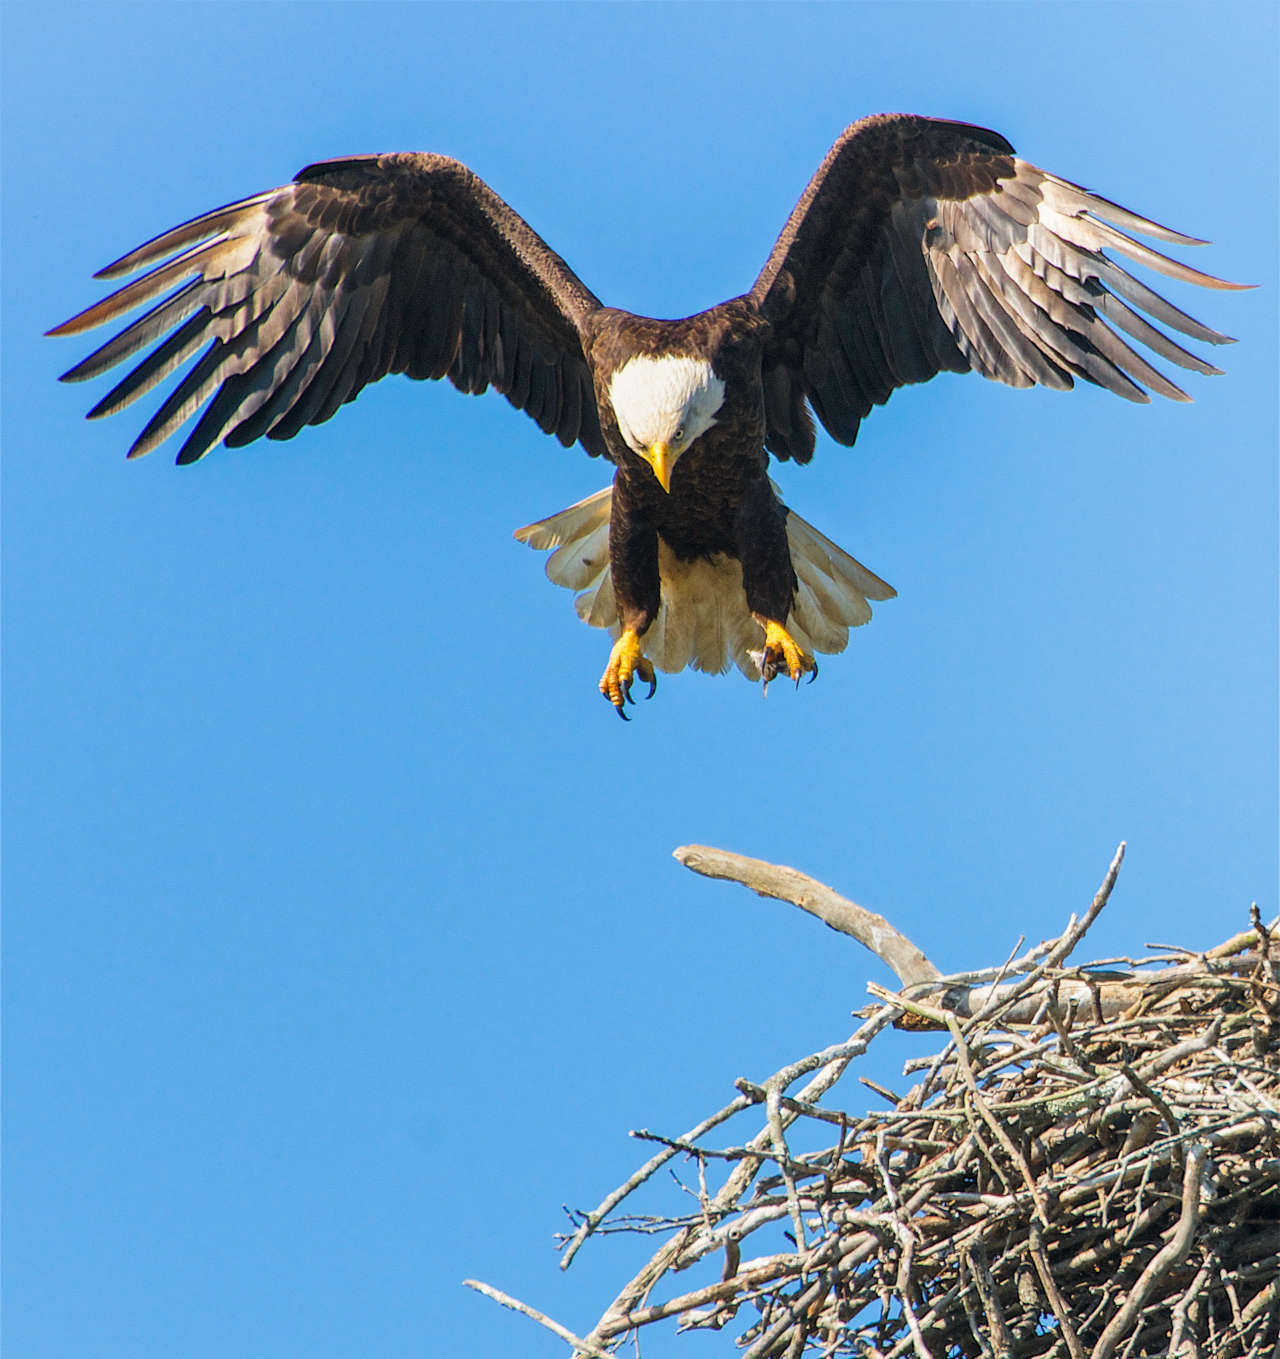
In the case of lively subjects like flying birds or a running leopard, go with a fast shutter speed of at least 1/1000s. Depending on the speed of their movement, you may need to go even faster.
6. Add a Human for Scale
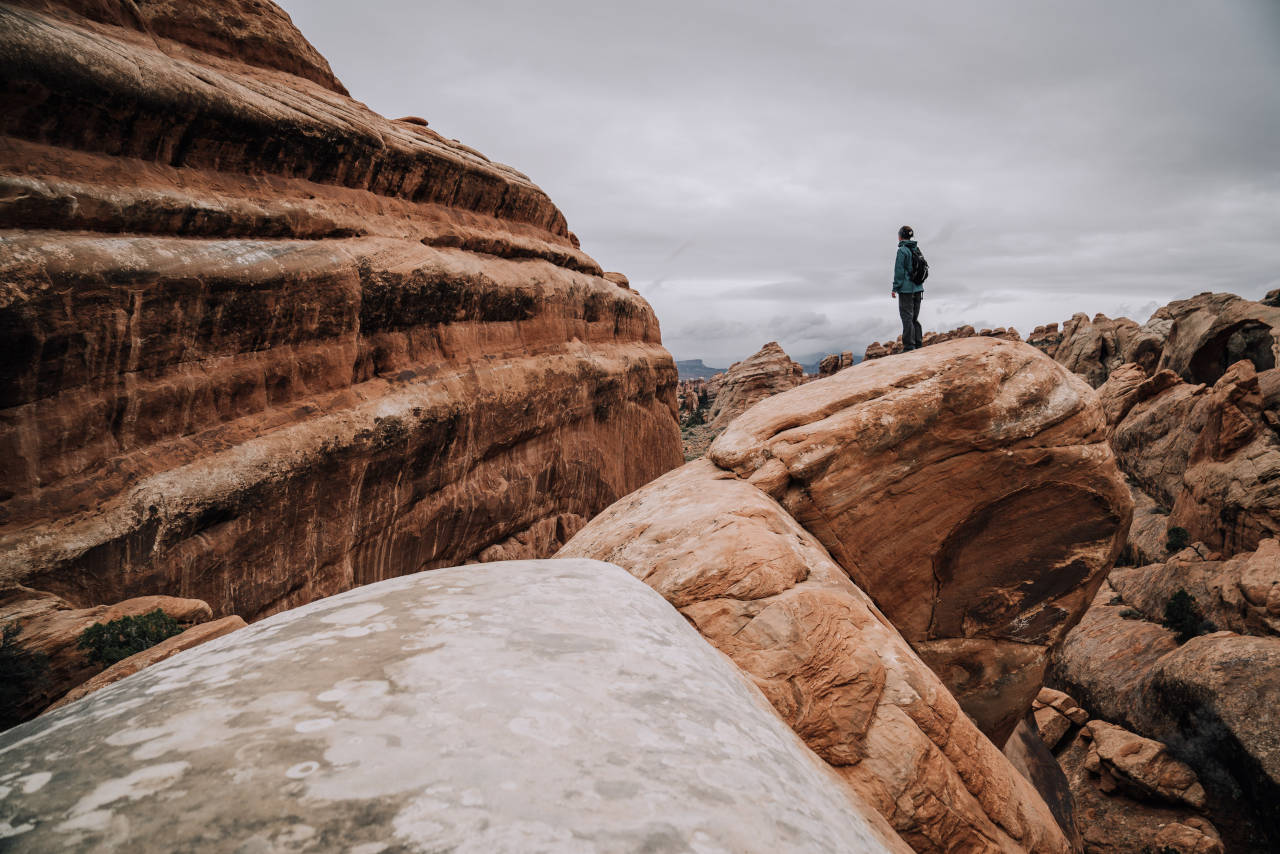
When taking nature photos, it is sometimes a good idea to include a person in the frame to add a bit of human touch. This not only makes the viewer feel as if they’re there but also gives a sense of how grand nature actually is.
But, instead of having them pose facing towards the camera, make sure that you take a candid photo. It adds authenticity. And make sure to shoot wide to actually show how small we humans are in front of nature.
7. Shoot Moody Nature Photos
When photographing nature, a common mistake that beginners make is in shooting only in perfect conditions. However, when you go out to shoot when conditions are more than ideal, you’ll end up with some gorgeous moody images.
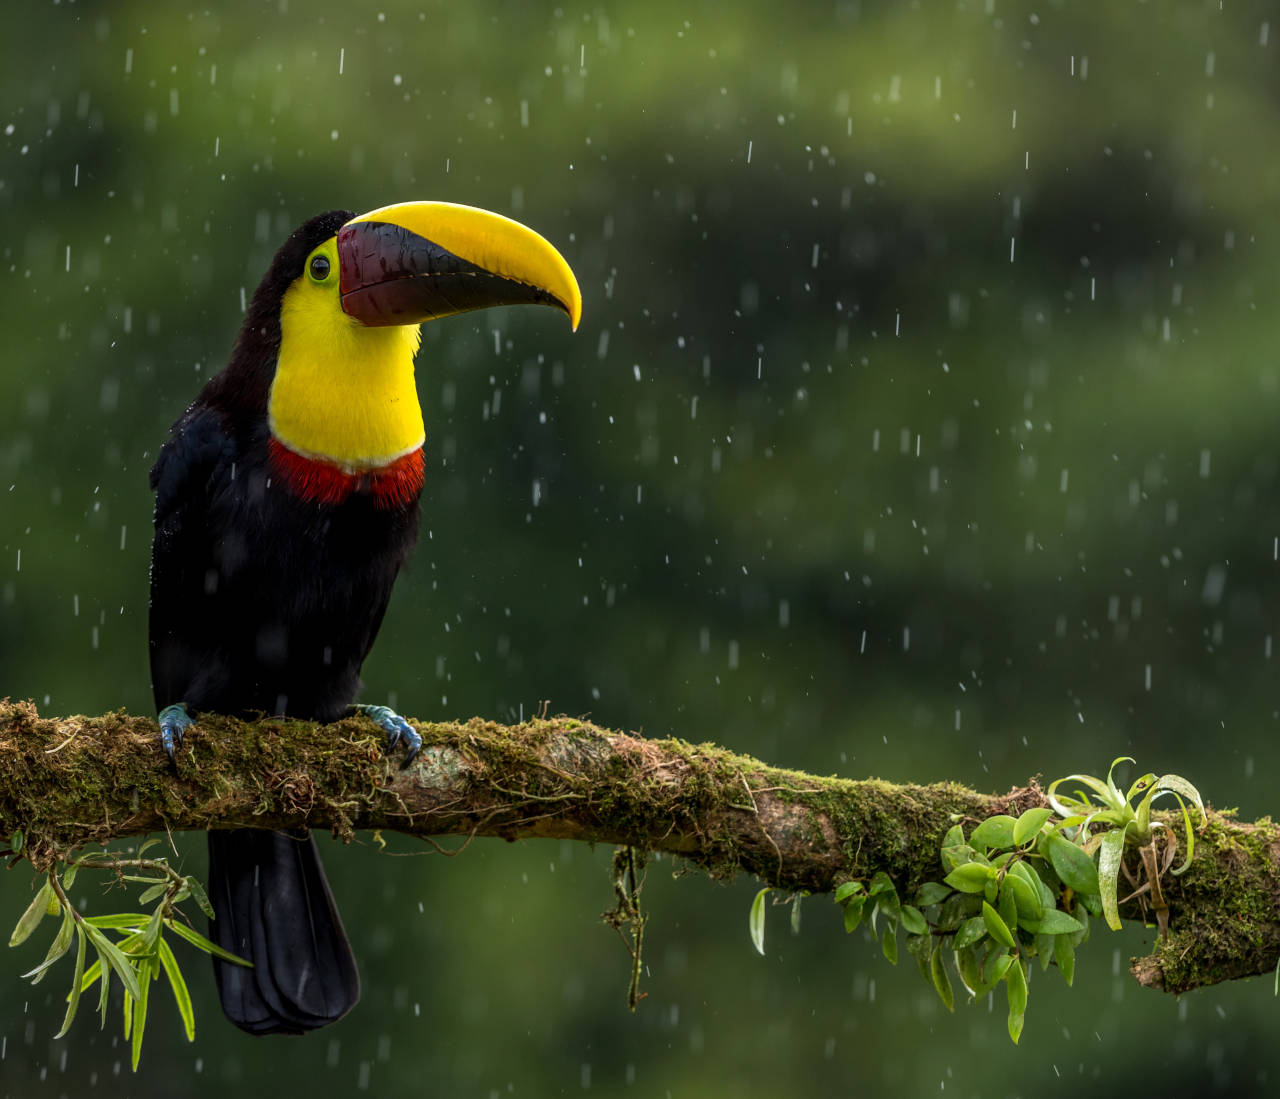
So, don’t wait for the sky to clear up and use the clouds to add mood to your photos. Foggy conditions also add so much value to the image. Similarly, if you get an opportunity to photograph birds in the rain, you’ll see how easily your photos will stand out from the rest.
If you already have a beautiful nature image that you have taken but want to add a certain mood to it, there’s a way you can do so in Colorcinch.
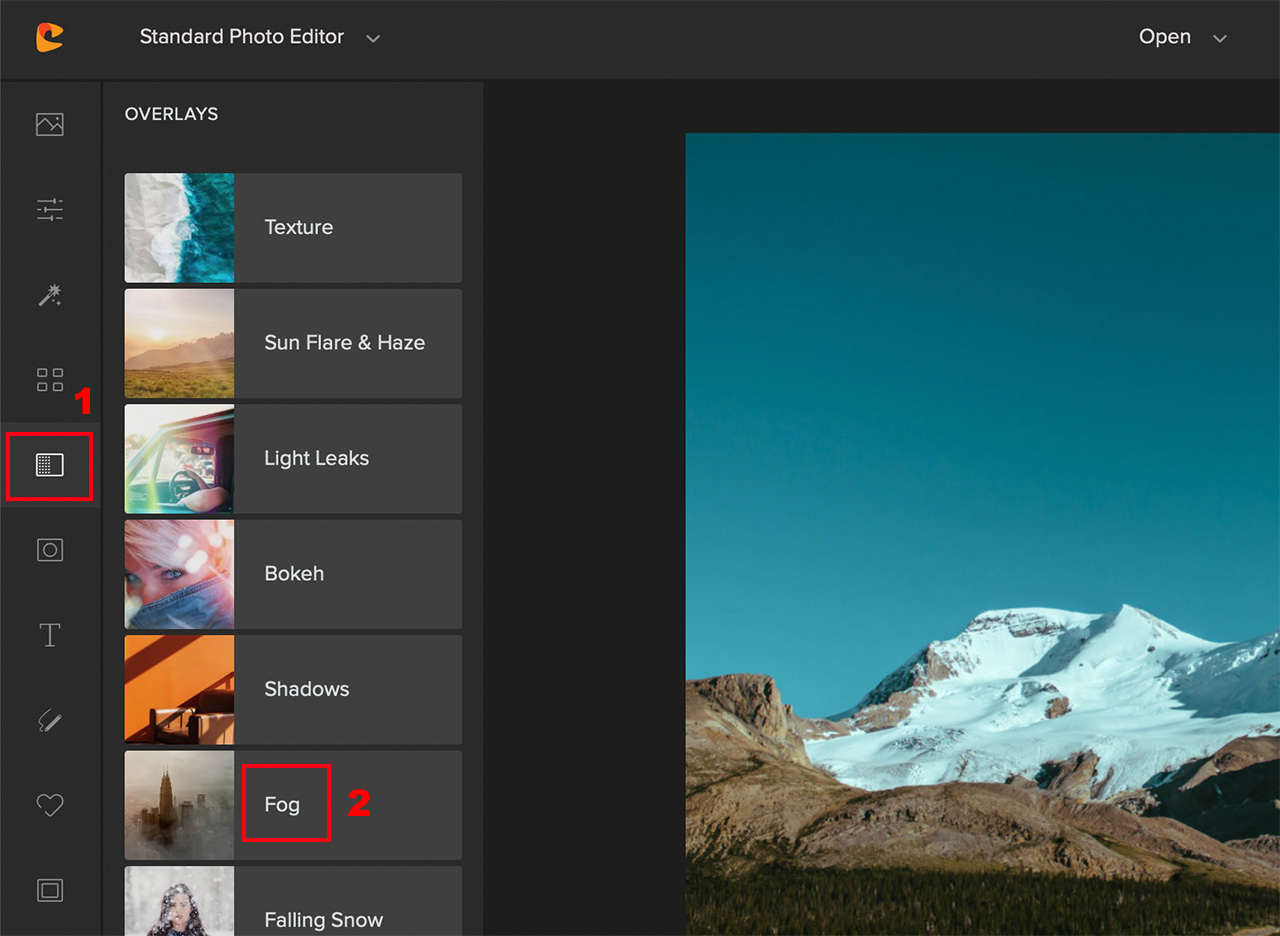
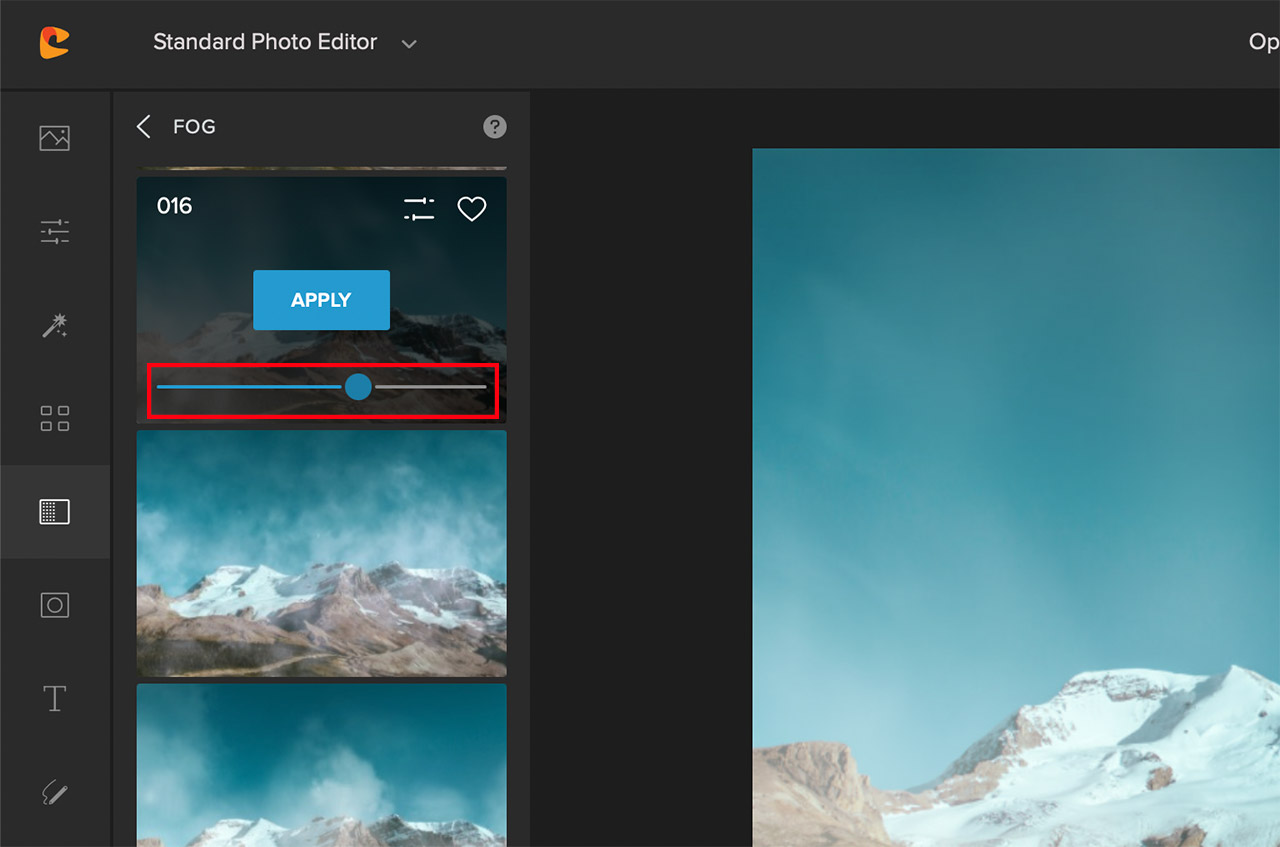
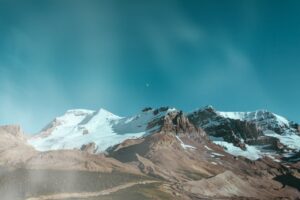
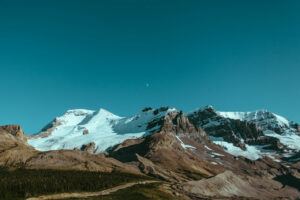
Using the various overlays available in Colorinch, you can add sun flare and haze, snowfall, rainfall, and even fog. Let’s see how it works. For demonstration purposes, let’s go ahead and add some fog to a boring landscape image.
Here’s how you can do it:
Step 1: Upload the image to Colorcinch

Step 2: Click on Overlays and then on Fog
Step 3: From the various fog overlays that are available, select the one that. best suits the image and adjust its intensity using the slider, then click on Apply
See how the image appears so lively after adding the fog effect. You can use the same method to add other overlays using Colorcinch easily.
8. Get Your Nature Photography Composition Right
While nature’s beauty can definitely mesmerize you, don’t make the mistake of framing everything in the center. Try out the various photography composition guides, shoot from different perspectives, and you’ll definitely land higher number of keepers.
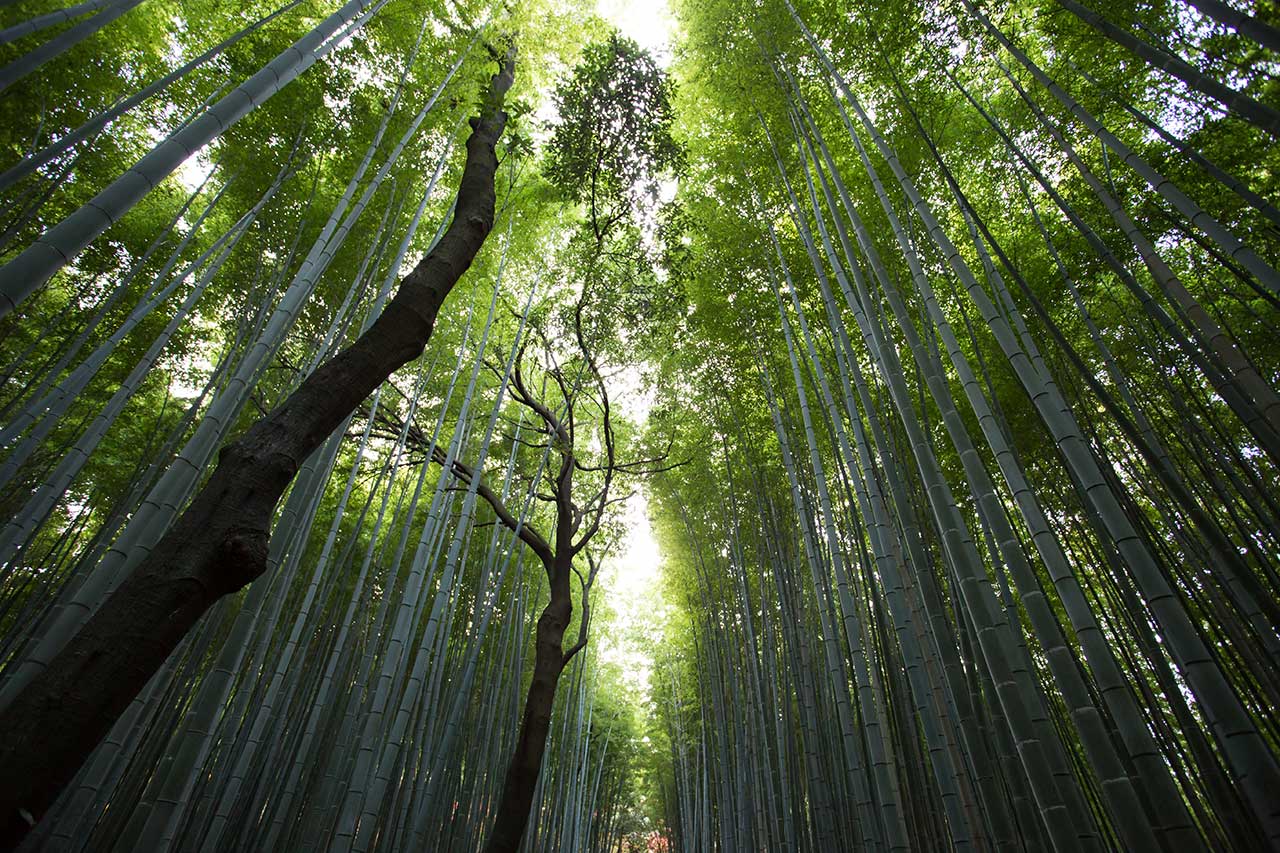
When photographing nature, these basic composition techniques work brilliantly:
- Rule of thirds
- Leading lines
- Symmetry
- Contrast
- Use of layers
Be sure to go through our composition techniques guide and try out some of them for the best results.
9. Shoot in the Right Light
The best time to photograph nature and natural subjects is during the golden hour for sure. The light is soft, wraps around the landscape and the subjects beautifully, and it even adds a gentle glow to them.
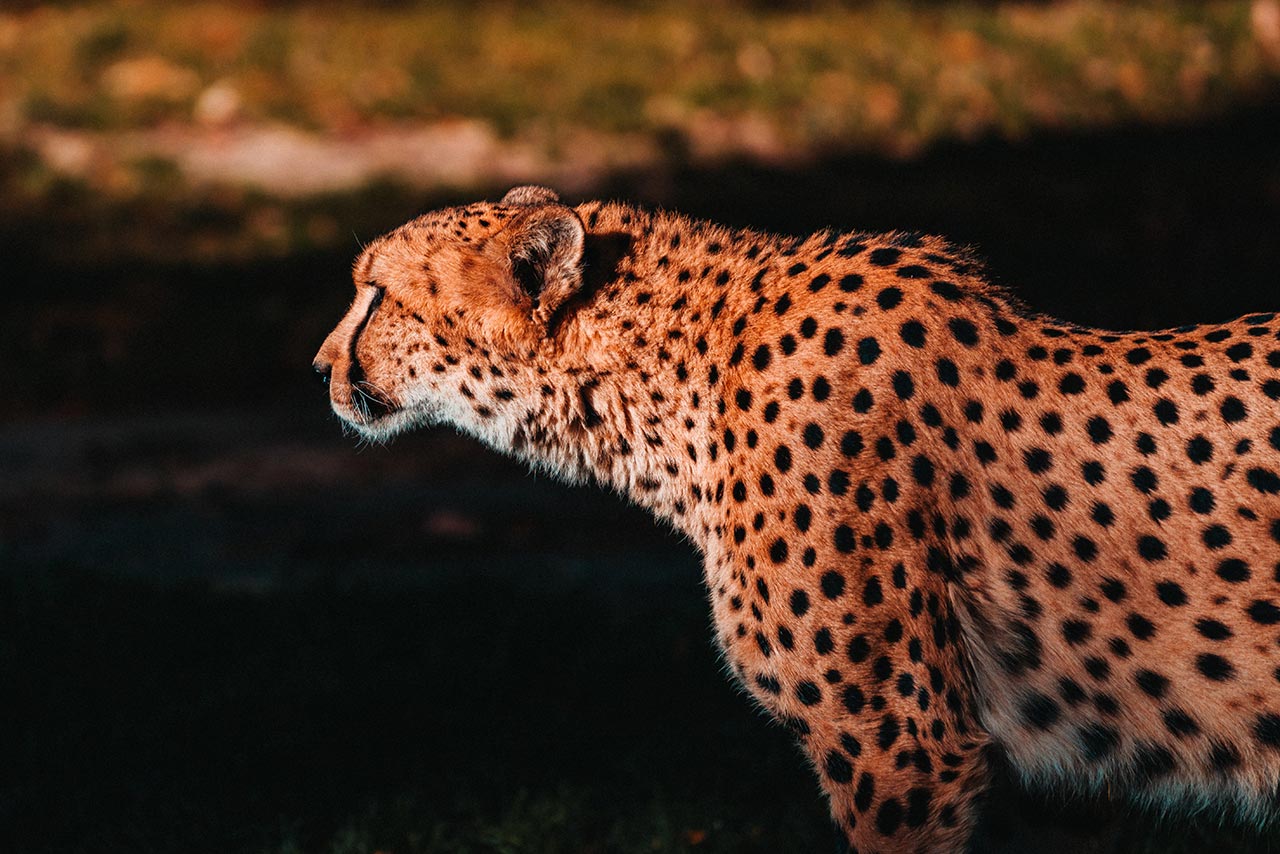
However, if you’re looking to photograph some high-contrast nature photos, don’t be afraid to photograph during mid-day either.
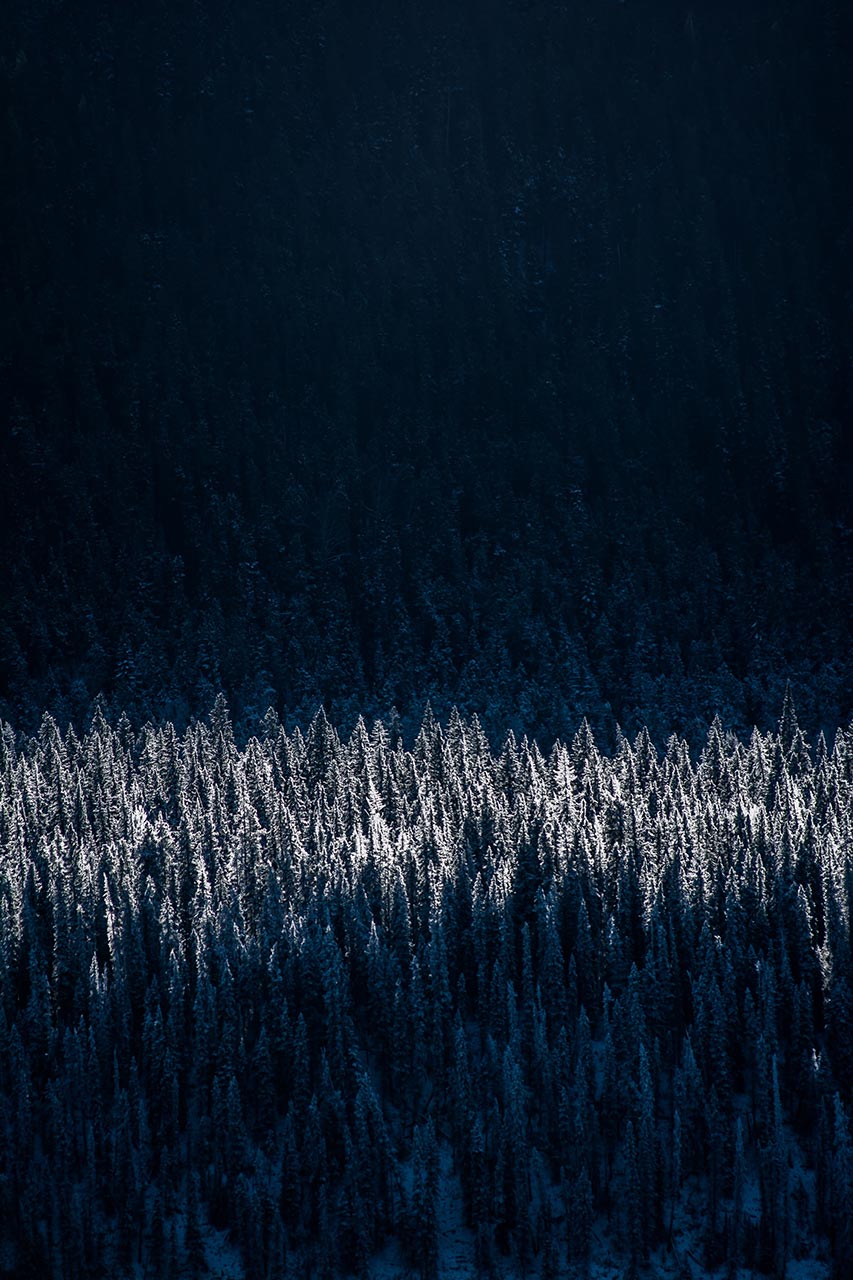
10. PLAN Your Outing Carefully
Remember, when you’re out in nature, you are at her mercy. You have no control over what nature has for you so planning is pivotal.
Check the weather conditions, study the animal behavior, use tools like Google Earth, Photopills, or Photo Ephemeris to study the lighting and avoid any guesswork.
Also, don’t forget to dress properly, and carry the essentials, and some extra battery with you.
To Sum It Up
Nature photography can be one of the most rewarding genres of photography. And it doesn’t stop there.
Not only do you get jaw-dropping photos, but being in the arms of nature also helps you with your physical and mental fitness.
If you’re looking forward to getting started with photography, nature photography is one of the best ways to do so. Give it a shot and be sure to try out at least some of the tips that we discussed here.


