In this discussion, you will learn about natural light photography, what natural light is, how to use natural light in your photography, and some editing tips and tricks.
So, let’s dive right in.
What Is Natural Light Photography?
Natural light photography is all about using the Sun as the primary light source. As you know, the intensity of the Sun’s light does not stay the same across the day. It changes as the day progresses, turning from soft to hard light and then back to soft light throughout the day.
Resultantly, it becomes a challenging process to adjust to that changing light. If you are only going to take a few images outdoors, you’re not going to feel too much of a difference. But if the photography session extends for several hours, you have to understand and adjust to the changing nature of light.
Benefits of Natural Light in Photography
Here are the benefits of using natural light for your photography.
1. Free to Use
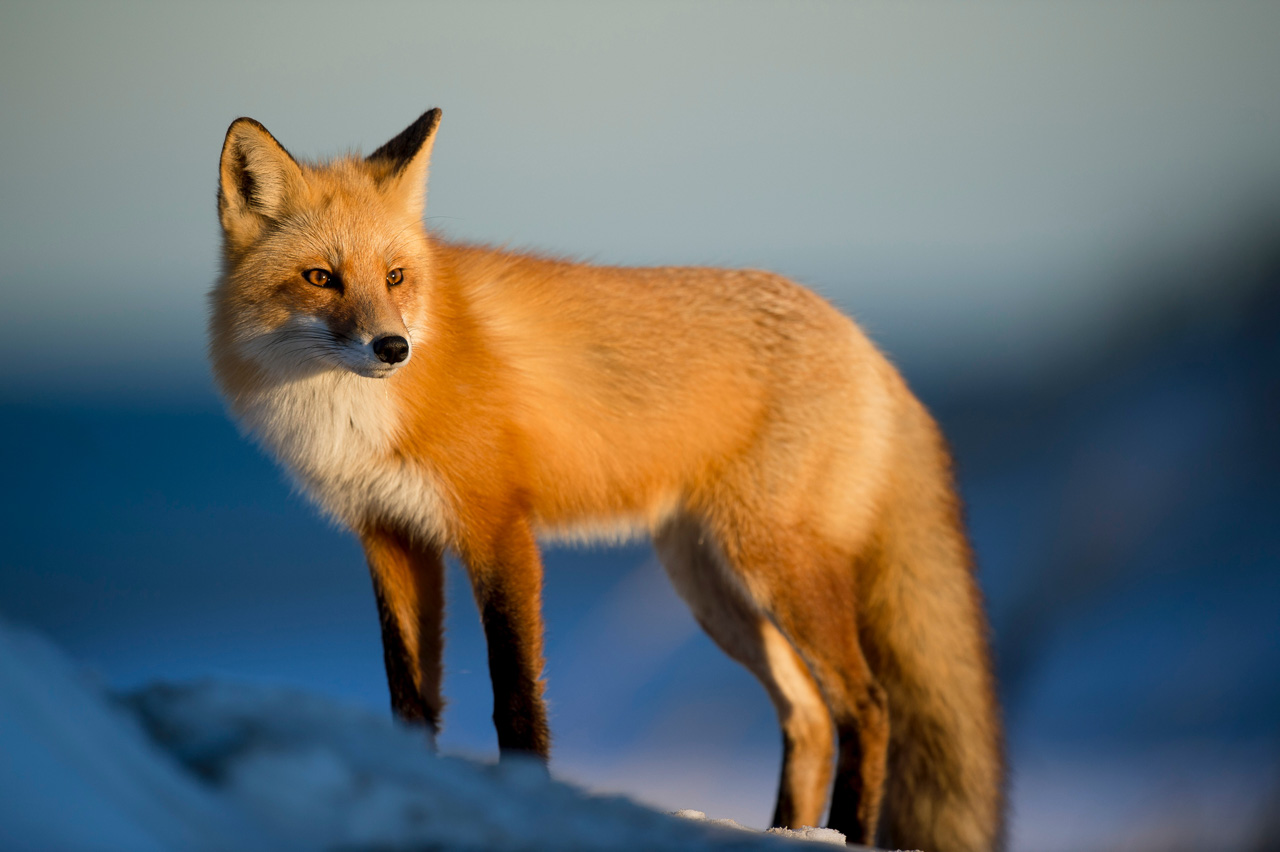
The most significant benefit of using natural light is free. Unlike artificial lights, where you have to invest in one, two, or even more lights to get a particular look, all of it is free with natural light.
2. No Need to Invest in Additional Accessories
Plus, when you’re using artificial lights, you have to invest in additional accessories such as light stands, triggers, transceivers, modifiers, and so on. With natural light, all you need is a few diffusing materials and some reflectors, and you would be fine. Plus, these are inexpensive to obtain, so you never feel a pocket pinch.
3. Genres You Can Only Shoot With Natural Light
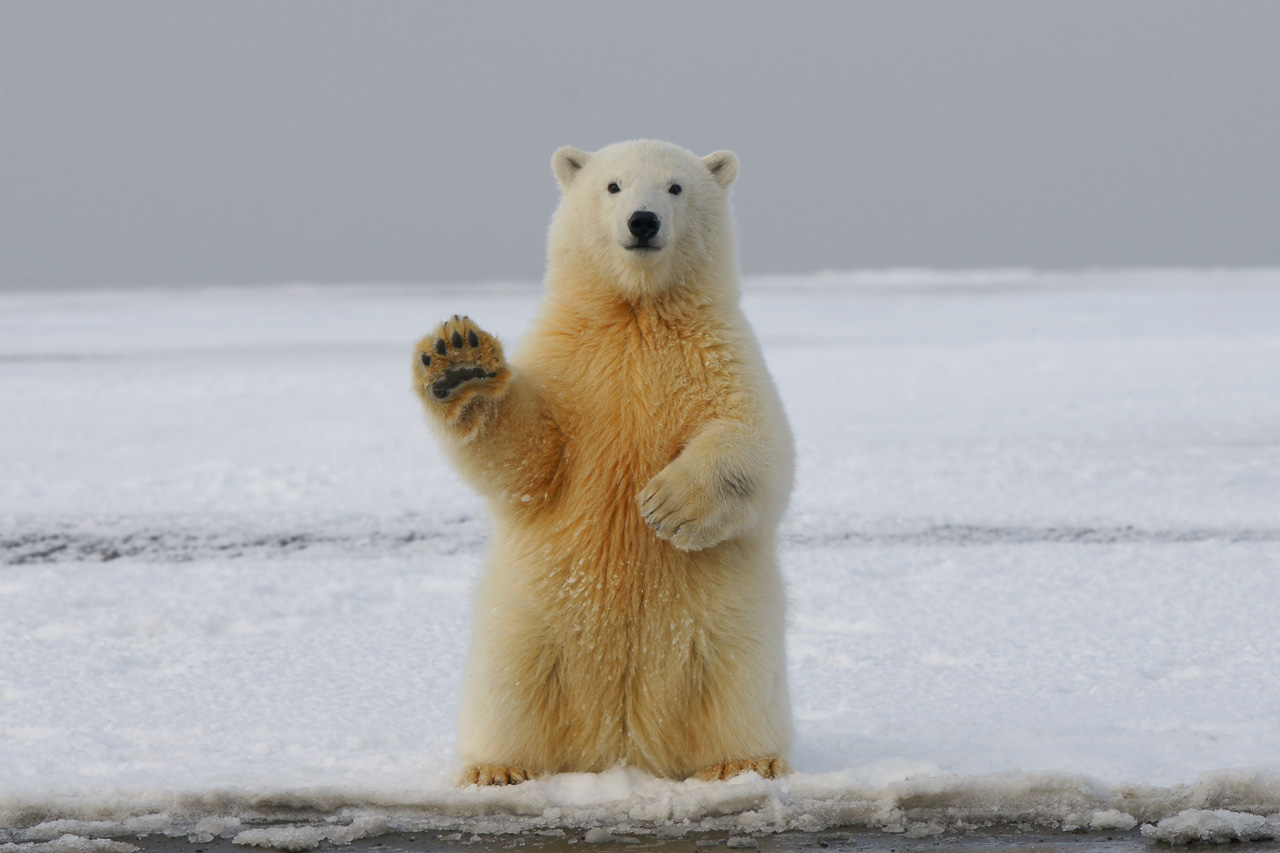
Natural light photography includes specific genres of photography that can only be shot using natural light. Landscapes, for example, is one genre where you cannot use artificial lights. Sports photography is another genre where artificial lights are not feasible. Wildlife photography is another genre that comes to mind.
4. It Also Works With Indoor Photography

So far, you have only learned that natural light is best used in outdoor situations, but there’s a whole wide world of indoor photography that can also be shot using natural light. Many natural light portraits are shot using the ambient light coming through large windows for their work.
Sometimes they fill in using artificial lights, but the key light is always natural light in such situations.
Different Kinds of Natural Light
As you have just learned in the opening paragraphs, natural light tends to change over the day. It poses a challenge for photographers to adjust to that changing light. Primarily the exposure but also the color temperature.
There are several different lighting situations. The most popular is the golden light which happens twice during the day, once in the morning and the other at dusk.
1. Golden Hour Light
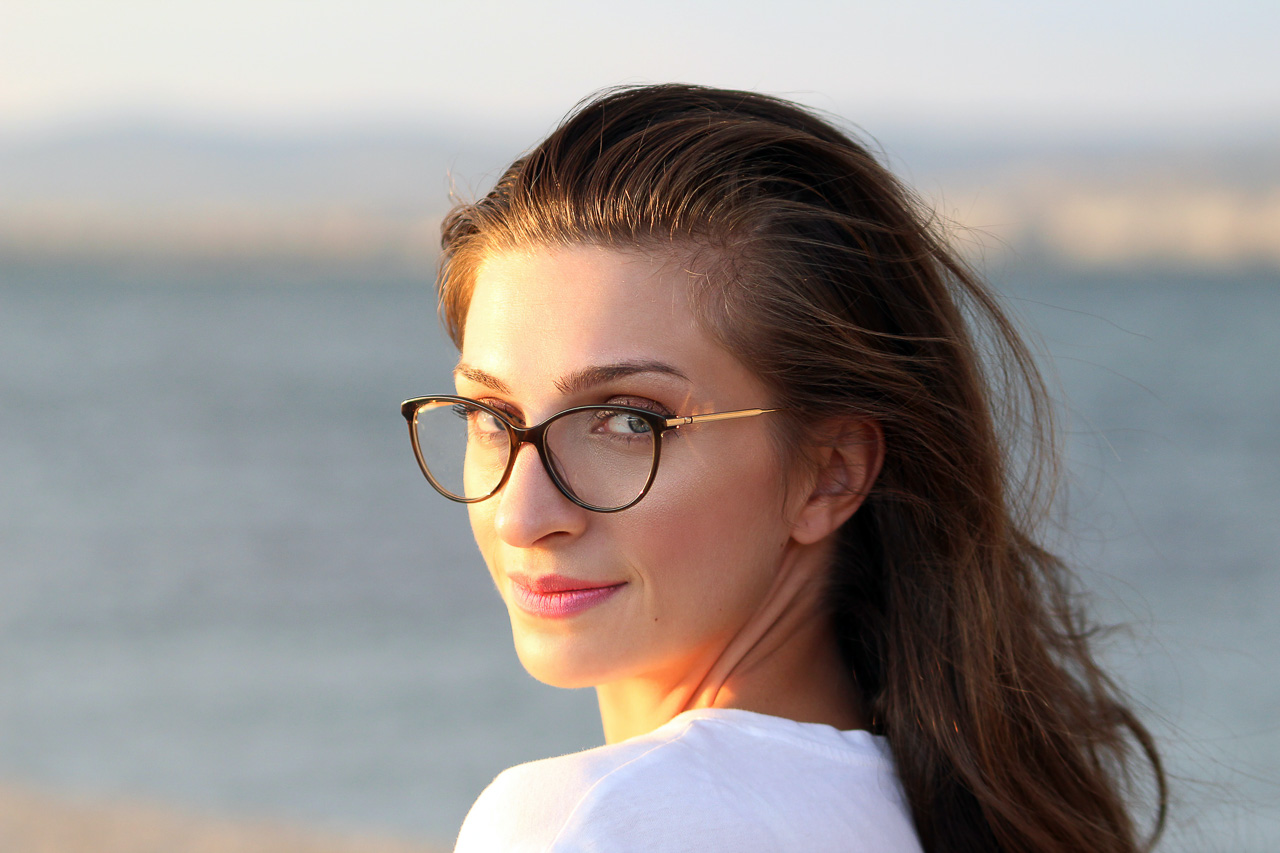
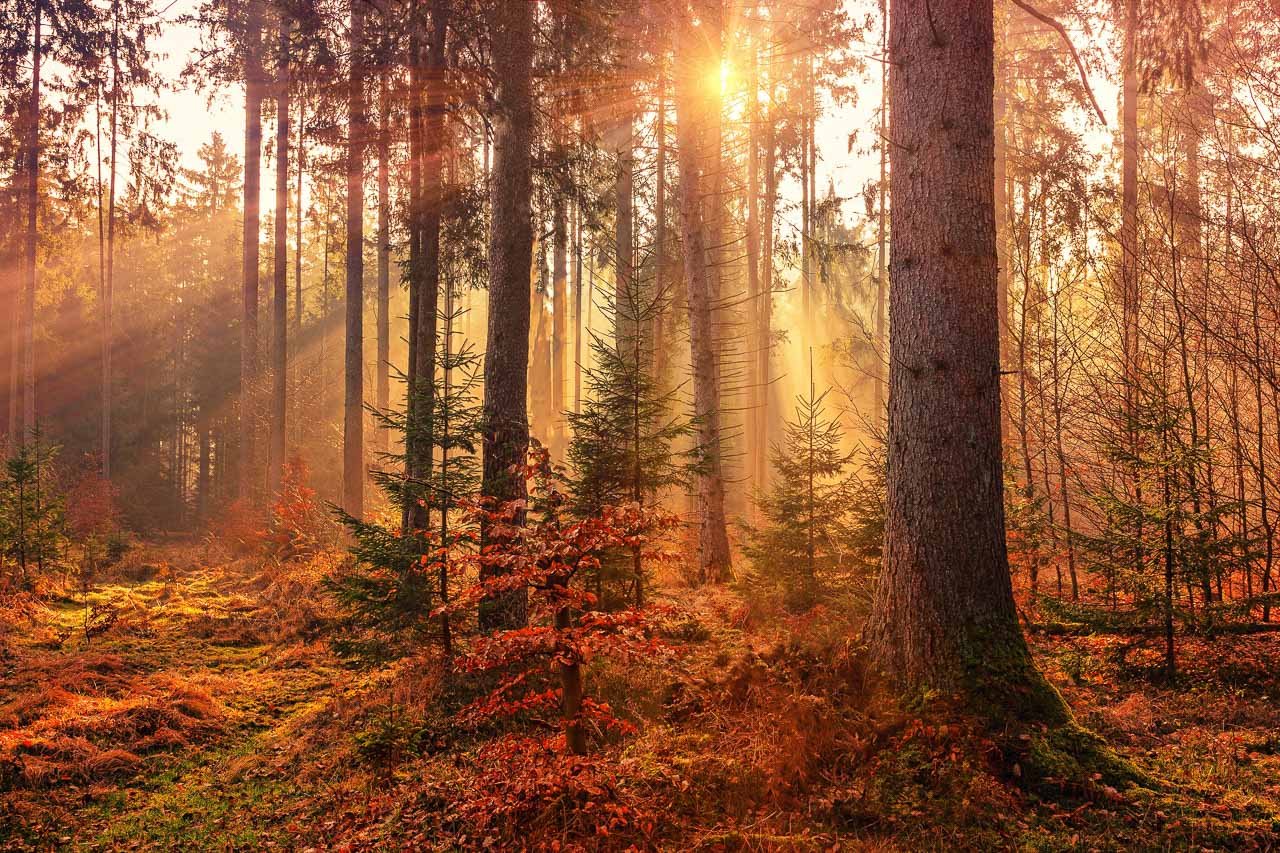
Most photographers prefer the golden light for a range of photography. It is the most popular of all types of natural light. Golden hour happens for an hour after dawn and for about an hour before sunset, depending on the latitude you’re in and the time of the year.
This is the time of the day when the light of the Sun travels parallelly across the surface of the earth and produces a soft golden hue that creates magical portrait photos, among other genres of photography.
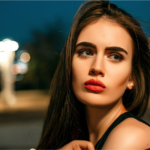
The golden hour light is best used for natural light portrait photography and landscape photography. There are many ways in which you can shoot portrait photography using the golden hour light.
As the golden hour light is warm and soft, you should place your subject partially angled the Sun to produce warm, flattering results. Facing the light directly can create squinting eyes which is never a good idea.
If you use a fill light, you can expose for the background, thereby retaining details while using just enough light to fill in the subject’s shadows.
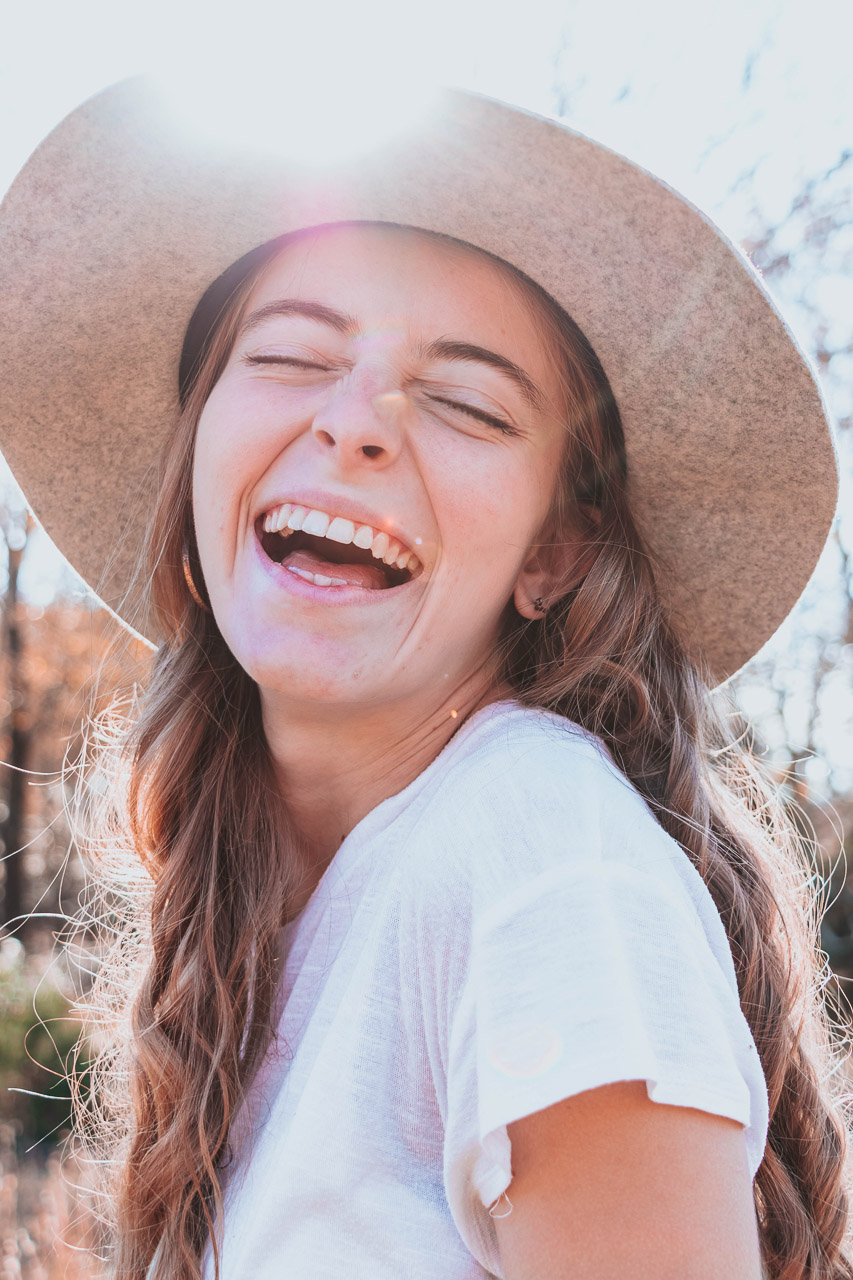
As the light is directional, you can also use it for backlighting and rim lighting. The flash will fill in the shadows to produce a well-lit portrait.
If you do not have a fill light or a reflector to fill in the shadows, it should be metering off the subject’s face. This will blow out the highlights, but at least you’ll have a properly exposed face. Ensure that the Sun is not in the frame. Use spot metering to give you the most accurate reading for proper exposure.
If you are not happy with the result, you can work on a photo editor to lift the shadows and create a more attractive photo.
This is easy to do in Colorcinch.
Stepwise Simple Edits
Step # 1: Navigate to Colorcinch
Step # 2: Upload the image using the Upload button.

Step # 3: Colorcinch opens by default on the Edit page
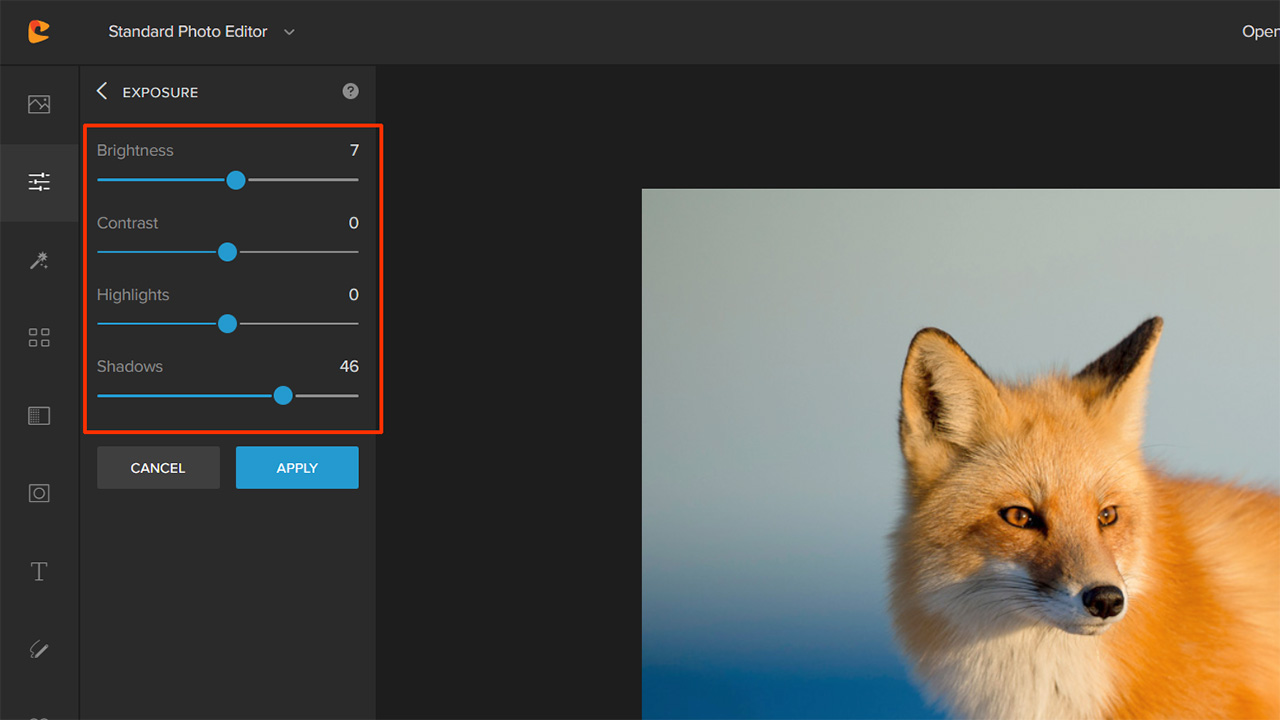
Step # 4: You can work on the Shadows and the Brightness sliders if it is a portrait photo.
If it is a landscape photo that you are editing, you can also work on the Shadows and the Brightness sliders while bringing down the Highlights and pushing the Contrast slider to produce an image with a lot of contrast.
Step # 5: Don’t forget to click Apply when you are done. Save the image when you are done.
2. Blue Blue Hour Light
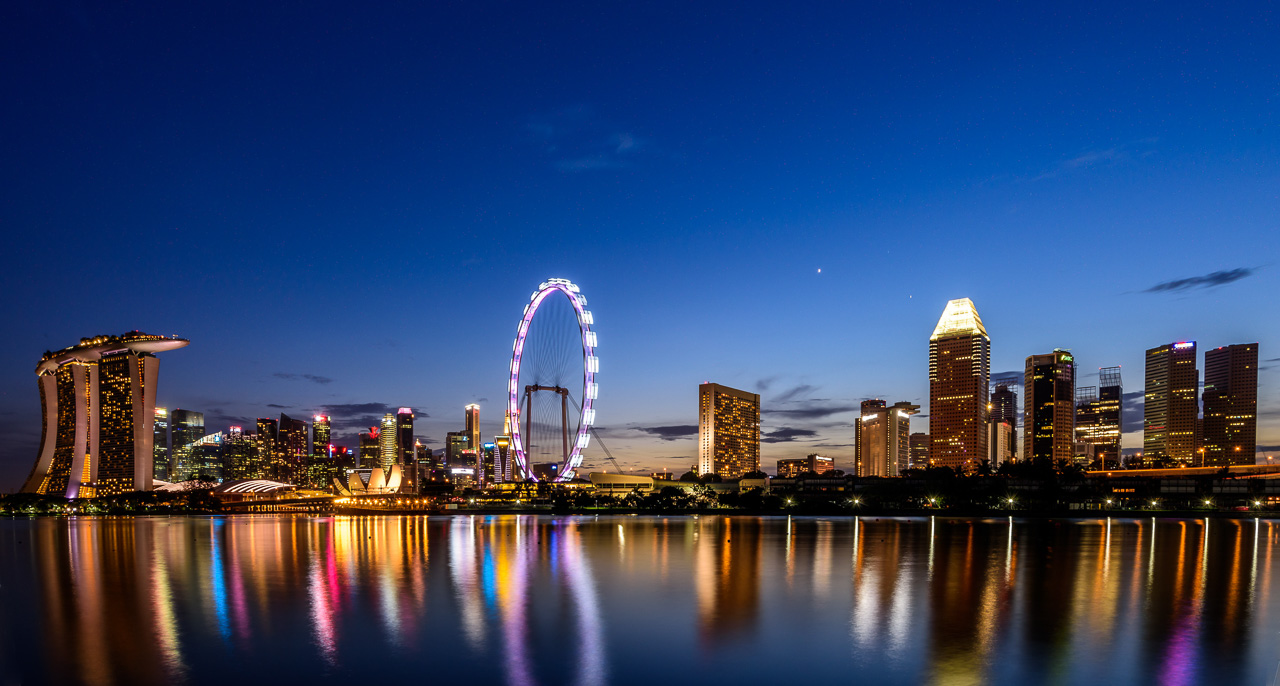 The Blue hour happens just after the golden hour in the evening. It is that time of the day when the son leaves a hue of golden origin rated the horizon well the rest of the sky is blue and hasn’t yet turned into black.
This lasts for only a few minutes, again depending on the latitude and the time of the year. Light is beautiful but is insufficient for producing portrait images on its own. Most photographers use artificial lights combined with blue hour lighting to reproduce mainly portrait photos.
That said, you can also shoot beautiful street photos at the Blue hour.
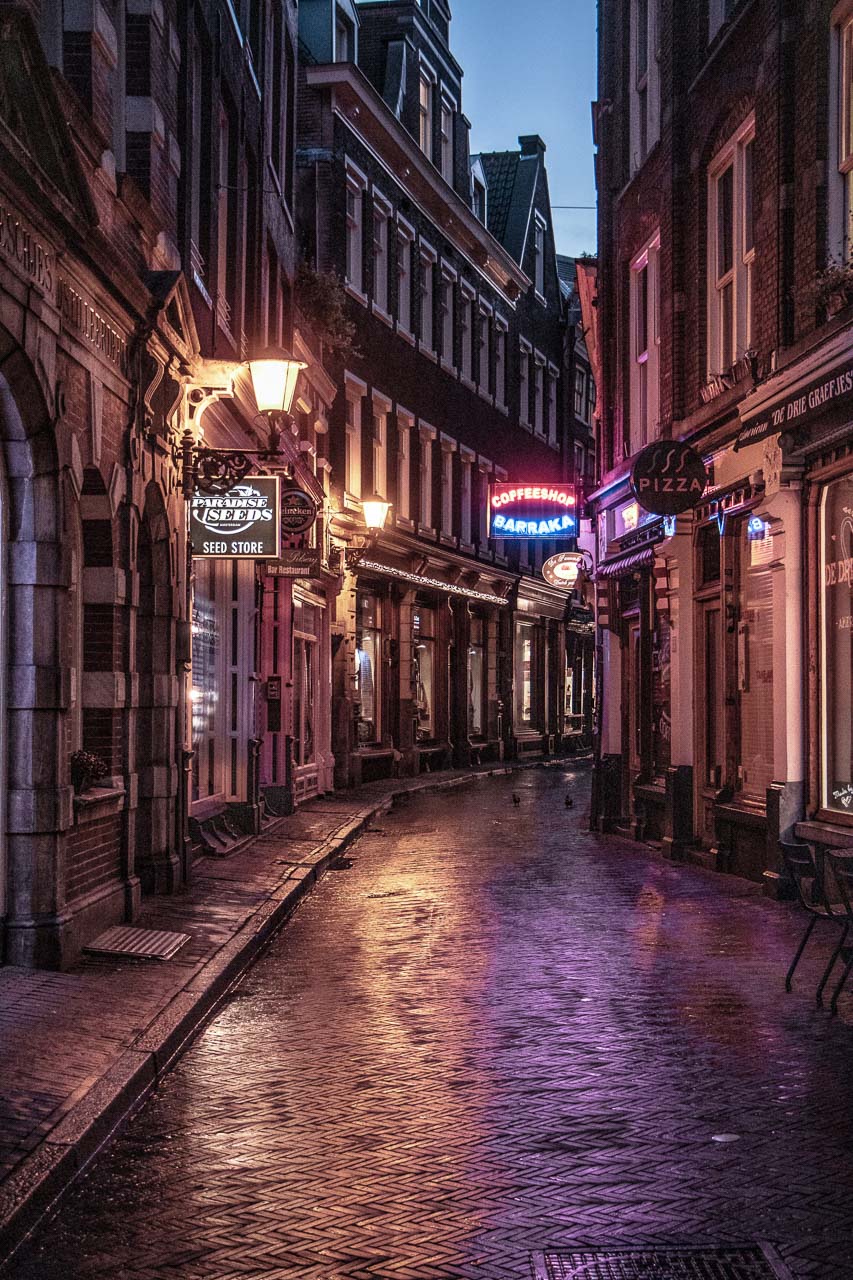
Meter for the background to retain enough light in the sky for maximum effect. Use just enough light so that you can fill in the shadows on the face of the subject.
Also, an excellent opportunity to shoot full-body portraits, but you will need more than one light for that.
3. Mid-Day Hard Light
The midday light is probably the most challenging natural lighting condition you will face. The reason is that the midday light is tough, which
Photographers tend to avoid the midday light because of its harshness and tough to work with.
That said, it is not entirely impossible.
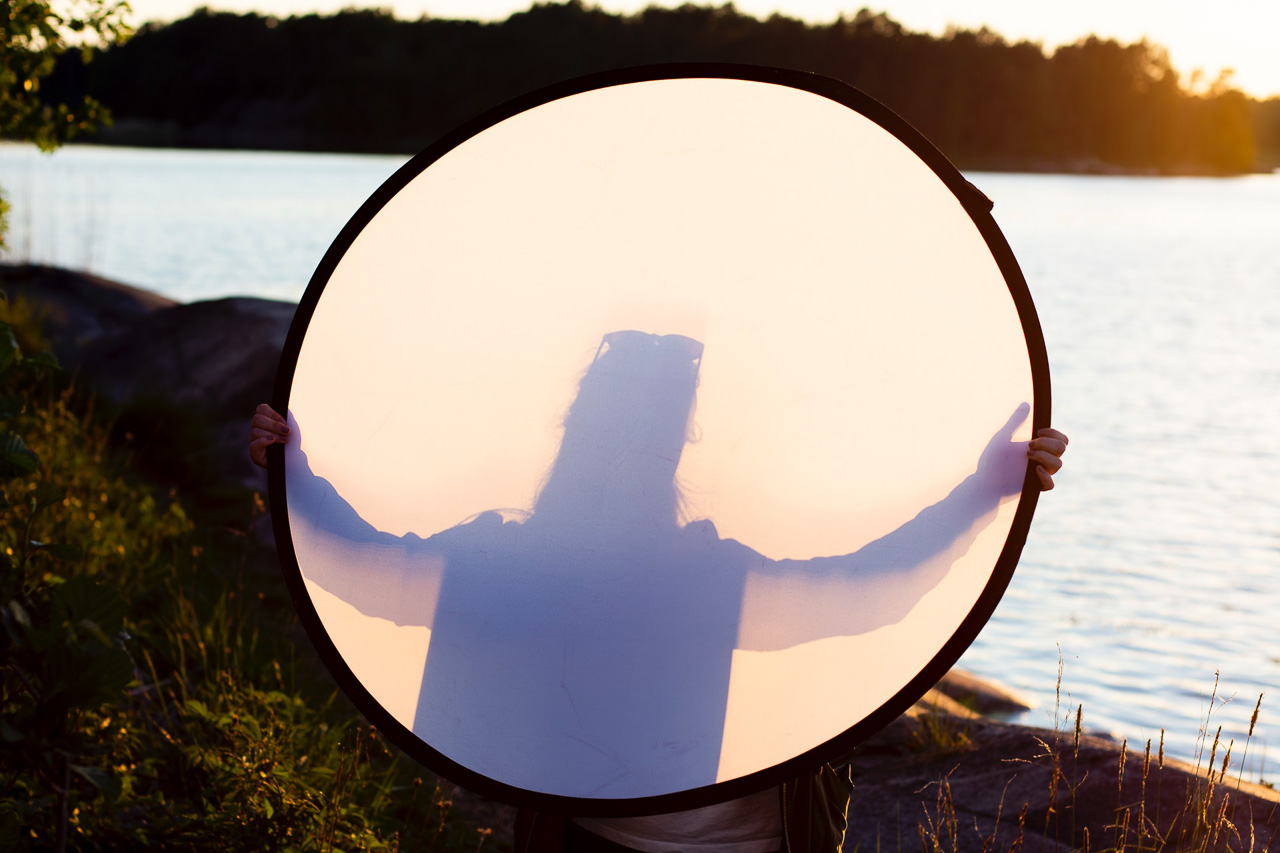
Take some diffusing material with you and some reflectors. The diffuser material will work as a light shaping tool softening the quality of light. The glasses will work as your fill light.
You can also use an external flash to fill in the shadows.
Don’t feel dejected if you do not have a reflector or a flash. It is possible to work your images in a photo editor and lift the shadows to produce a more uniformly lit portrait that appears flattering.
4. Overcast / Diffused Light
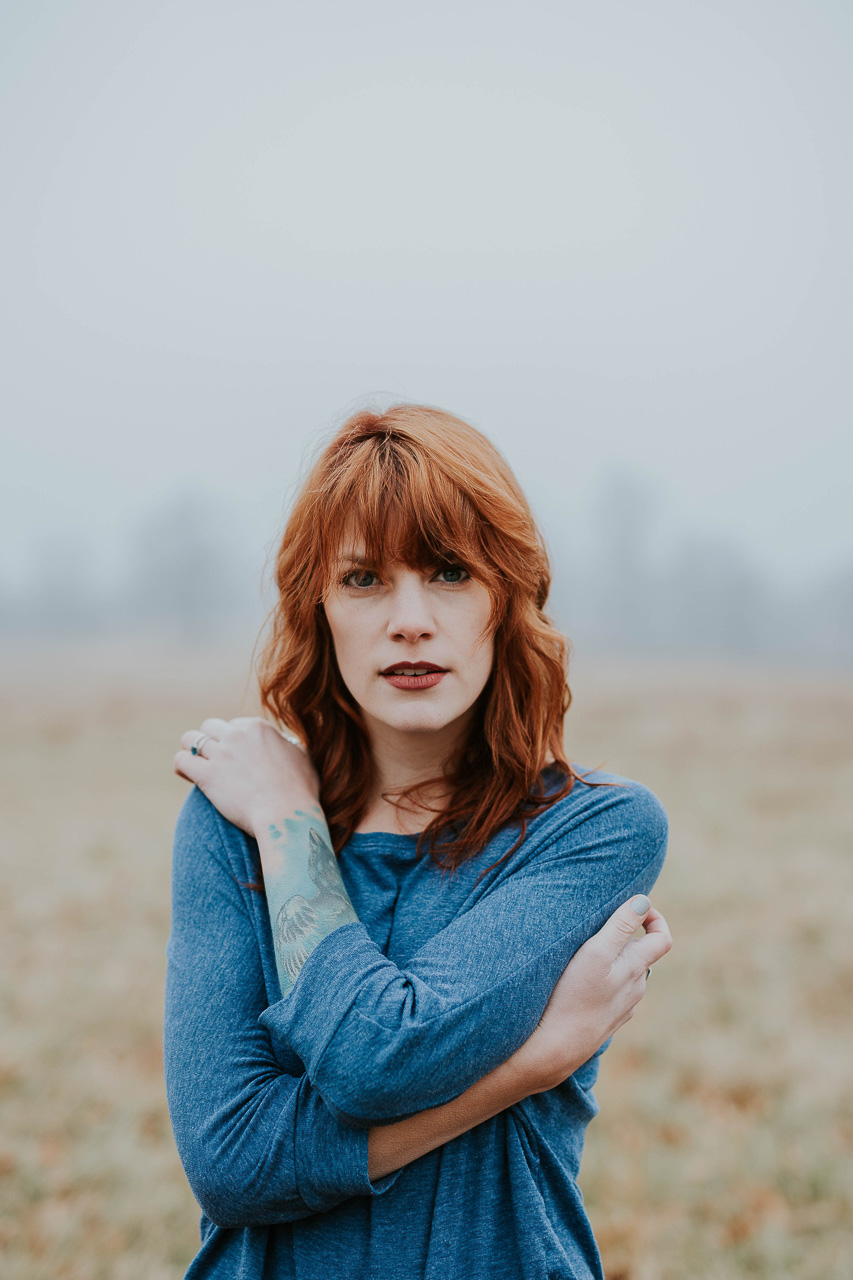
Overcast conditions are the easiest to work with because they produce no harsh shadows. It works as a natural softbox, diffusing the light and creating a uniformly lit environment where portrait photos turn out to be excellent.
Even with an image shot in overcast conditions, you may have to work on it in a photo editor to refine it. The usual controls you need are the whites, the blacks, the shadow, and the highlights.
You will also need to tweak the color temperature to make it warm and pleasing.
How to Approach Different Types of Natural Light Scenarios:
Here are a few natural light photography scenarios:
1. Natural Light Portrait Photography
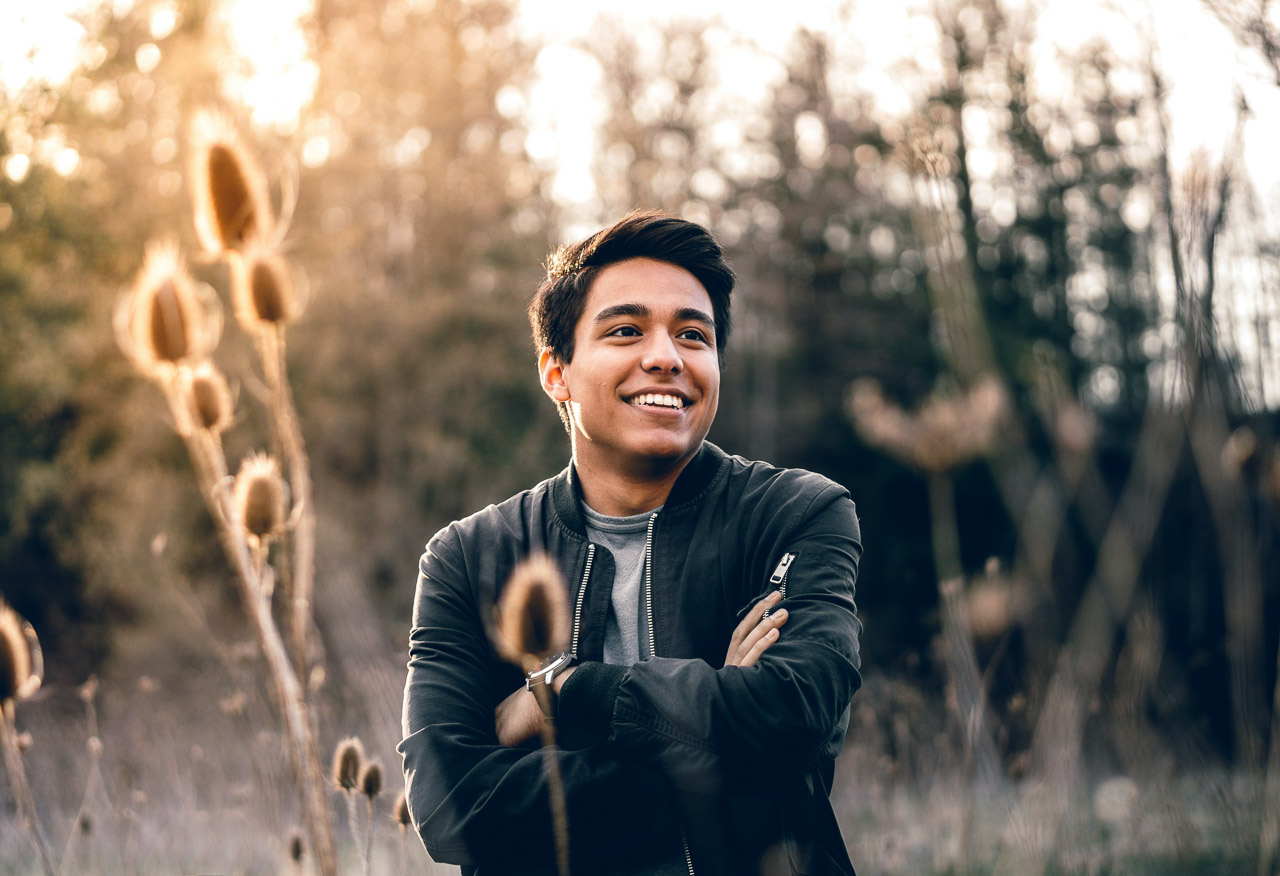
Natural light portraits have already been covered in this discussion. You’ve also learned which is the best light to shoot in as well as some tips on how to edit your photos.
The only thing that we’d like to add is to shoot with the widest aperture that your lens permits. A wide-open aperture will produce beautiful bokeh, which will improve the quality of your portraits.
2. Landscape Photography
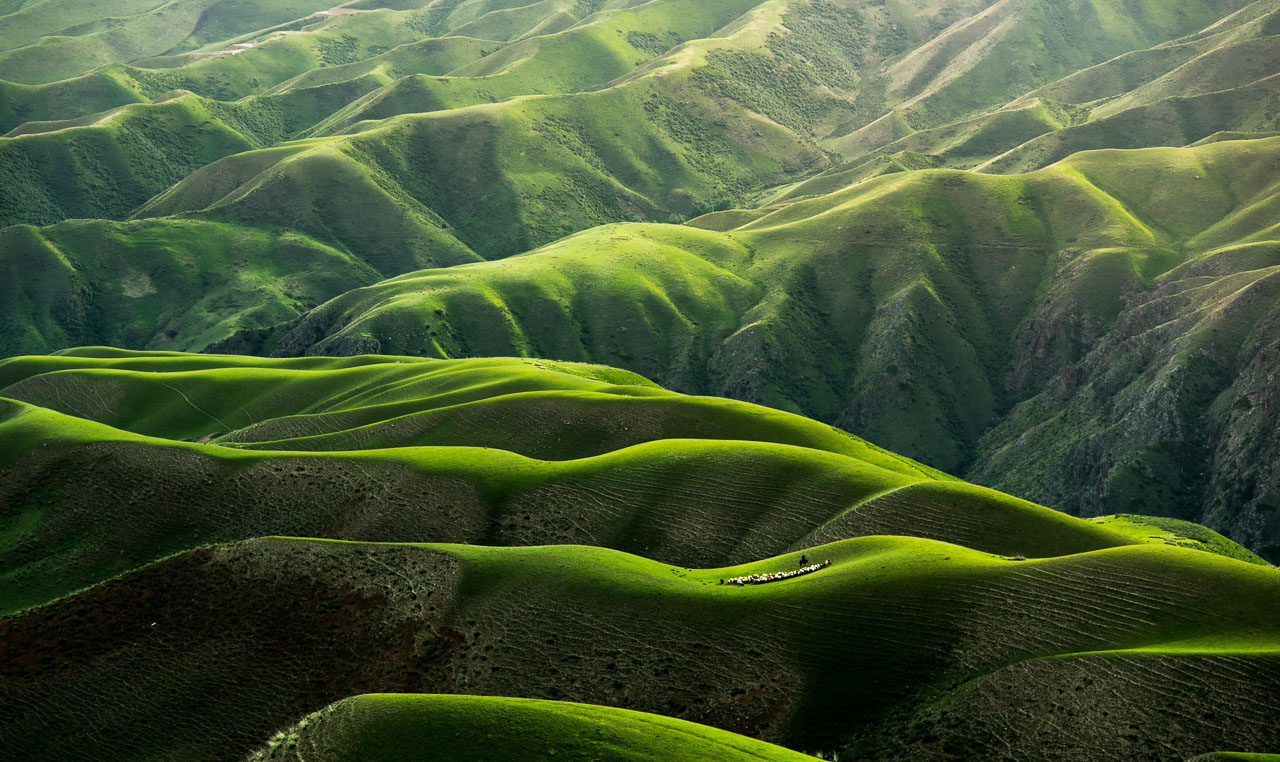
When shooting landscape photography, always ensure that you meter for the highlights. That way, you will retain details in the highlights and the shadow areas.
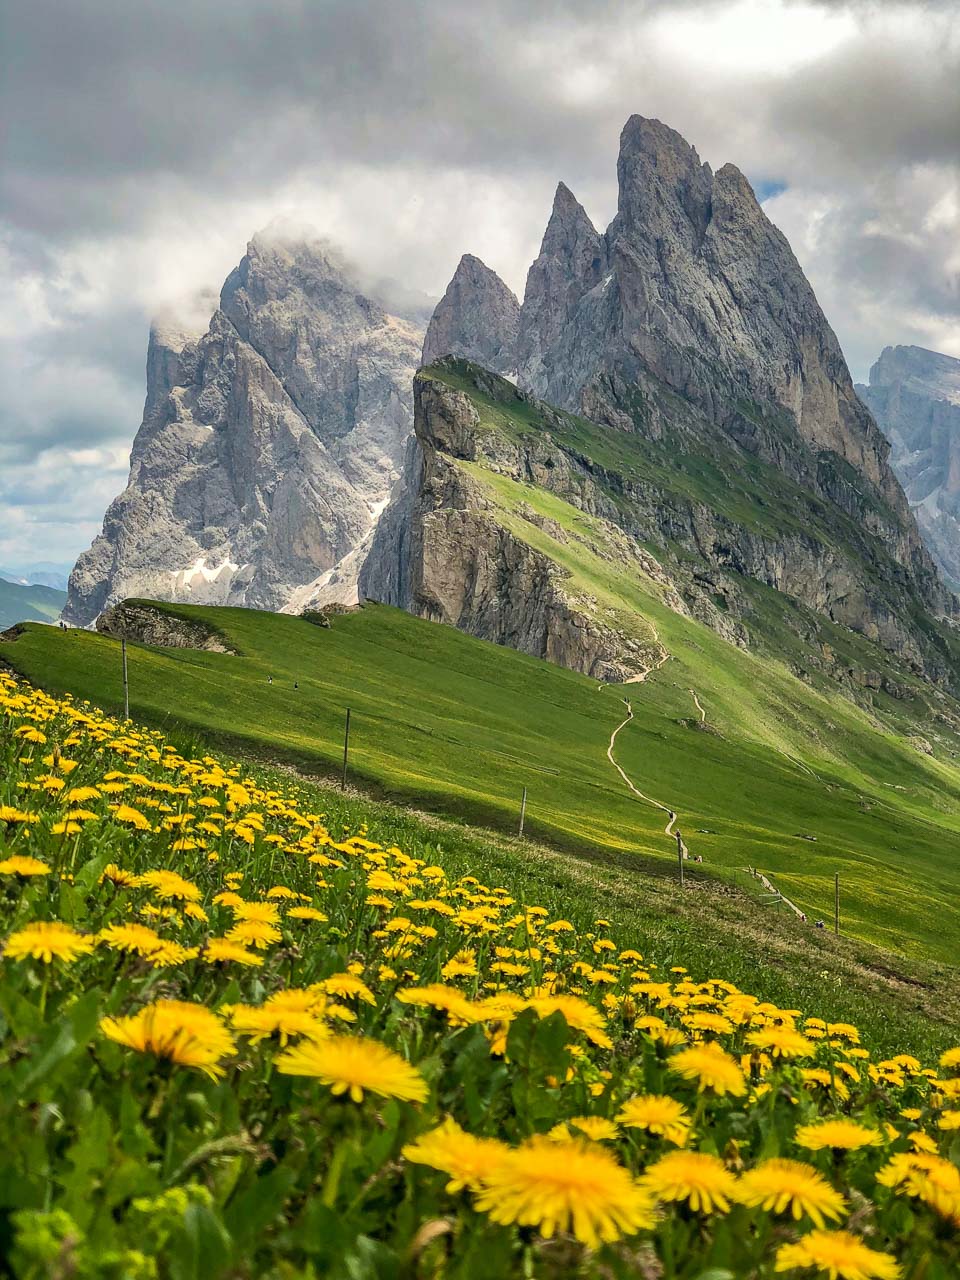
Modern cameras have excellent low-light capability, and they’re good at underexposing shadows and yet retaining detail in them. There is enough tolerance in the files to push the shadows and get back all the details.
Keep in mind to shoot with a small aperture like f/8. Most lenses are sharpest when stopped down to f/8. If your’s is not, you need to figure out the sharpest small aperture that your lens shoots.
Also, aim at one-third of the way into the frame from the bottom. That way, most of the frame will be sharpest.
3. Street Photography

With street photography, the most important thing is composition. Even if your exposure is slightly off, you can constantly adjust that in editing. The usual sliders would be blacks, whites, highlights, and shadows again.
If you do not like the image’s color combination, you can always convert that to black and white.
Step # 1: Navigate to Colorcinch
Step # 2: Use the Upload button to upload your image.
Step # 3: Colorcinch opens on the Edit page by default. Click on Color on the Edit panel.

Step # 4: Make the adjustments you need.
Step # 5: Don’t forget to click Apply and then save the image.
That’s it!
Simple to use photo editor is very handy for all these edits.
The slider you need to convert a color photograph into black and white is the saturation slider.
Did you know Colorcinch has many filters that magically transform your photographs into black and white? You can choose from several such filters in Colorcinch.
Concluding Thoughts
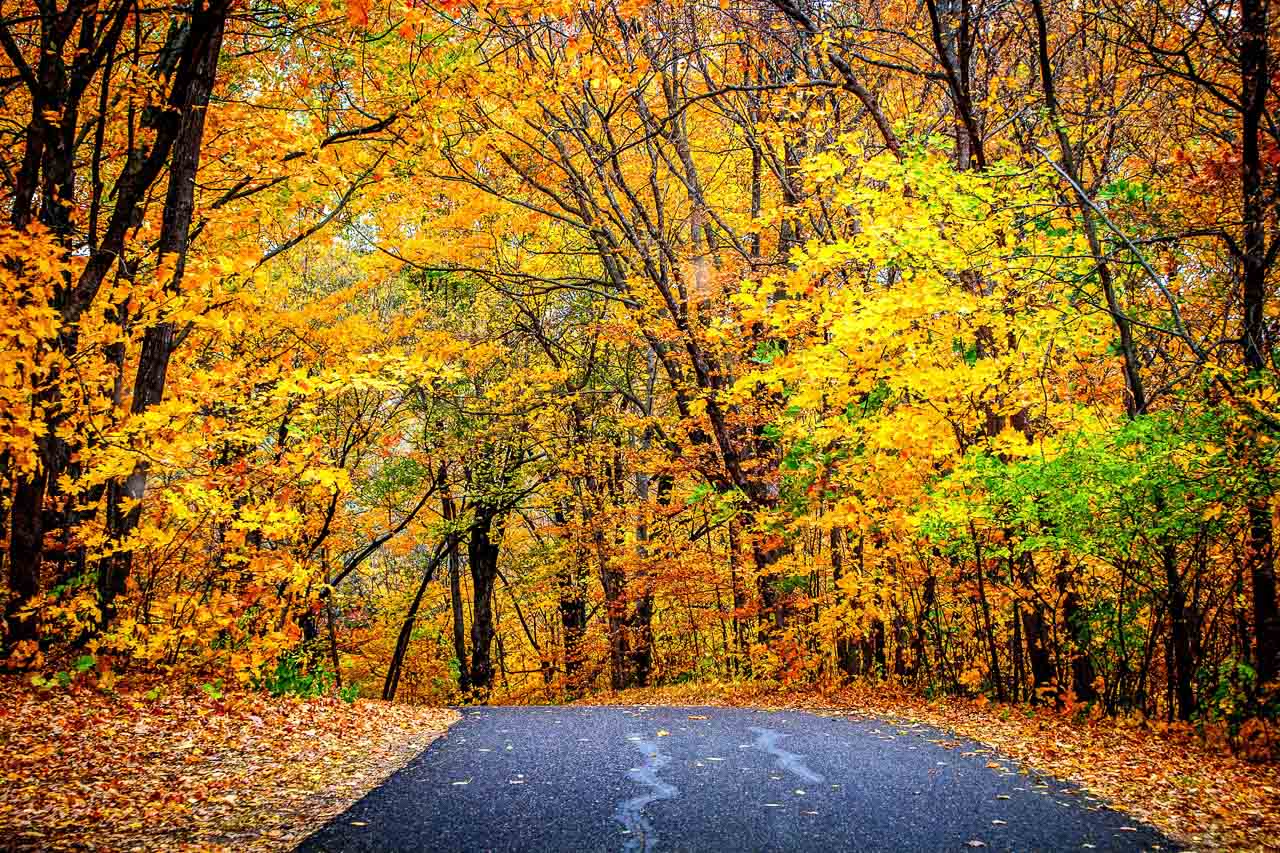
Despite what you may have heard, natural light photography need not be a challenging genre. It requires a good understanding of light, exposure control, and basic editing skills on a photo editor, and you could be making great natural light photography in no time.
If you are interested to know more about compositional skills, check this out.


