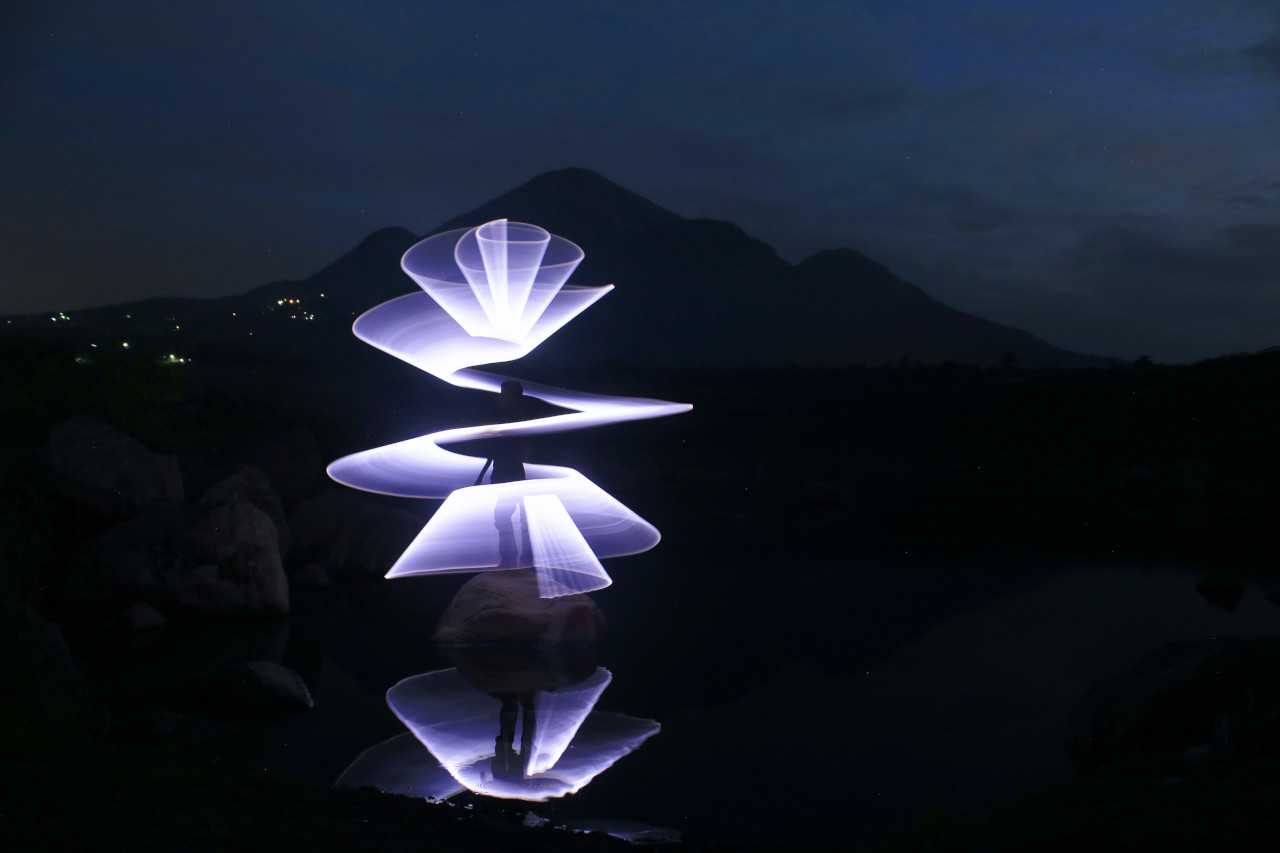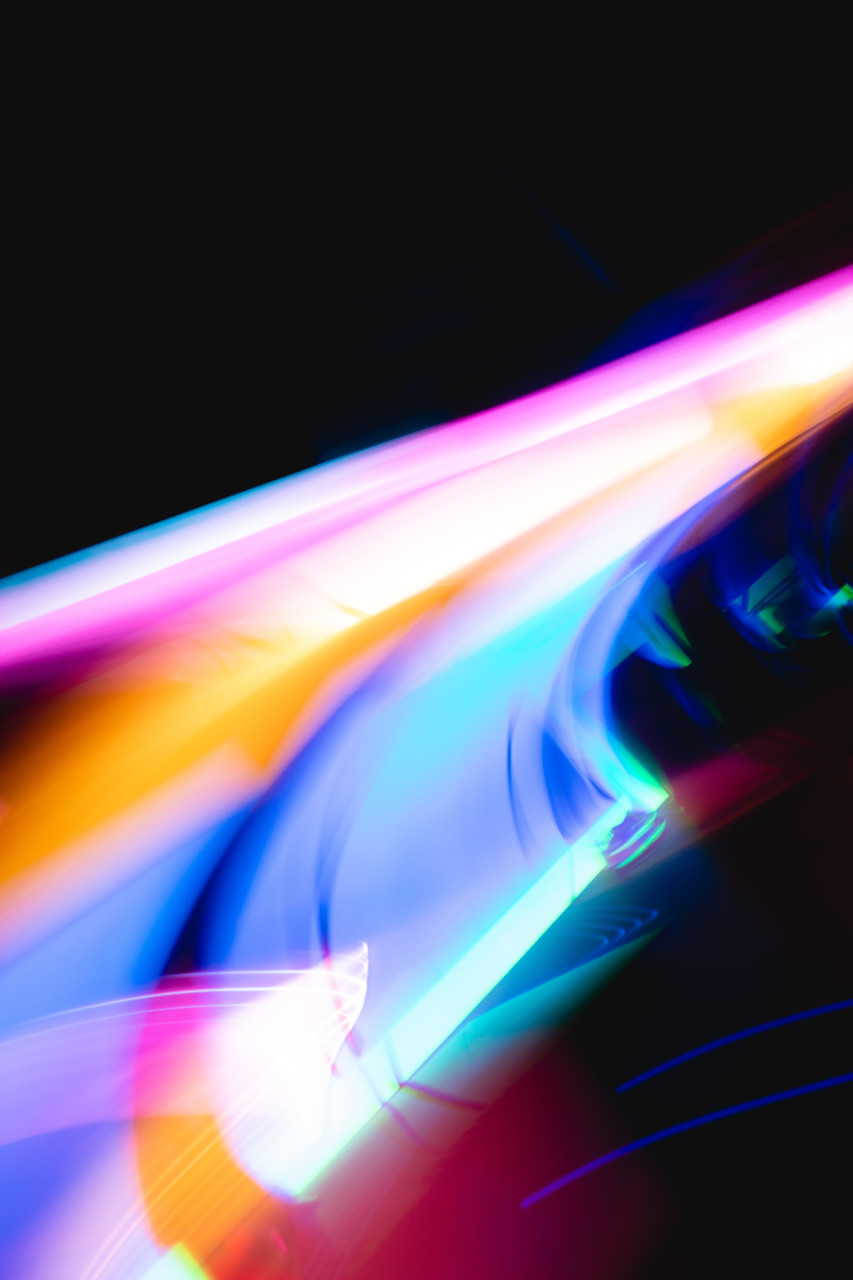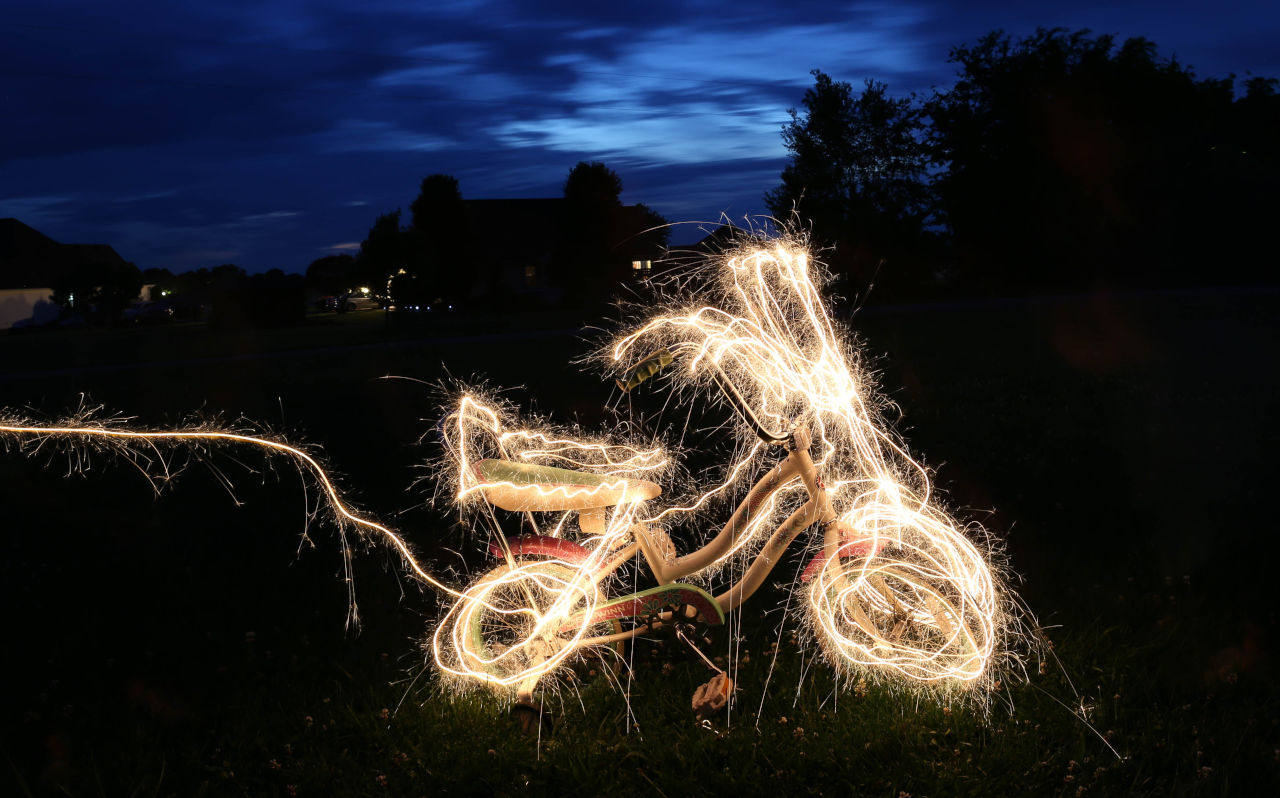
Light painting photography is a type of long exposure photography where you use your environment as your canvas and a light source as your brush.
A major difference between painting and photography is how you’re self-reliant in painting whereas in photography a lot of external factors can affect your work. Painting thus has a marginal advantage as far as creative expression is concerned.
As a photographer, if you really want to express your creative self, light painting photography may be something that you’d want to explore. As the name suggests, you could consider it to be a fusion of photography and painting.
With the camera set to shoot at a slow shutter speed, you can record the light trails to put together creative art as if you’re painting with light.
How To Do Light Painting Photography
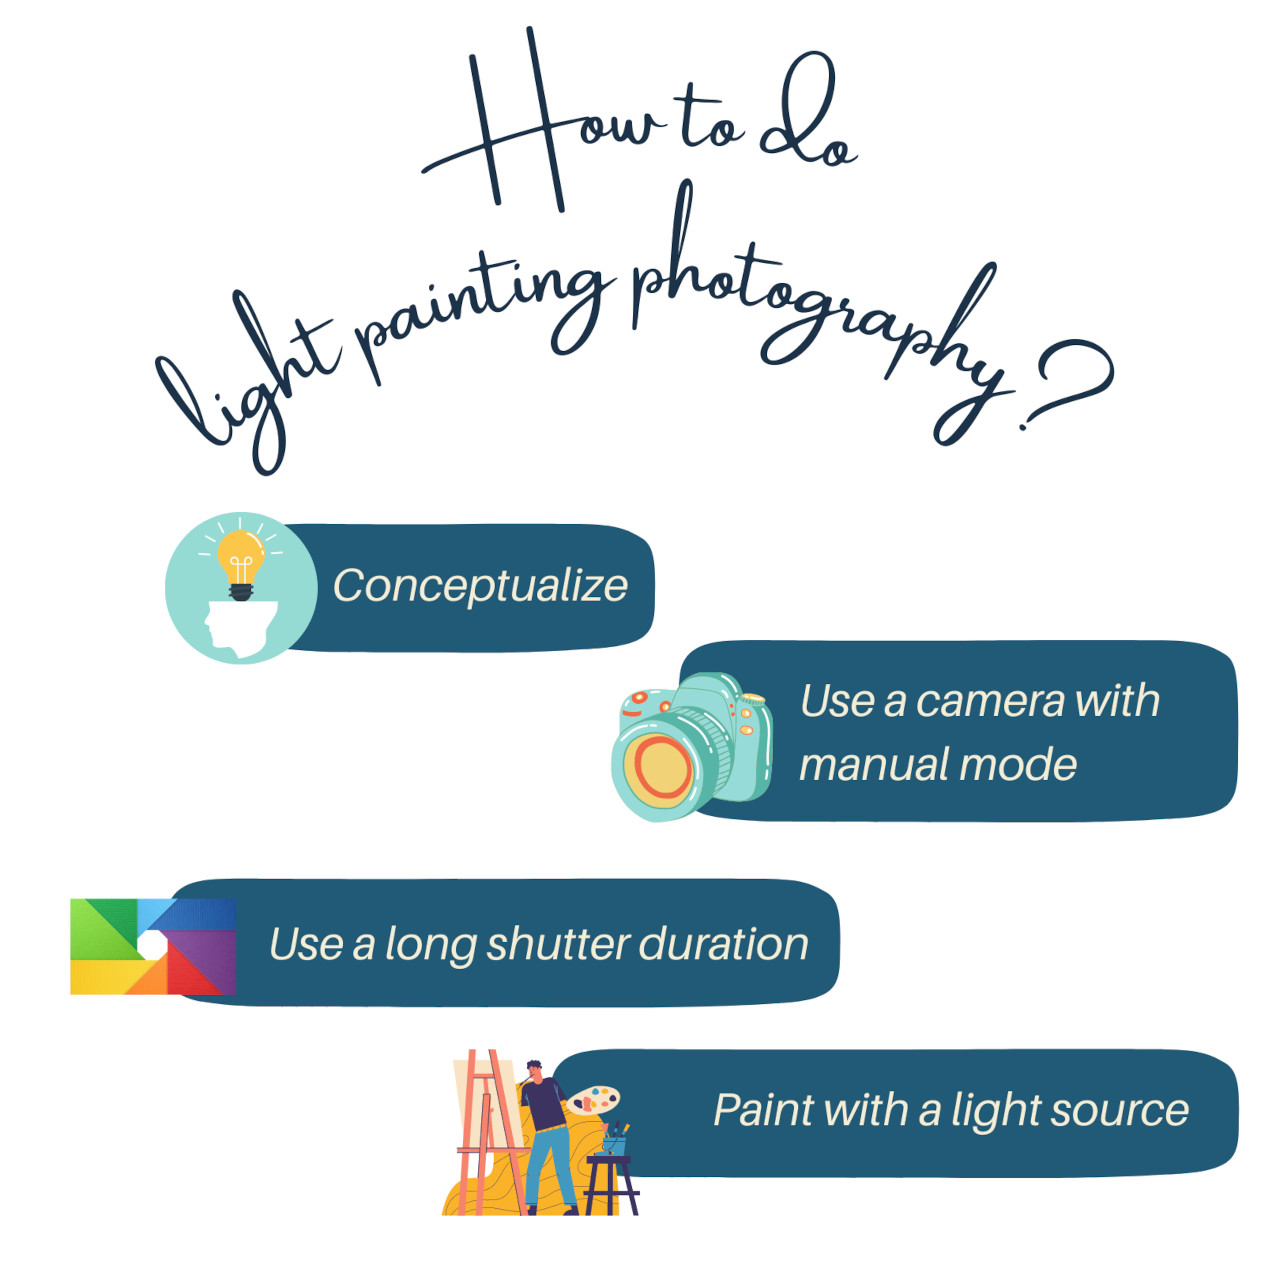
When light painting, we need to expose the sensor for a long time. This makes the workflow a little tricky and technical. So, let’s see some of the aspects that you must be careful about during a session of light painting photography.
Equipment For Light Painting Photography
We need to have a fine control over the time period for which the sensor remains exposed. It’s therefore important that the camera you use has manual mode available. If you’re using an iPhone or an Android, you can download camera apps that have a manual mode.
When shooting long exposures, the camera needs to be stable as a rock. Otherwise, images will turn out blurry and useless. Get yourself a sturdy tripod to mount your camera. If there’s a stable surface where you can put your camera, you can use that too.
You’ll also need a small light source that’ll act as your paintbrush. You could use a flashlight, small LED lights, or even specialized lighting tools designed for light painting.
If you want colorful results without the use of complicated equipment, look for an RGB LED flashlight, or simply cover up your regular flashlight using a color gel.
You’ll also need a remote shutter release to engage and control the shutter duration when using bulb mode (more on this later). If you don’t have it, no need to worry. We’ll see how using a timer will work just fine.
Camera Settings For Light Painting Photography
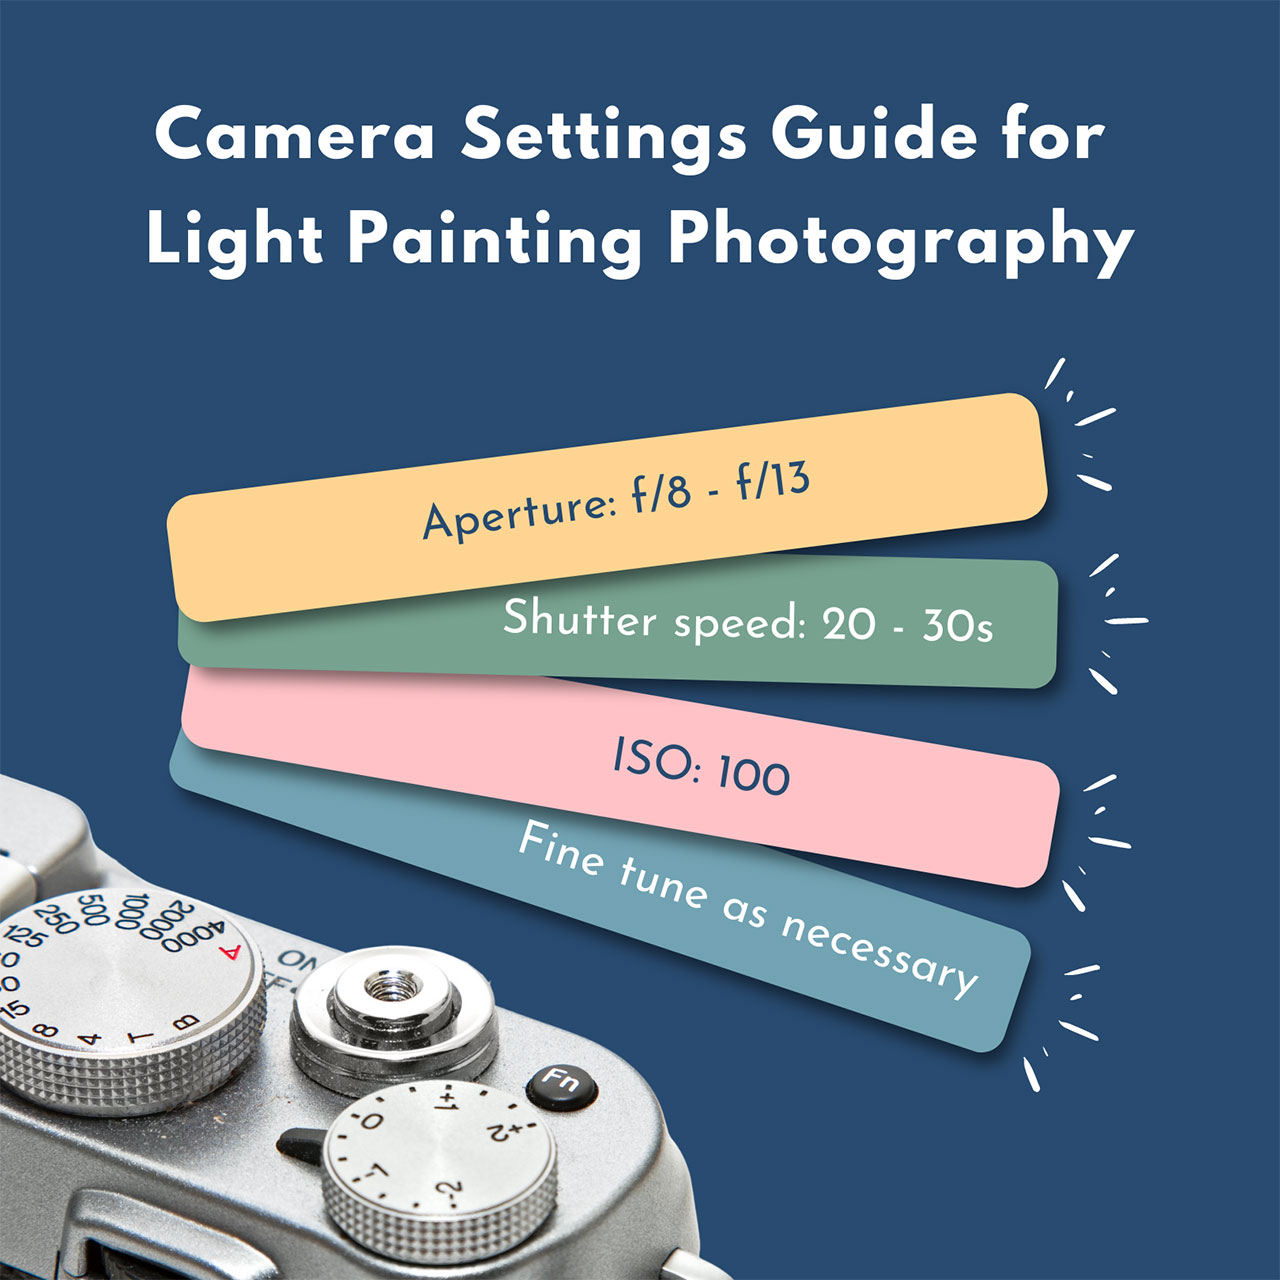
Camera mode: Since we’ll need to have fine control over the camera settings, switch the camera to manual mode. This way, we’ll be able to dial in the required aperture, shutter speed, and ISO.
Camera settings: While the exact camera settings for light painting will vary based on the shooting conditions, you can use this as a base to start:
- Aperture: Set the f-value in the range of f/8-f/13 for a greater depth of field but feel free to play around with this if the exposure doesn’t turn out quite right
- ISO: Since we’ll be working in dark conditions with a long exposure, set the ISO to 100 to avoid camera noise
- Shutter speed: This will widely depend on how long it will take for you to “paint” so if you use bulb mode, you can start and stop the exposure at your will, otherwise, 20-30 seconds can be a good starting point
Step-By-Step Guide For Light Painting Photography
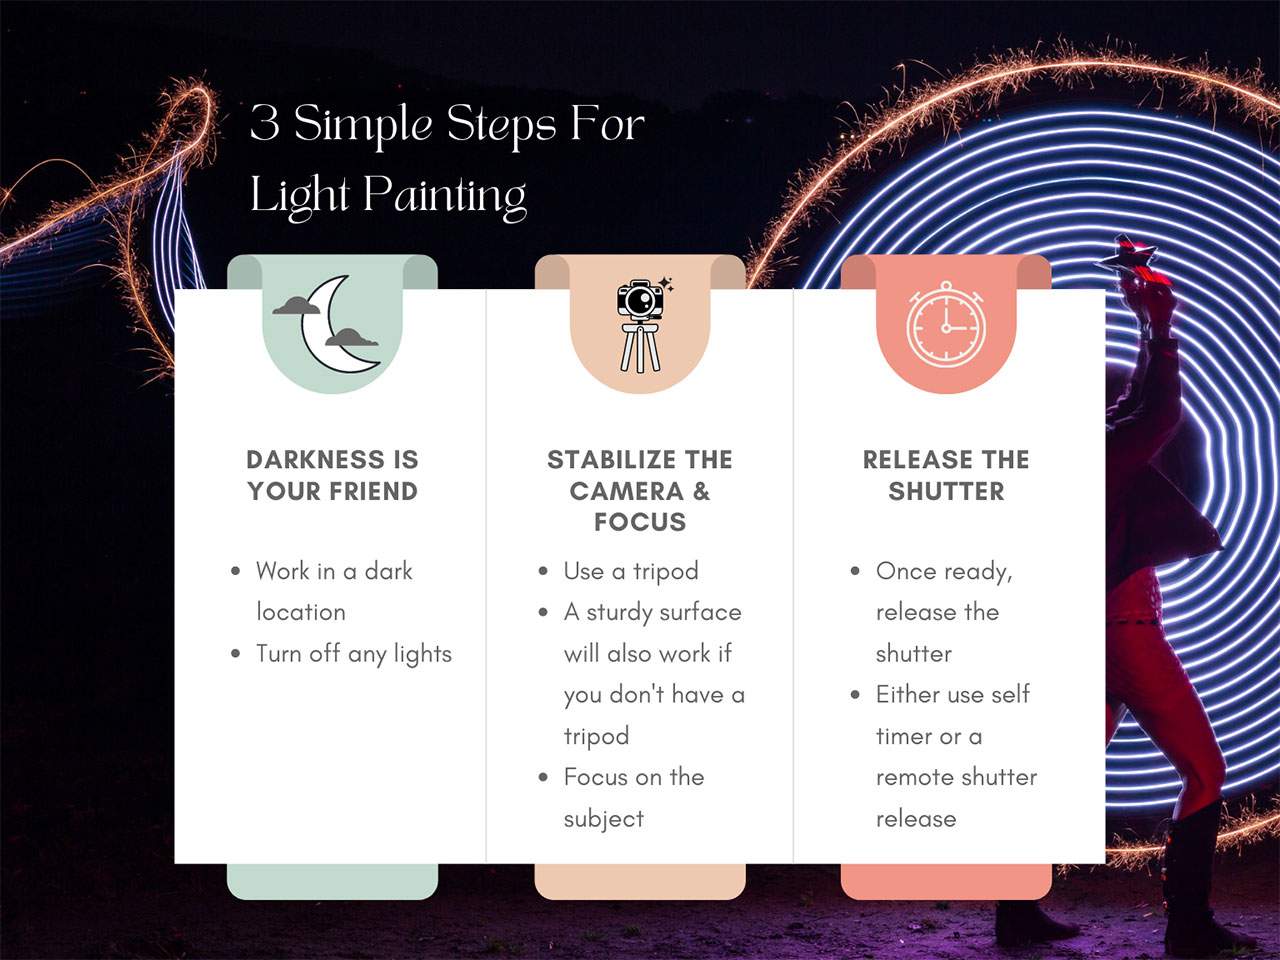
Step 1: Start by finding a dark spot with ample space for you to move. If you plan to work inside a room, turn the lights off and be extra careful not to break anything.
Step 2: Set the camera on a tripod, dial in the test exposure settings like we discussed above, and focus manually on the subject or area where you will be light painting. Be sure to leave the focusing mode in manual mode.
Step 3: If you don’t have a remote shutter release, enable the 5-second timer in the camera, press the shutter release button, and start the light painting process.
If you use a remote shutter release, move the shutter speed dial to bulb mode, press the shutter release button, and start the light painting process. Once done, press the shutter release button again to close the shutter.
In both cases, make sure that you review the final images to ensure that the composition and exposure are acceptable.
9 Creative Light Painting Ideas
When you have the light source in your control, what you want to create is up to you. So, put on your thinking hat and come up with creative light painting ideas.
In case you’re feeling stuck, here are 9 creative light painting ideas to help you get started.
1. Use a Drone For Light Painting
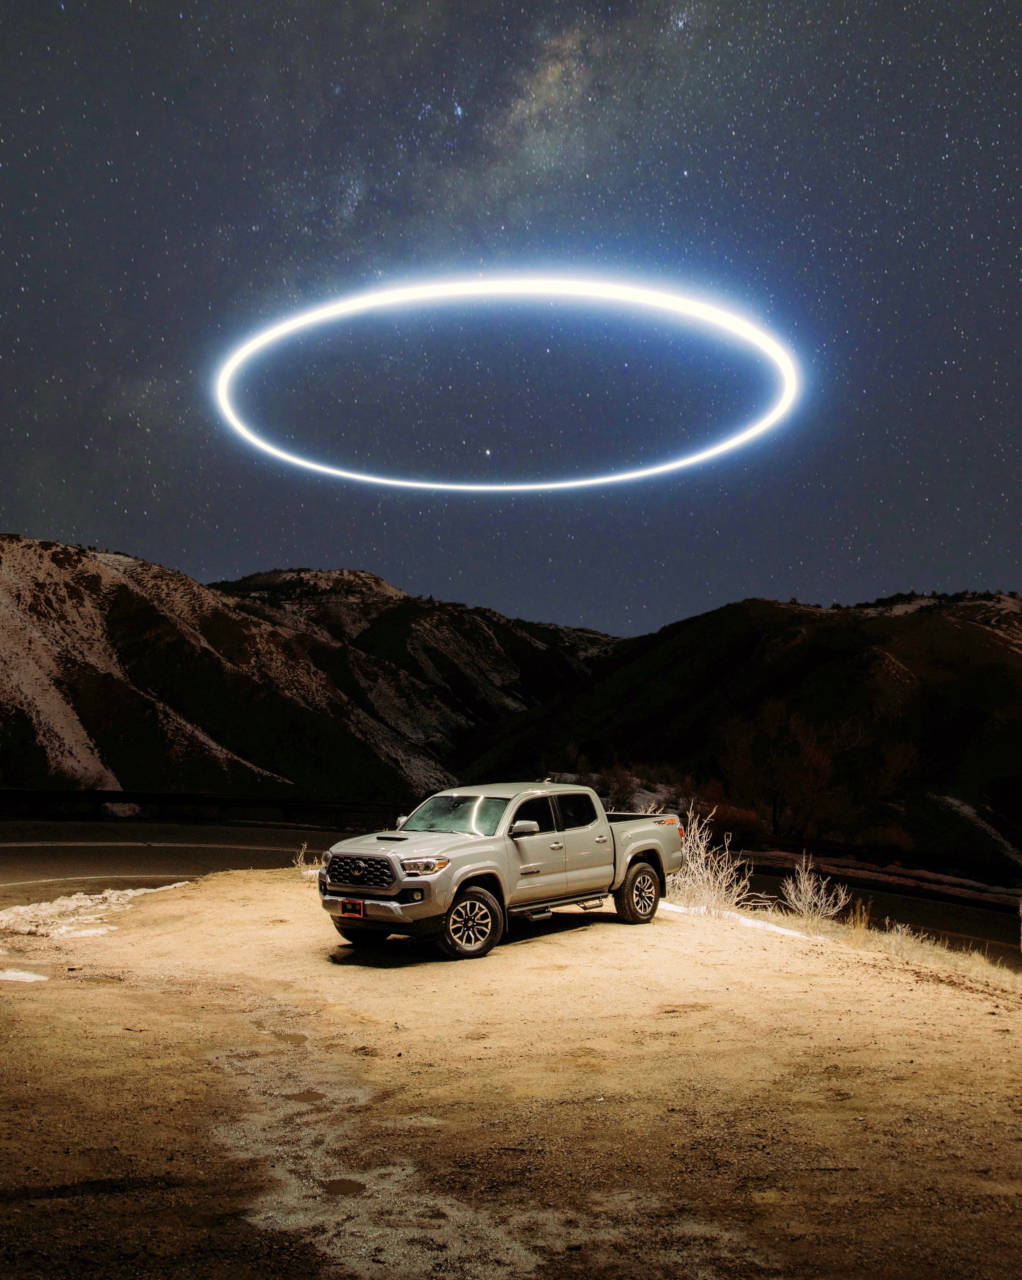
You’ll need to be a skillful drone pilot to pull this neat trick off. Otherwise, ask someone who’s actually good at it. This’ll ensure that your results come out clean and stunning.
Mount small portable lights on your drone while making sure that they don’t interfere with the drone’s blades. Voila! your drone is your light painting brush now.
You can use this concept to light paint over landscapes, a vehicle, a building, or even a person.
2. Light Writing
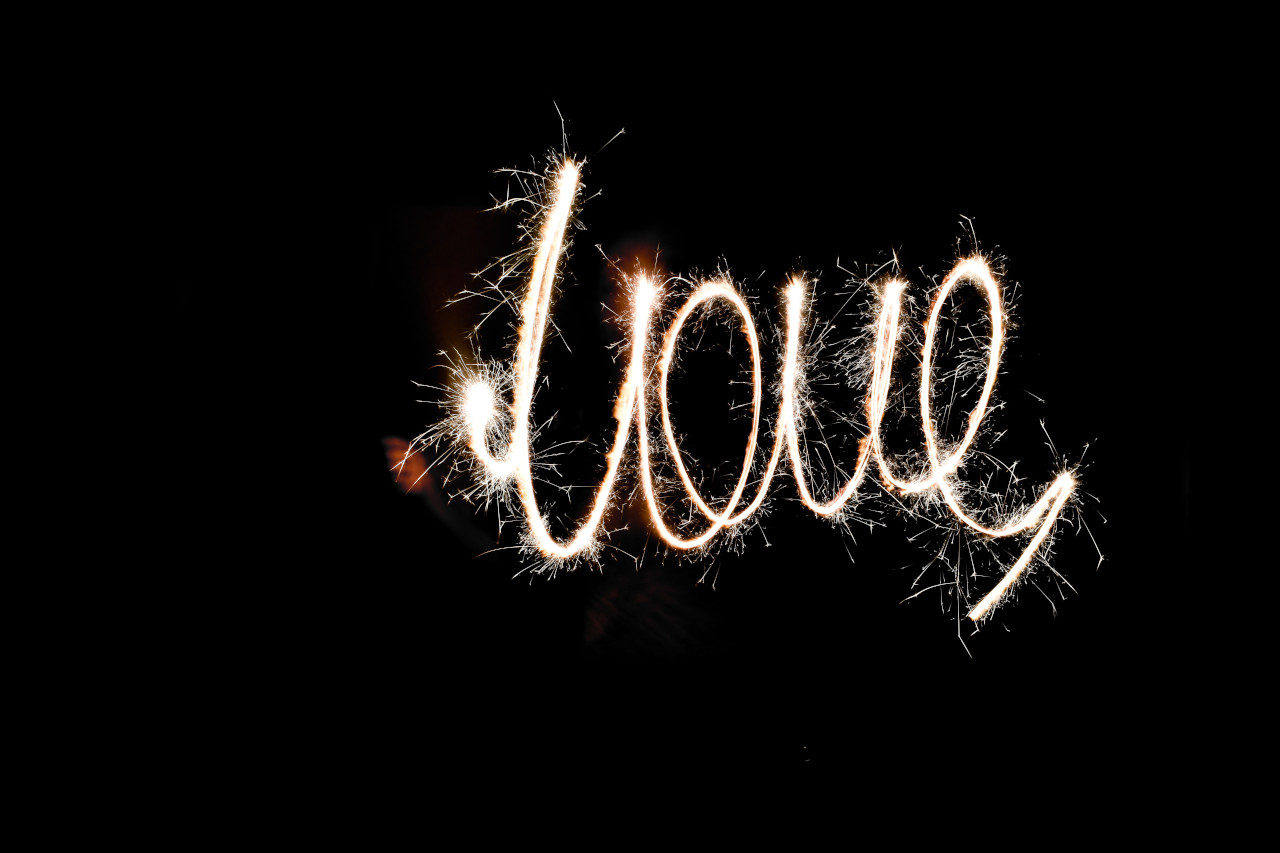
Light writing is when you use the light painting technique to write words or draw various symbols to convey messages. You can use flashlights, colored LED lights, or even sparklers for this purpose.
When writing, keep in mind that you will need to mirror the texts for them to be readable. Otherwise, you will need to flip the image horizontally in post.
3. Creative Light Painting Portrait
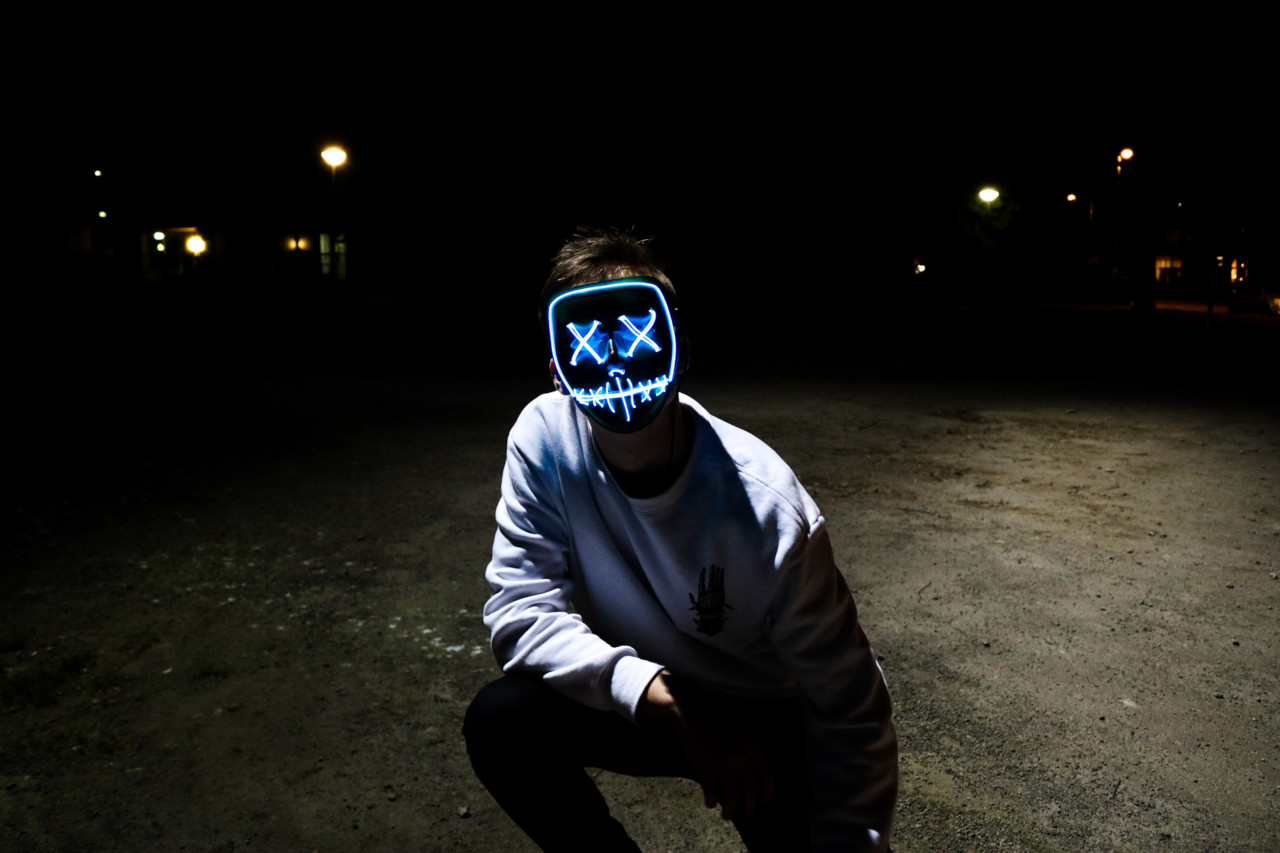
Combining light painting with portrait photography is a great way to take a creative portrait photo. Using this technique can be a great way to express a certain mood or emotion.
The lighting and the patterns you draw will be the key along with the body language of the subject. Using specialized light painting sticks can be a good choice for this purpose.
You can either draw along the edges of the subject’s body, compose with the face as the prime focus and take the photos, or even paint on the subject’s face with light.
4. Use Specialized Light Painting Tools
Using light sticks and other specialized modifiers designed just for the purpose of light painting are great ways to spice up your photos with light painting.
Once you get a hang of using them, you can go wild with your creativity and take your light painting photos to the next level.
5. Add Drama To a Still Life Photo
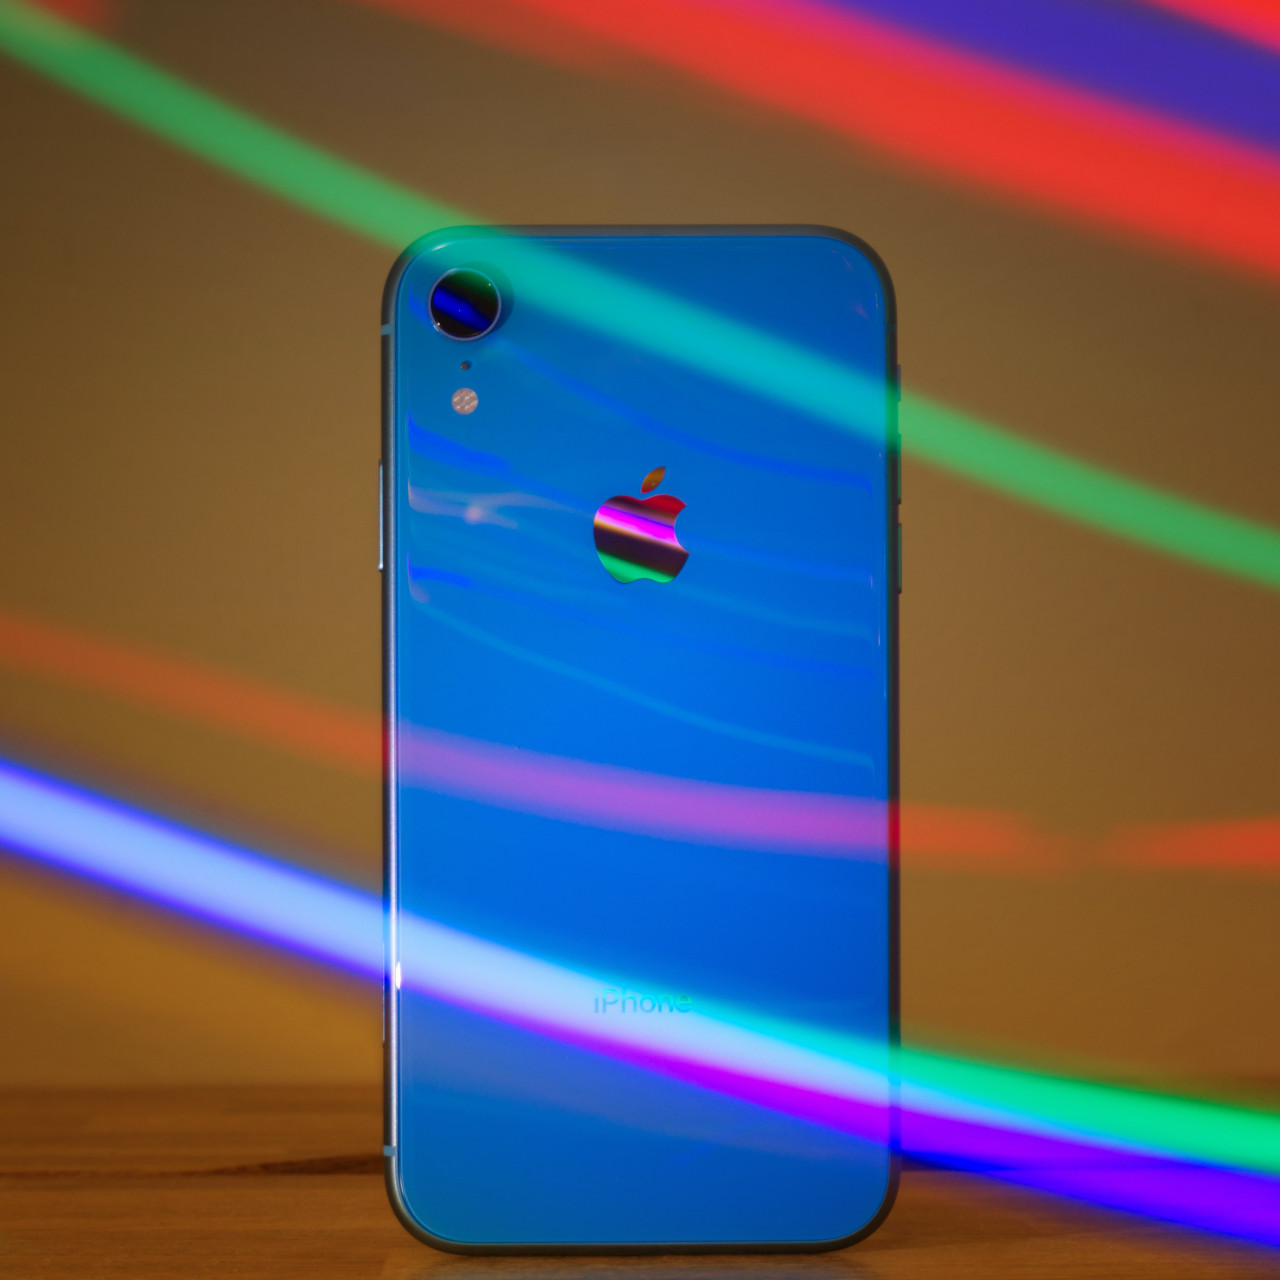
Still life photography in itself is a very creative genre of photo that pushes the photographers to their creative limits. A cool idea thus can be to light paint around the subject and add an extra zing to the image.
If in case, you have a still life image (or as a matter of fact, any image) that you’ve already taken in dark conditions to which you want to add the light painting effect afterwards, then you can easily do so using Colorcinch.
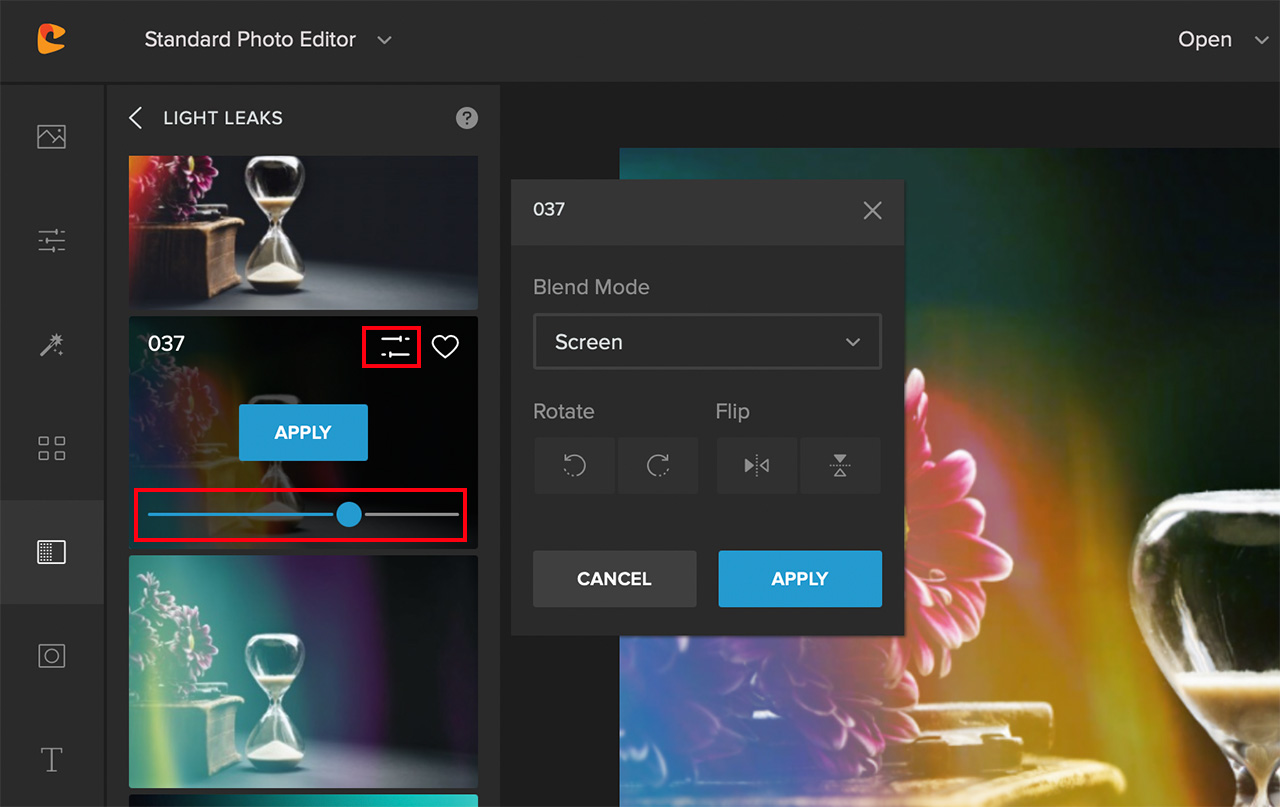
Simply follow these steps:
Step 1: Upload the image to Colorcinch
Step 2: Navigate to Overlays – Light Leaks
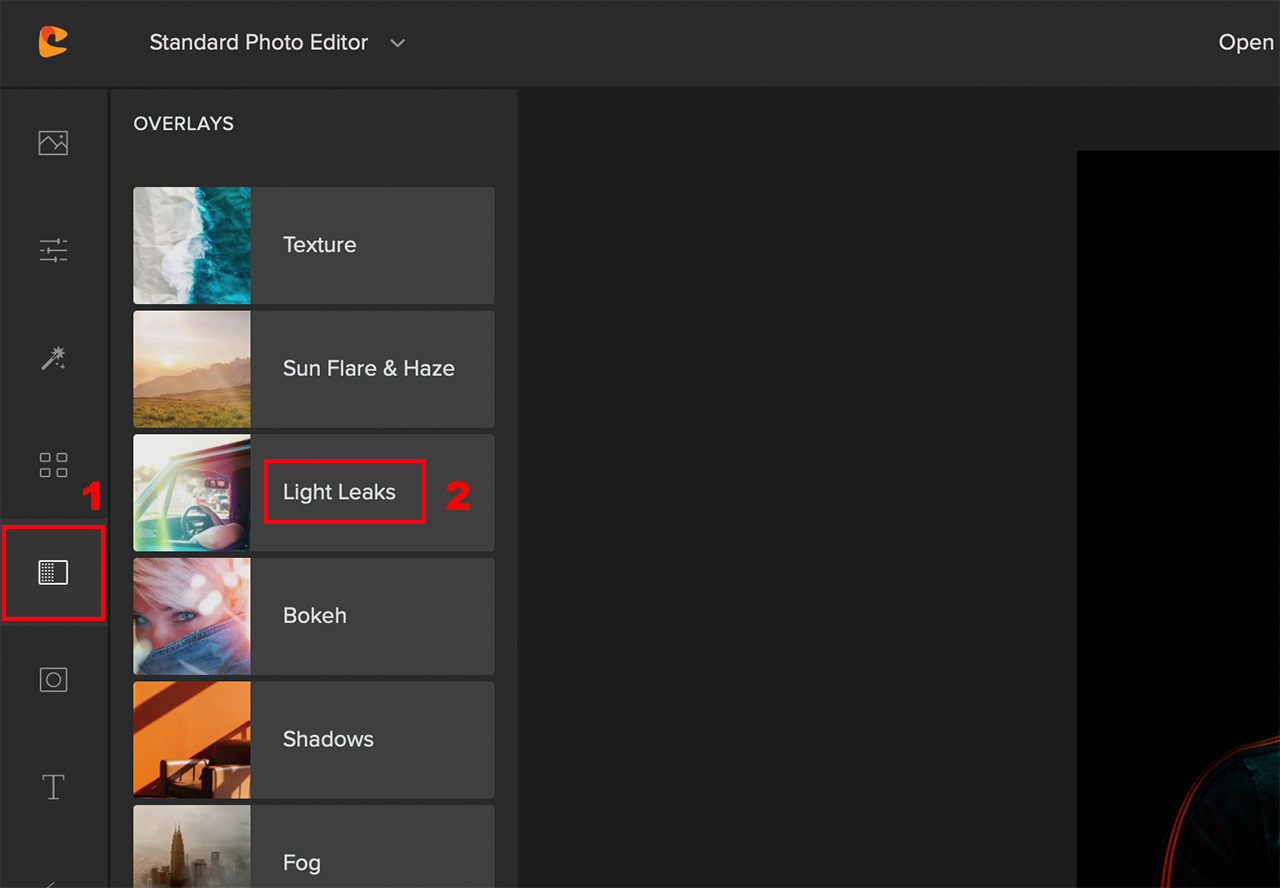
Step 3: Choose from a variety of light leaks overlays that are available and make any adjustments if necessary and click on Apply
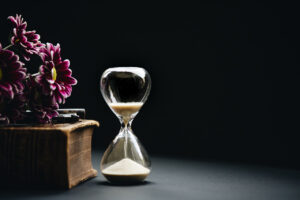
Here’s a before/after of an image for reference:

6. Use Your Smartphone Screen as a Light Source
If you’re struggling to find colorful lights for your light painting, or if you don’t want to spend too much, then this is an awesome trick you can use.
You can either simply put up solid colored images on your mobile screen, or use apps that can put up color splashes on your mobile screen. Then, use your mobile screen as your light source and paint away.
7. Do Light Painting And Astrophotography Together
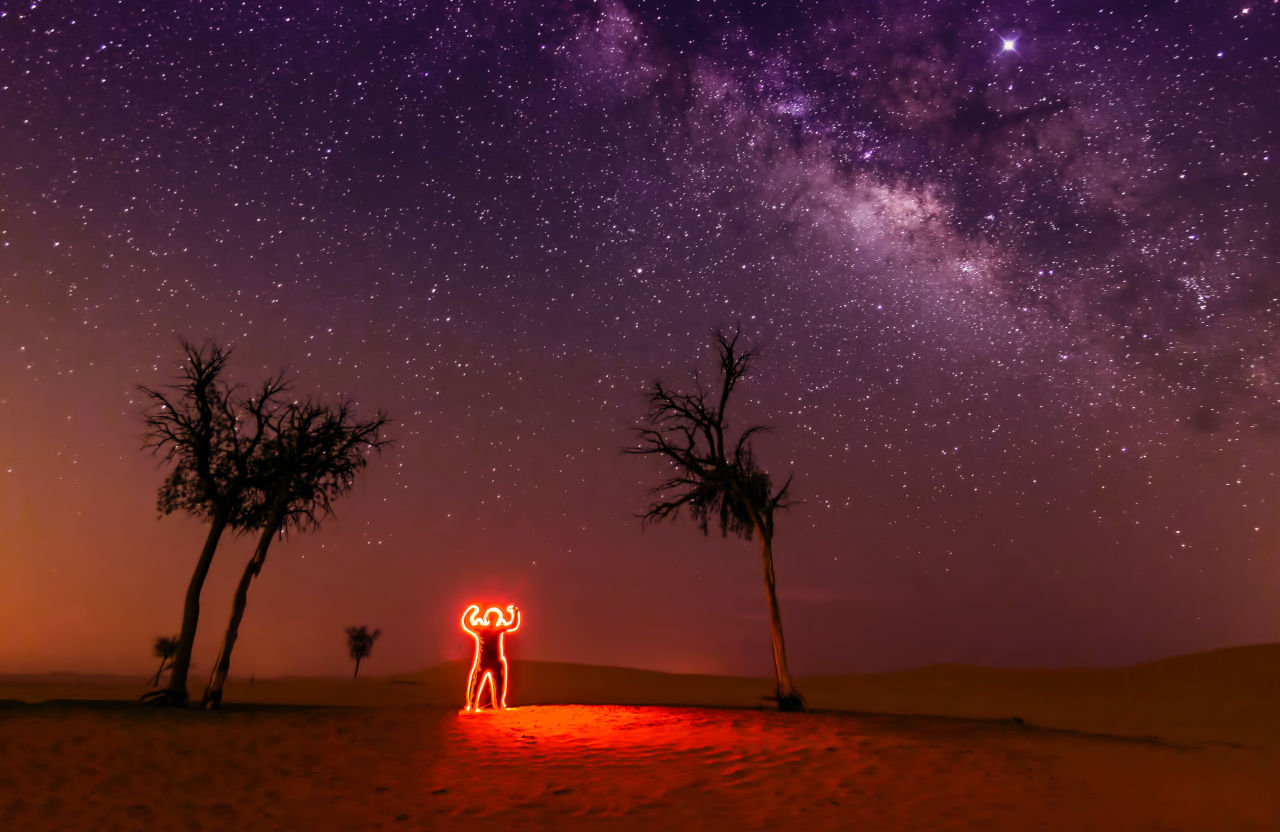
Shooting astrophotos also require the use of long exposure which is a great opportunity for light painting as well.
Combining light painting with astrophotography ensures that you not only have an interesting background but an intriguing foreground as well.
8. Do Light Painting and Landscape Photography Together
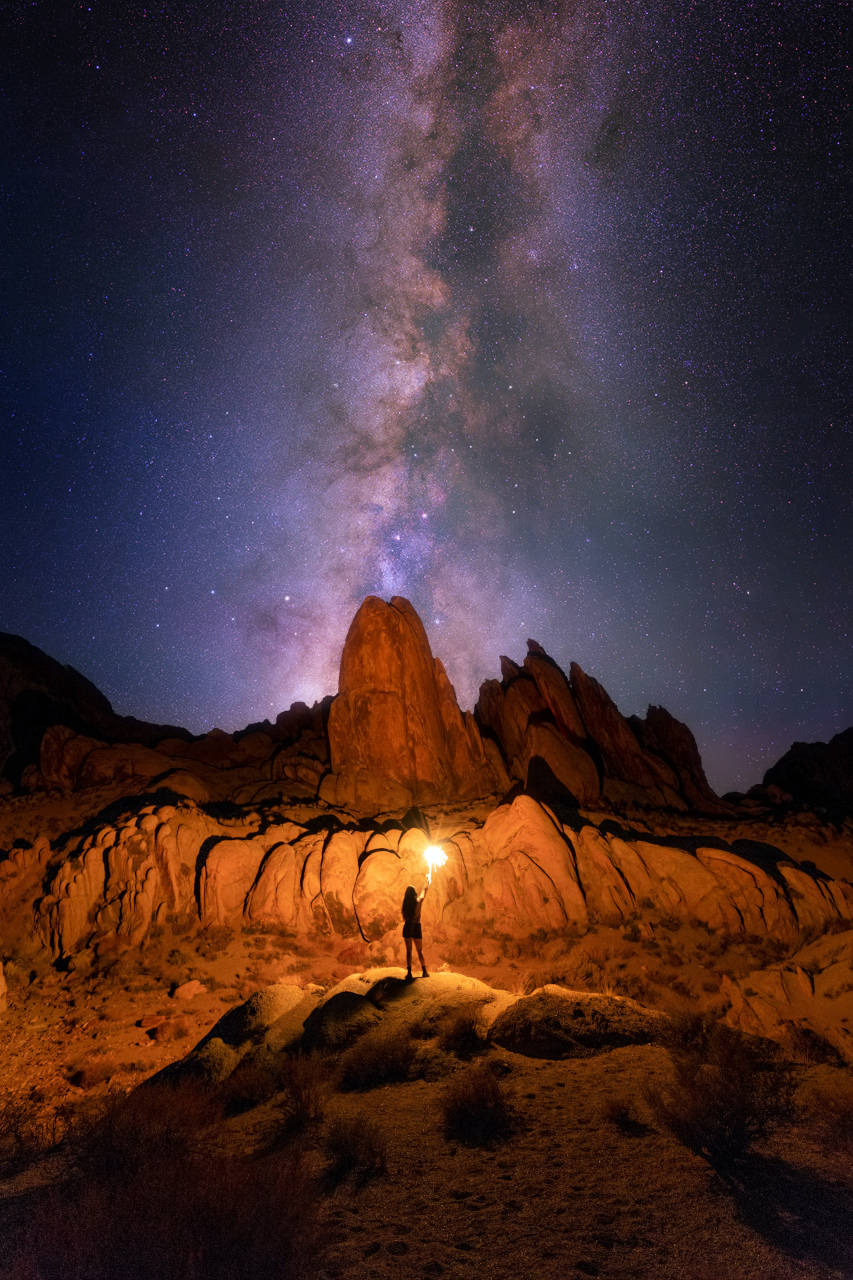
If you’re someone who loves to take landscape photos during low light, light painting can be a great way to illuminate your landscape subjects.
This definitely will not work with something like large mountains, but you can definitely use a large enough light source to paint the foreground with light.
Or, you could even draw patterns around the foreground elements, or even pose for a light painting portrait beside a lake for a cool-looking reflection.
9. Let Your Creativity Go Wild
Like with painting, you have the freedom to express yourself when doing light painting photography. So, whatever ideas that you may have in your mind, go for them.
Use different colored lights, use various light painting tools, even make your own if you’d like and experiment. Whatever you can think of, give it a try.
To Sum It Up
Light painting photography is indeed a genre of photography that has a much greater scope of creative freedom than other genres of photography.
If you’ve always felt that the world around you is incomplete and that you could add something more to it, you should definitely give light painting photography a shot.


