
The world of photography is very much composed of two extremes: super clear and clean, or completely grainy. While there’s nothing wrong with either style, it can be fun to try something different.
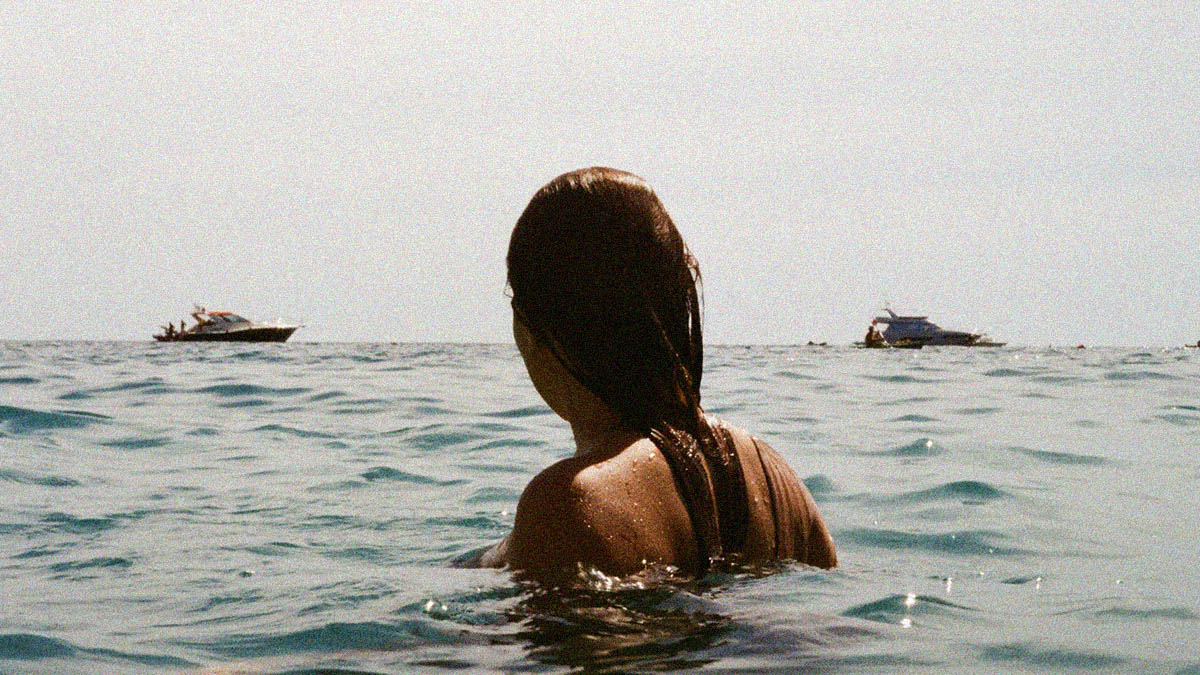
If you’ve ever looked at old photographs, you’ve probably noticed that they have a very unique feel. The grainy texture of film gives them a vintage feel, and the images are often soft due to the low resolution of early cameras.
Adding grain texture to photos can help you evoke nostalgia in a more authentic way than other filters and effects—it also works great for fixing noise and low light problems! In this article, we’ll go over when you should use grain textures in your photos and how to do so effectively.
What is Image Grain?
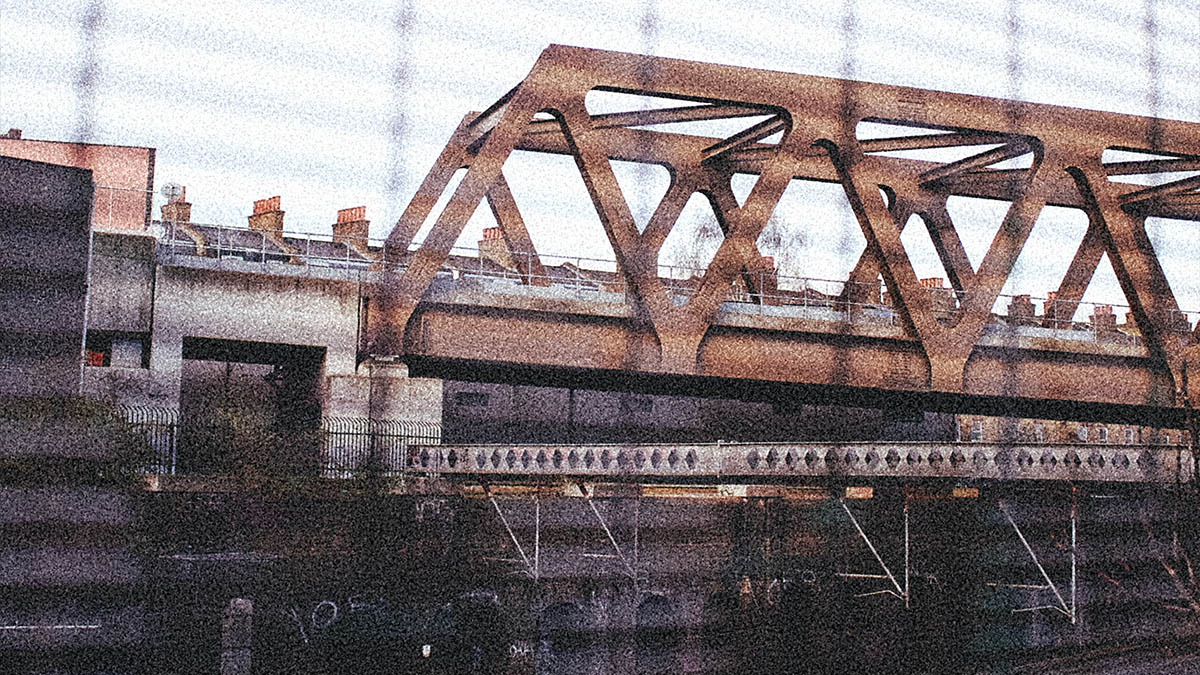
Image Grain is a great way to add a vintage effect to your photos. It can be used on any photo and makes the image look like it was created long ago. In addition to creating an older feel, grain texture also creates an interesting effect that makes it bold and eye-catching.
It’s important to keep in mind that adding grain effect can take some time and patience, but the results are worth it!
History of Grain Texture in Photography
Just like the double exposure effect, the discovery of this grain effect was also by accident. Grain was first noticed by photographers when they were experimenting with early versions of color photography.
They’d noticed brownish patches on their photos, which they called “speckles.” This led them to believe these spots were caused by dust or debris getting into the camera lens.
But it turns out this wasn’t true—the speckles were actually caused by something much more wonderful: chemical reactions between light-sensitive silver salts and chemical developers!
When exposed to light, these chemicals react with each other in different ways depending on how long or intensely they’re exposed; this causes different colors to appear in your final image depending on where exactly you place them relative to each other during development time.
Reasons Why You Should Add Grain Texture to Photos
Achieve Film Effect
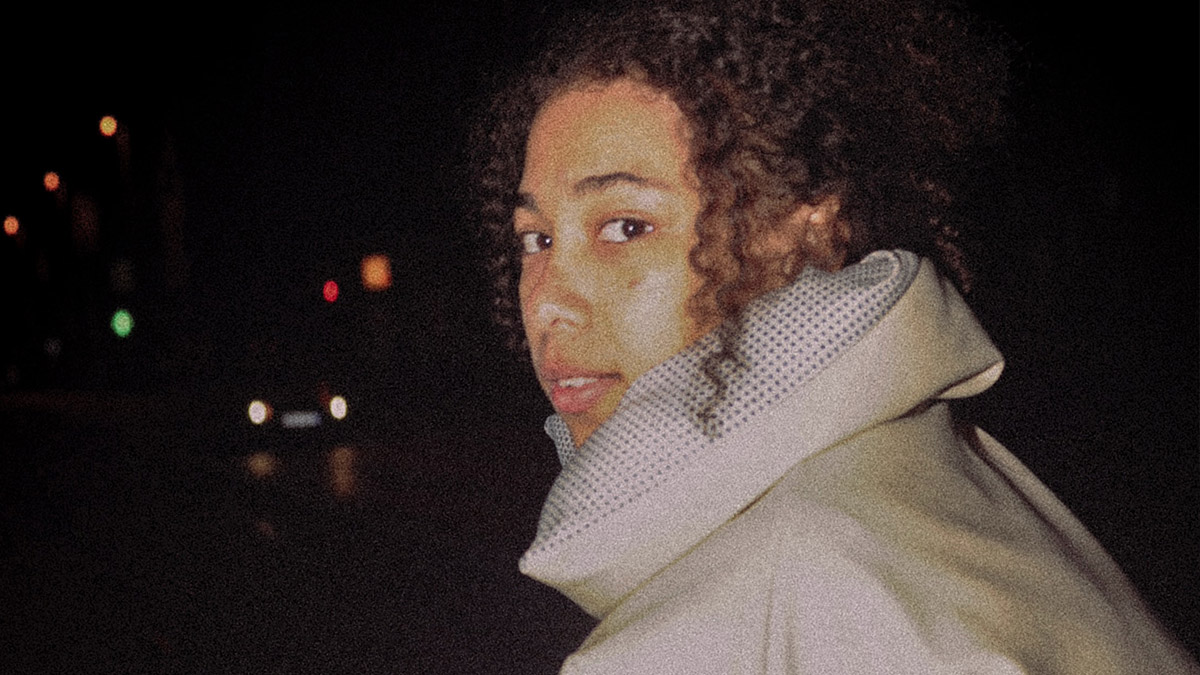
Grain texture can help you evoke nostalgia. This is because grain texture is a very common characteristic of old photos and film.
Film grain texture is a popular effect in all kinds of fields, from photography to graphic design to fine art. It’s used by people who like vintage looks and by many others who just want their images to have a unique look that sets them apart from other images on the internet.
In photography, film grain texture can be added in two ways: with analog film or by digital post-processing an image after it’s been captured by digital camera technology. Analog film is one way photographers can make their photos look more like they were taken decades ago.
Minimize Imperfections in Images
Grain texture can help fix the noise and low light issues in photos.
One of the best ways to use grain texture is as a way to cover up imperfections on the subject, such as blemishes and skin imperfections. It’s also great for covering up any background imperfections that you may not want to be seen in your photos..
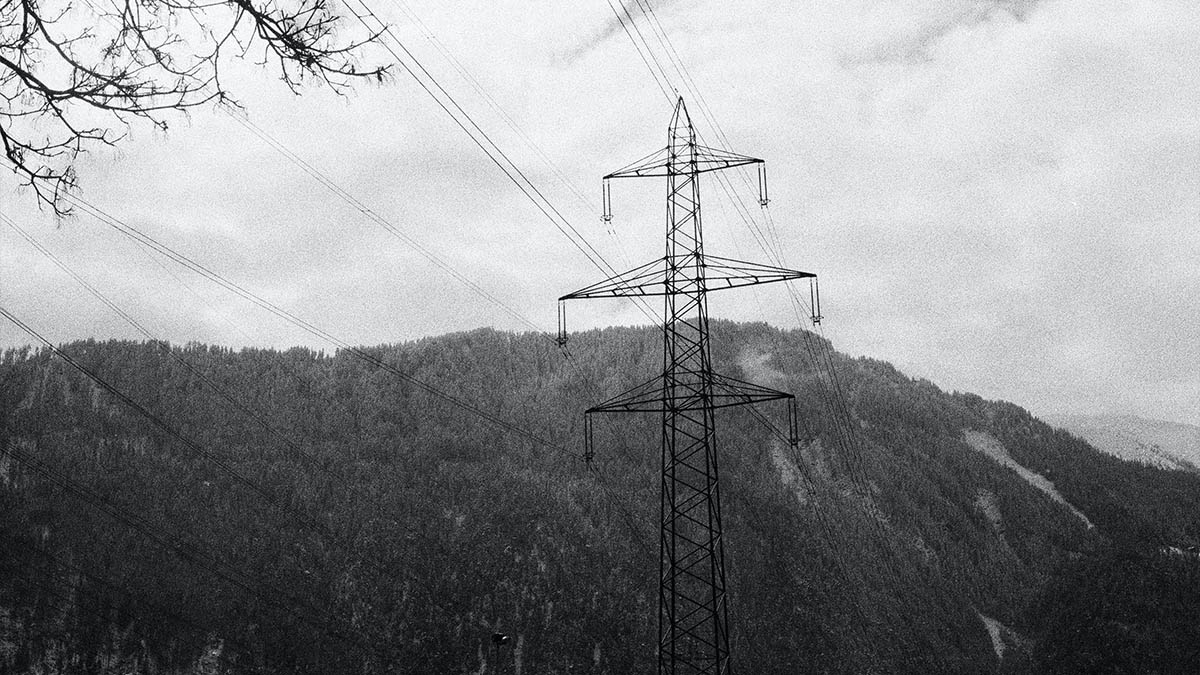
Enhances the Mood and Atmosphere of Black and White Photos
Grain texture is an important part of black and white photography. It can be used to enhance the mood and atmosphere of your photos, but its effects are not limited to black and white images. Grain texture can draw attention to specific elements of a photo or add character to otherwise boring images.
How to Easily Add Grain Effects Online
By including grain in the image, we will be able to change an ordinary photograph into a sophisticated and old-fashioned one. We will be working with Colorcinch throughout this tutorial. But first, download a grainy texture or image from google. Just search for grainy texture and it will give you a list of free-to-download textures. We will be using a texture to simulate a grain effect.
Step 1: Open Colorcinch and Upload a base photo.
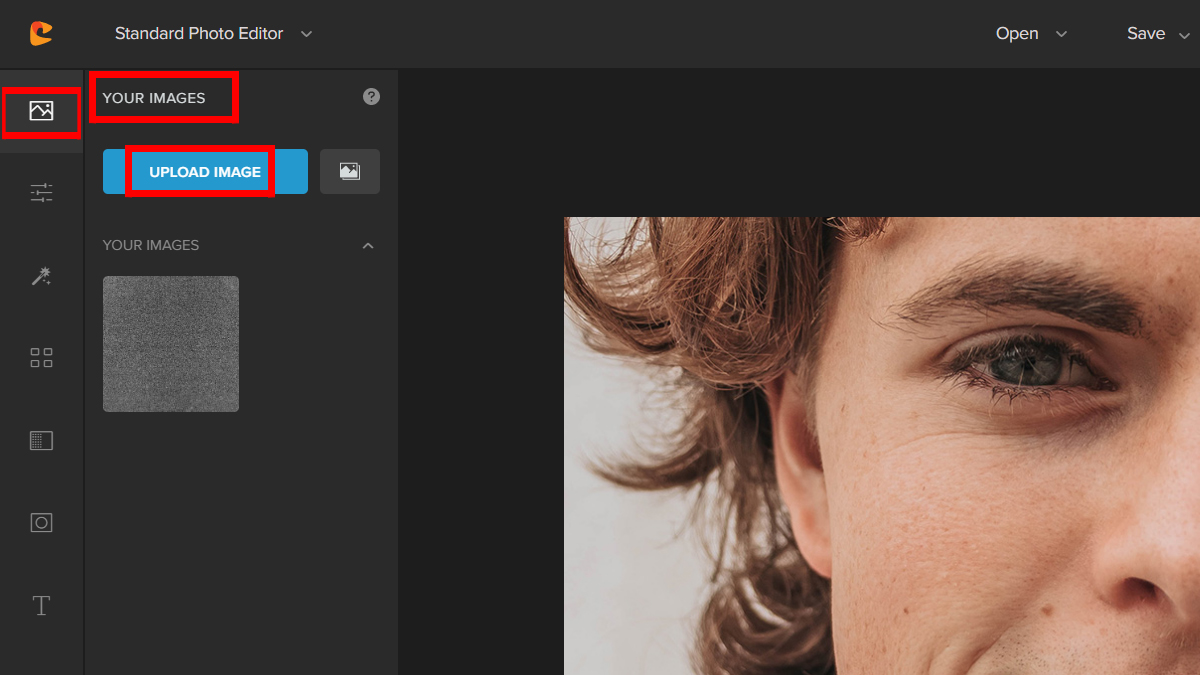
Step 2: Navigate to Image Manager and click on Upload Image. Choose your downloaded grainy image from your computer. Once uploaded, the images will appear in Your Images below the Upload Image.
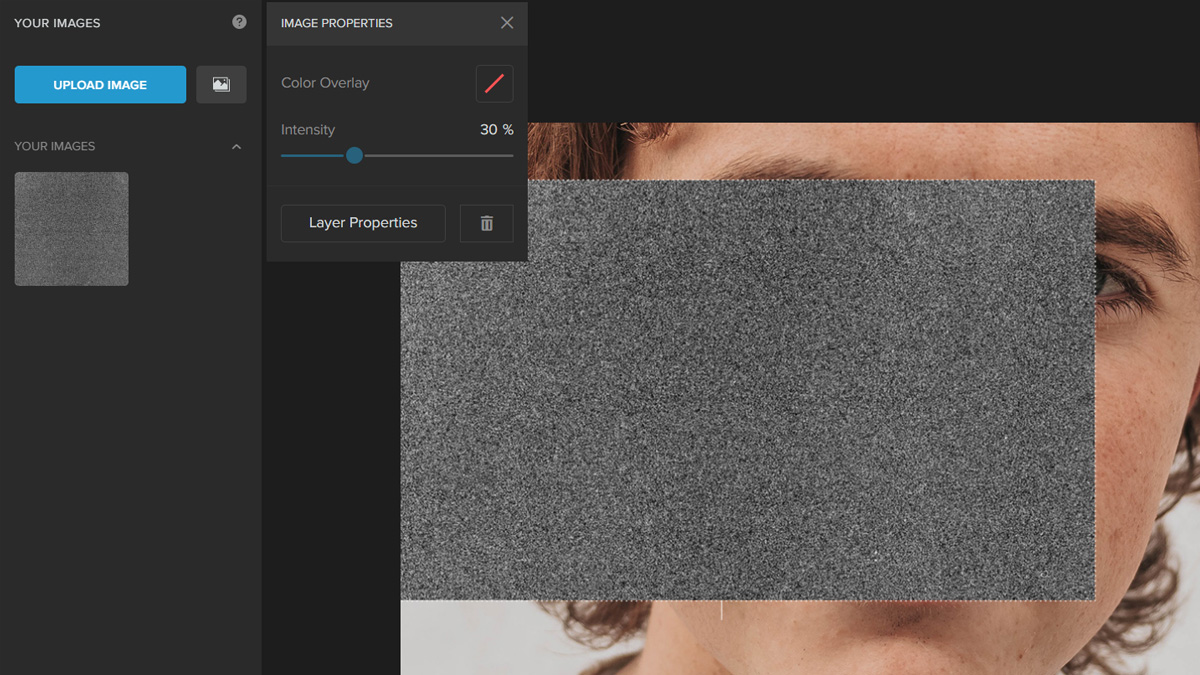
Step 3: Drag the second image on top of the base photo and adjust it to fit the base photo.
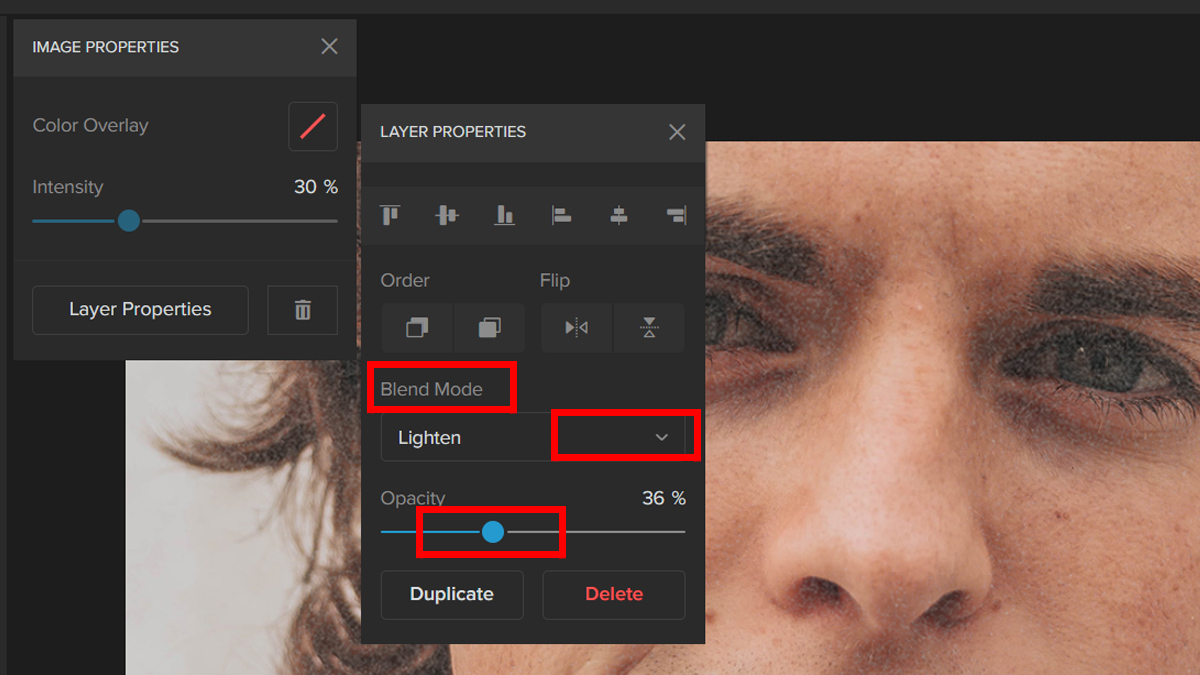
Step 4: Change the Opacity of the image by clicking on the Layer Properties button. Adjust the Slider until you are satisfied with the result.
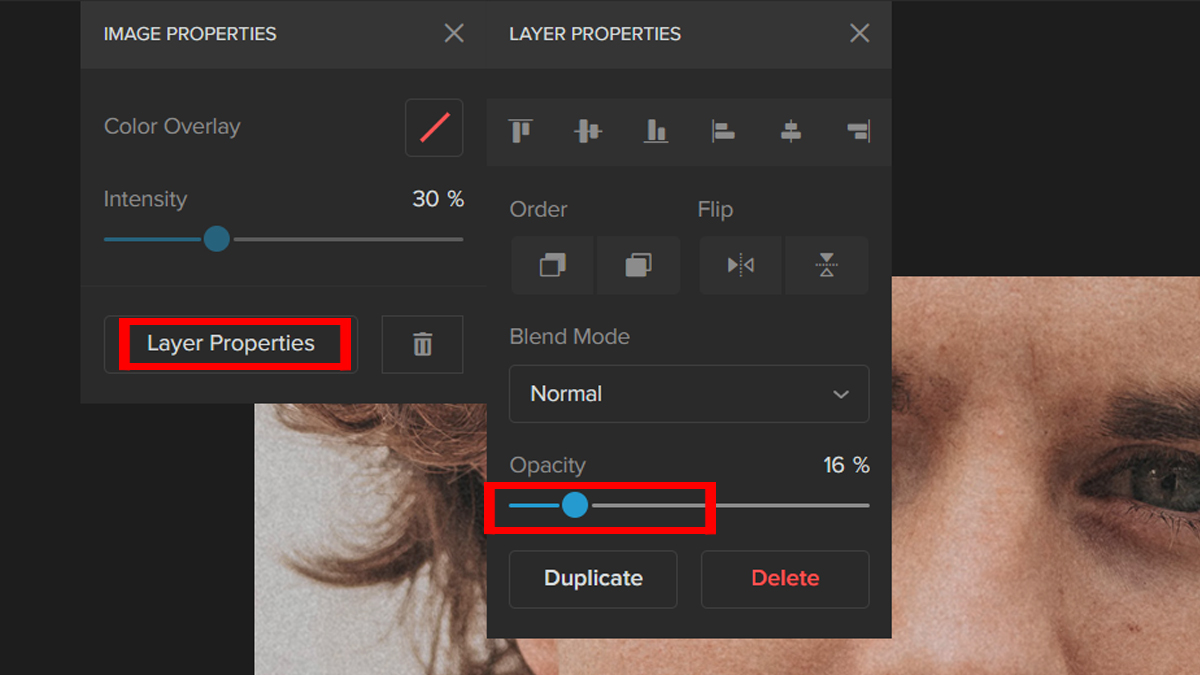
An alternate way is to use Blend Mode. Choose a Blend Mode by clicking on the dropdown menu and adjusting the Opacity using the Slider.
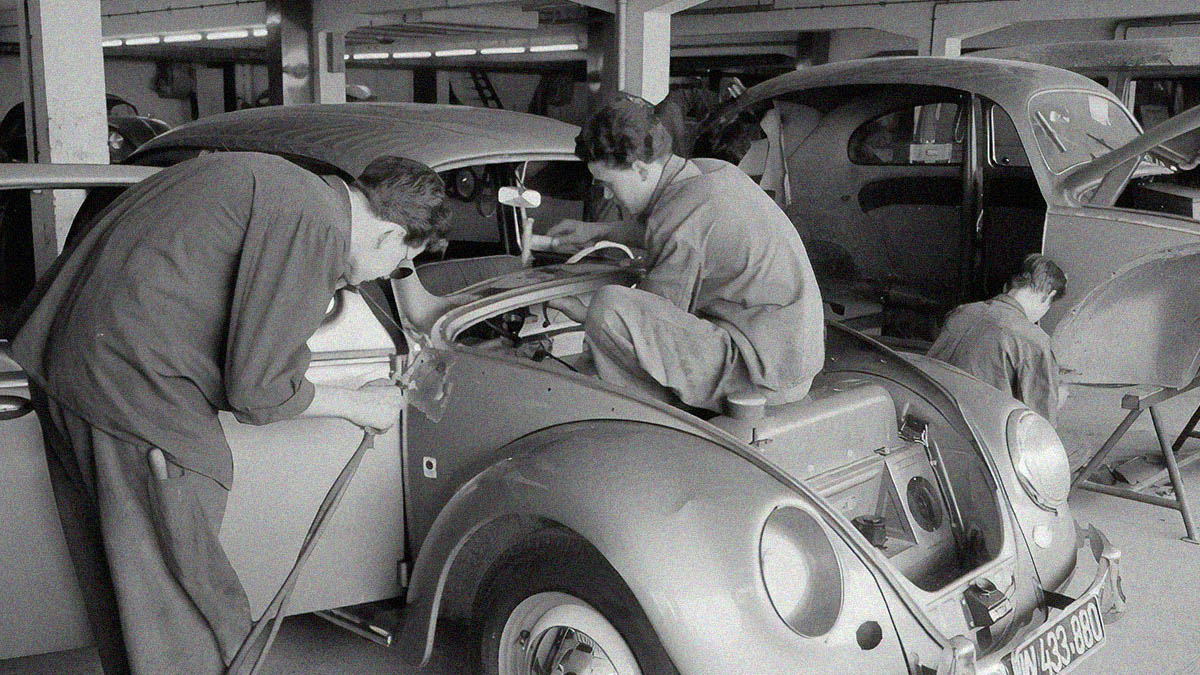
It’s that easy. You can easily add grains to your photos online. Let’s take a look at the final result. Here is the before and after.


A Few Quick Tips When Using Film Grain Textures
As you can see, making use of grain textures is a fantastic way to provide an impression of antiquity to the photographs you take. However, before you get started, there are a few things that you should bear in mind, which are as follows:
- Make sure your grain texture is large enough to cover the entire image
- Make sure you’re using a high-quality grain texture that will work well with the image
- Use a blending mode that works best with your grain texture
- You can use any photo editing software that allows you to apply grain textures
Conclusion
So, there you have it! You can use the techniques we’ve discussed in this post to create a grain texture in your own photos. Grain texture can add a vintage feel to your photos, but it can also be used to give your images a gritty or grunge overlay effect. Applying grain is easy and doesn’t require any special knowledge of photo editing software.
Keep in mind that it’s always a good idea to do some research on the subject before diving in. We hope that these tips will help you get started with creating vintage-looking photos today!