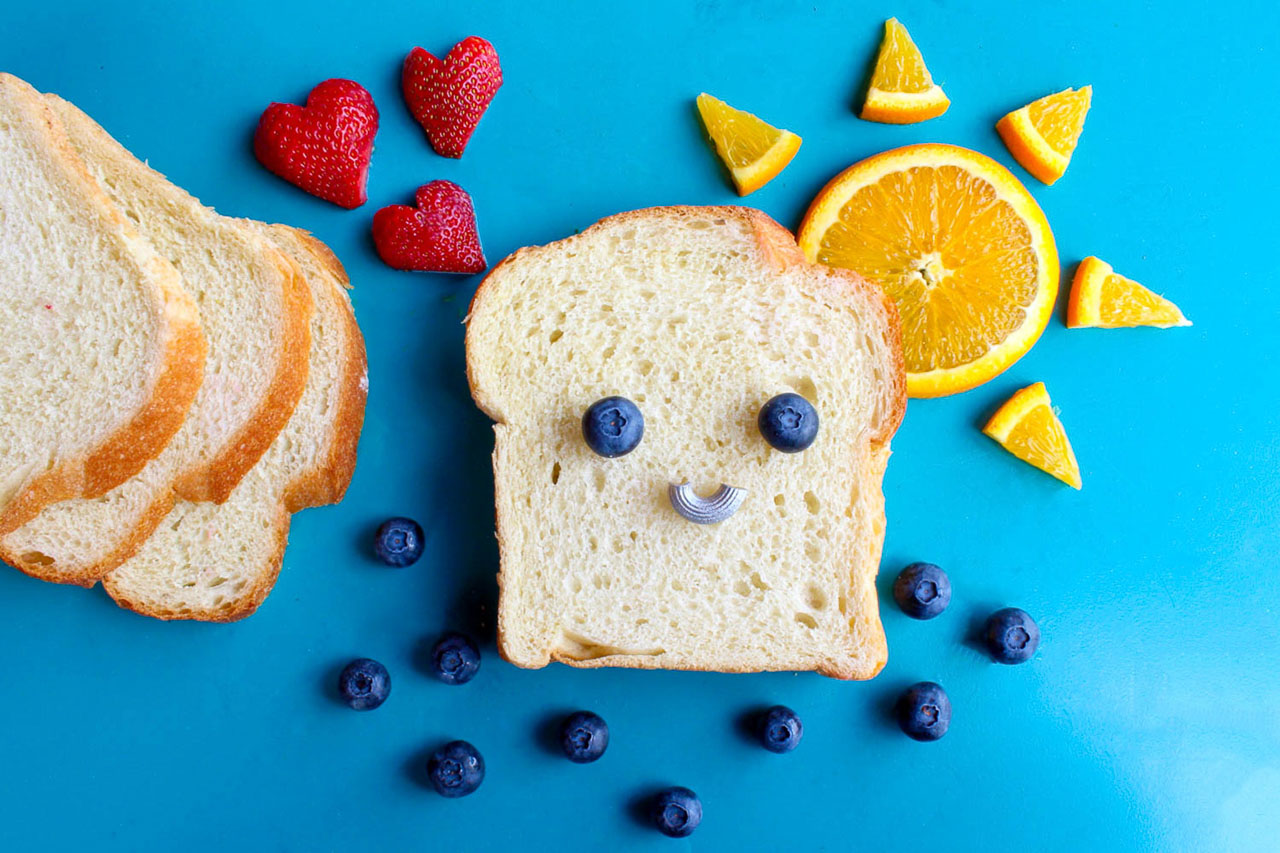
Have you ever thought, while looking at those mouthwatering photos on billboards, ordering counters at your favorite takeaway joints, or in magazines, how do they take those beautiful photos that you can almost taste and smell?
Have you always wanted to shoot great food photos but never knew how to get started?
Welcome to the mouthwatering world of food photography. This discussion will list ten food photography tips for better food photos.
10 Food photography tips for better photos
Without further ado, here are 10 food photography tips for stunning food photos:
1. Clear idea of what you want to shoot
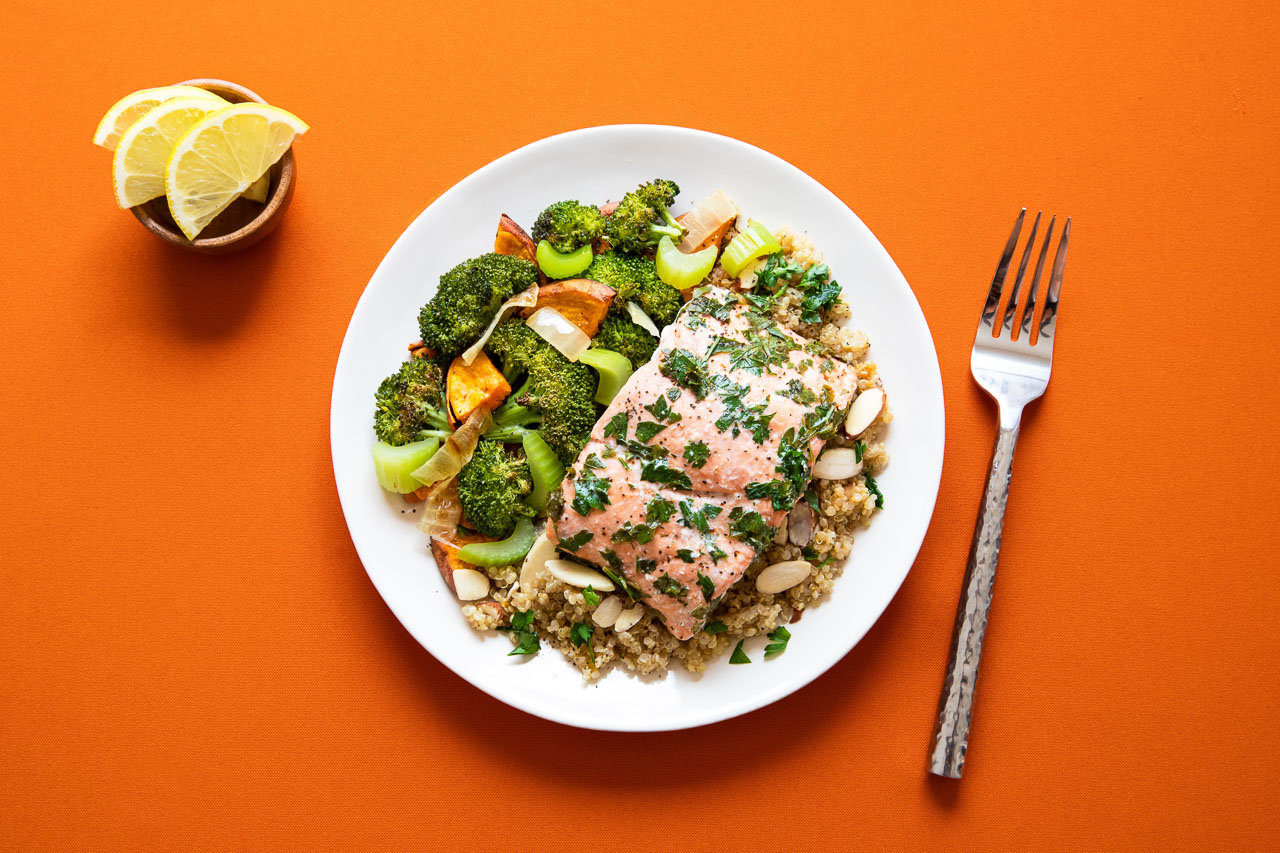
One of the more common mistakes made by beginner and pro food photographers alike is not having a clear idea as to what should be the focus of attention in the shot. Though it sounds a bit weird, it is a fact that food photographers often create compositions where the scene has many things going on, and everything seems to be jostling for attention. The result is a composition where the main protagonist is overawed.
As a photographer, you’ve to have a clear idea of what you’re going to highlight in your shot. Let’s say that you’re photographing a steak. Then the steak should be the focus of attention. And if you choose to use smaller items like fresh spices, cutlery, etc., they should best serve the role of the supporting cast and not hog the spotlight.
2. No need to incorporate the whole plate into the composition
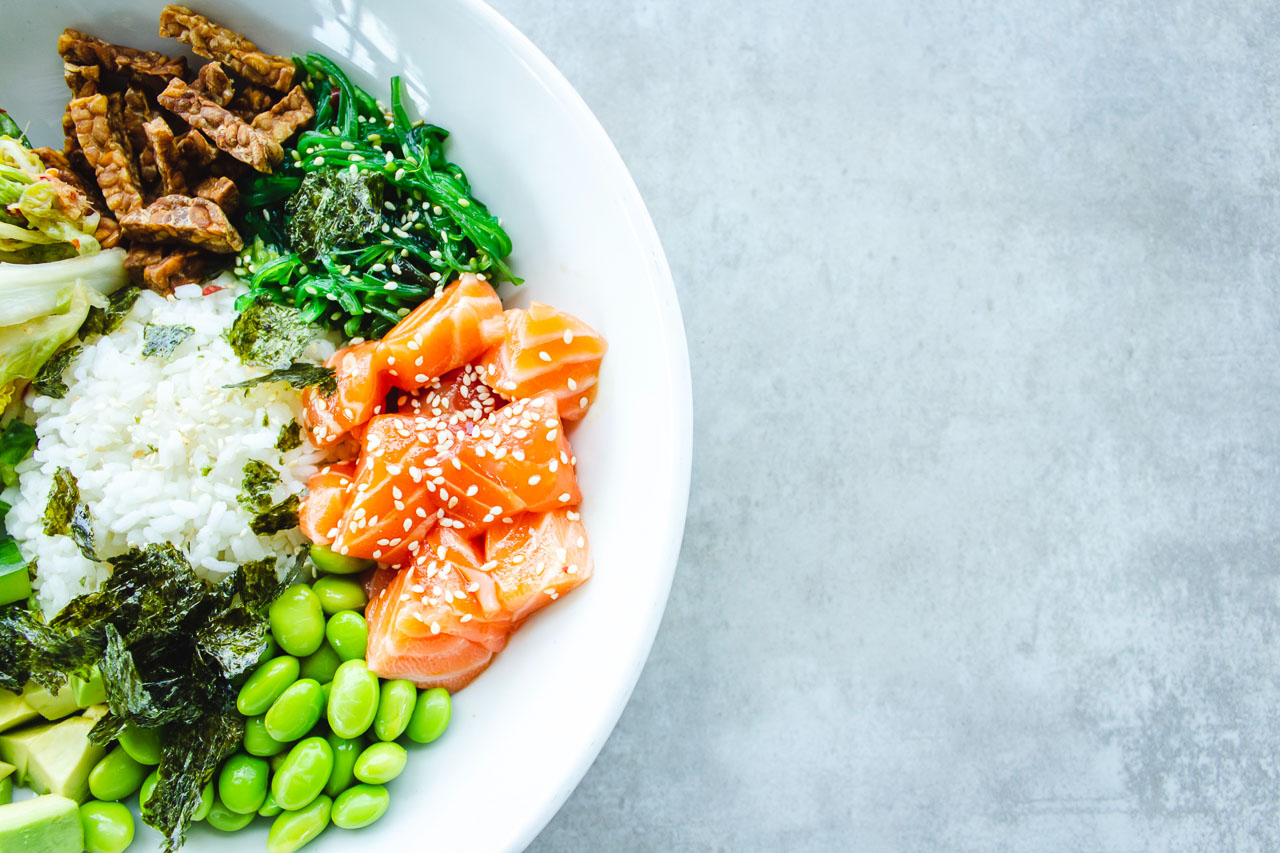 There is a misconception that the main subject of focus has to be photographed in totality. This isn’t true. You can capture only a part of the food yet make it the focus of attention. To do this, you’ve two tools in your hand. The first is lighting, and the second is composition.
3. Avoid busy foreground and background in your compositions
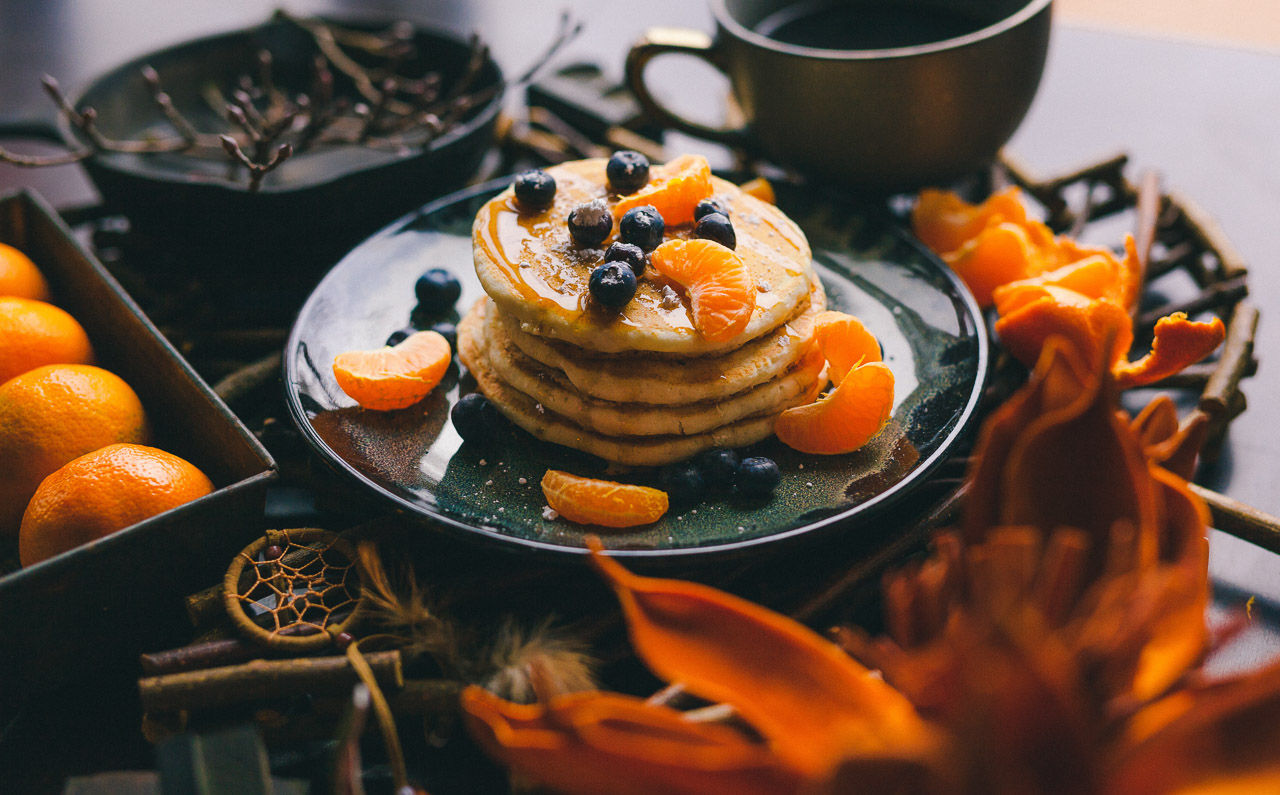
If the subject of focus has a busy background and foreground, that often takes the eye of the viewer away from it. So, avoid something like that in your composition.
Again, leaving a lot of insignificant items in the foreground while the main subject is in the middle doesn’t work. You’ve to make a judgment call on what to keep inside the composition and what to leave out.
If you make the foreground blurry, which you may consider because food photography is often shot using a wide-open aperture, things will become even messier.
4. Incorrect lighting
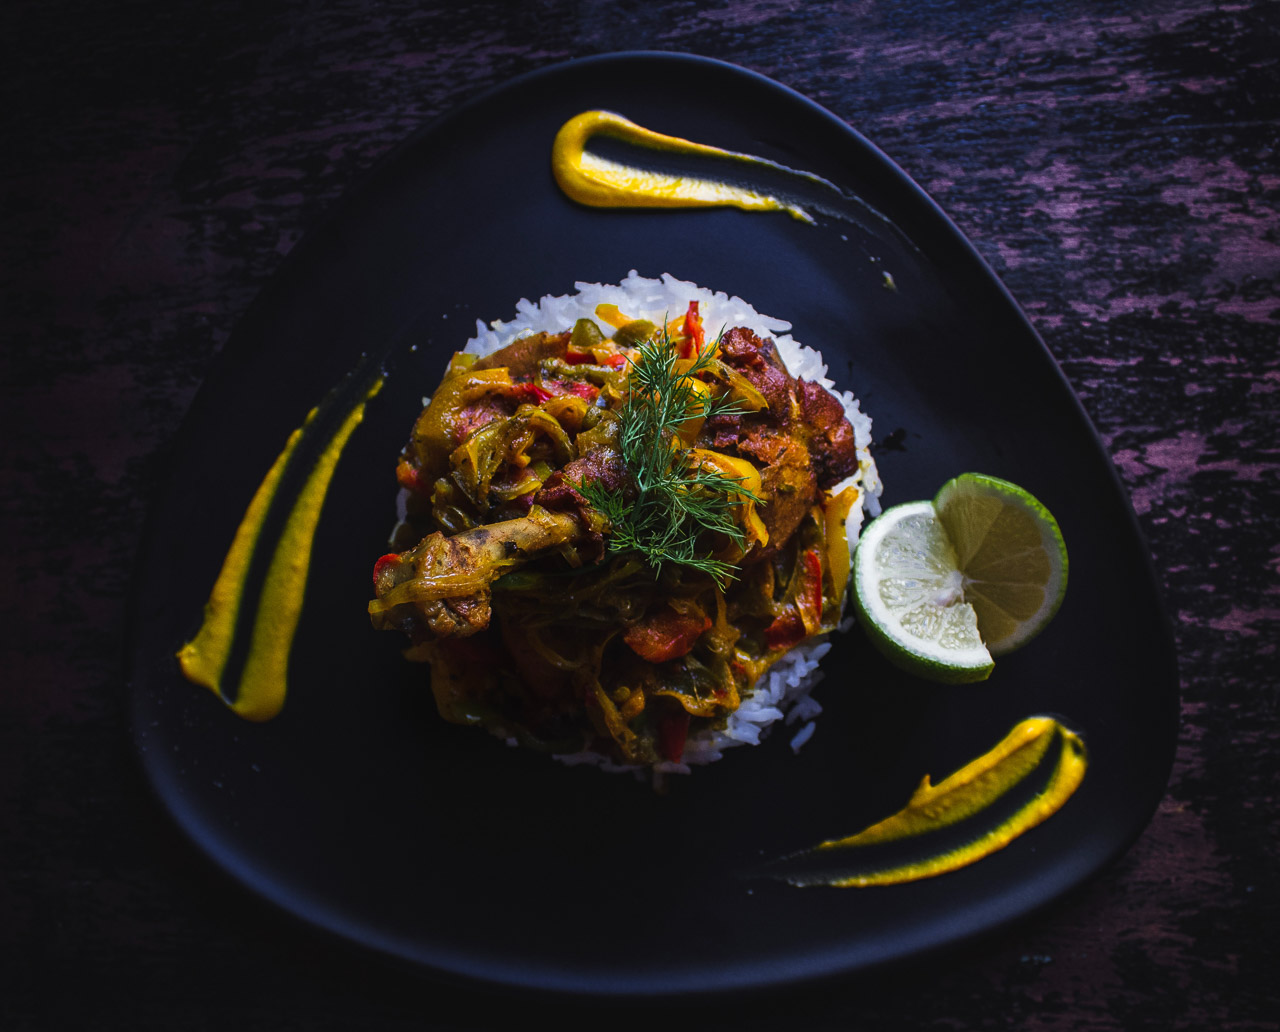
The incorrect use of light is another bane of food photography. Many times, this is augmented by poor post-processing techniques used. Remember, I said there are two ways to make your subject the focus of attention in your composition.
The second method involves lighting.
The main subject should always be brighter than the rest of the frame. If the background or the foreground is more colorful, that will grab all the attention.
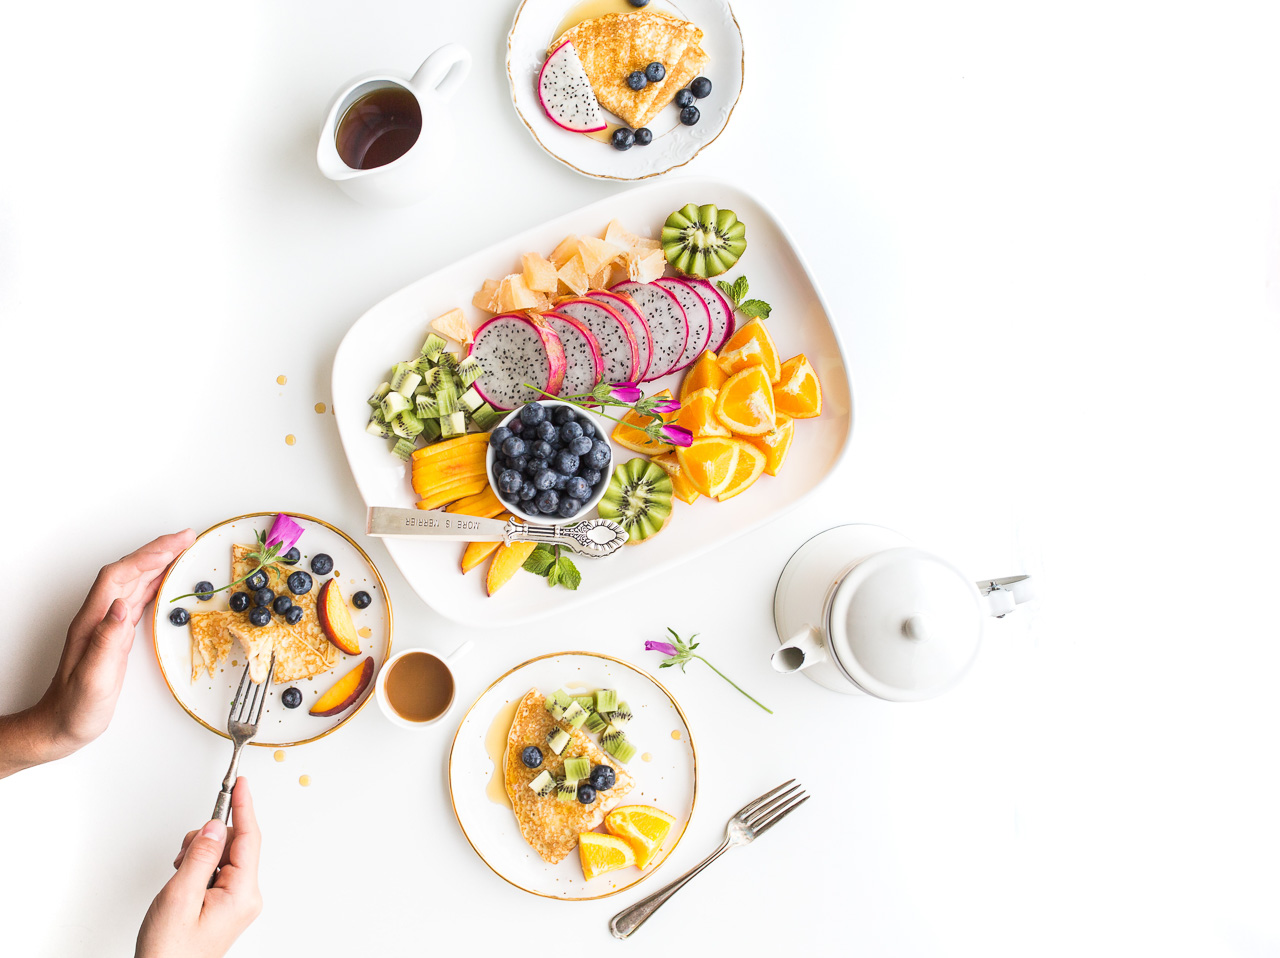
Beginner photographers often start with the most apparent lighting technique – front-on lighting. While front-on lighting works for many scenarios, they’re not so effective when it comes to food photography. Because with front-on lighting, the effect is very unidirectional, simple, and boring.
You can’t get texture, you don’t have dimension, and the result is just an average Instagram snap that doesn’t feel inviting to the viewer.
As per my experience, the best lighting is the one that comes from the side or even the back of the food. I don’t mind using two sets of light, one from the back and the other from the side, with varying output ratios to produce the perfect combination of texture and dimension. When you sell food online, a high quality photo is the key to success in your business.
5. Choose the right modifier
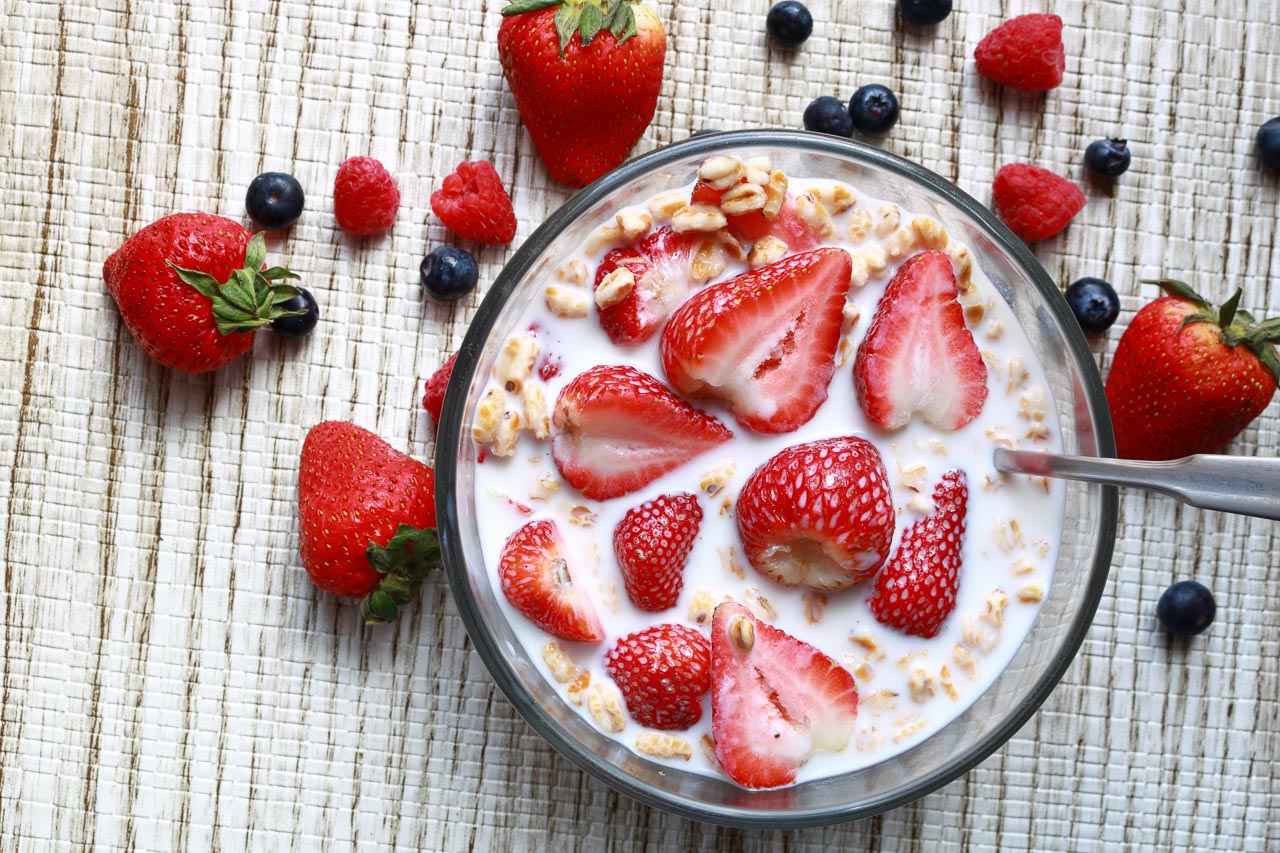
The choice of modifier also has a bearing on the quality of the light that you will get. A large softbox pointed straight down will produce a soft washed-out look. While that’s great for a high key effect, it’s not always suitable for food photography. Choose a modifier that can create a hard light perfect for those textures.
6. Choose an appropriate depth of field that works
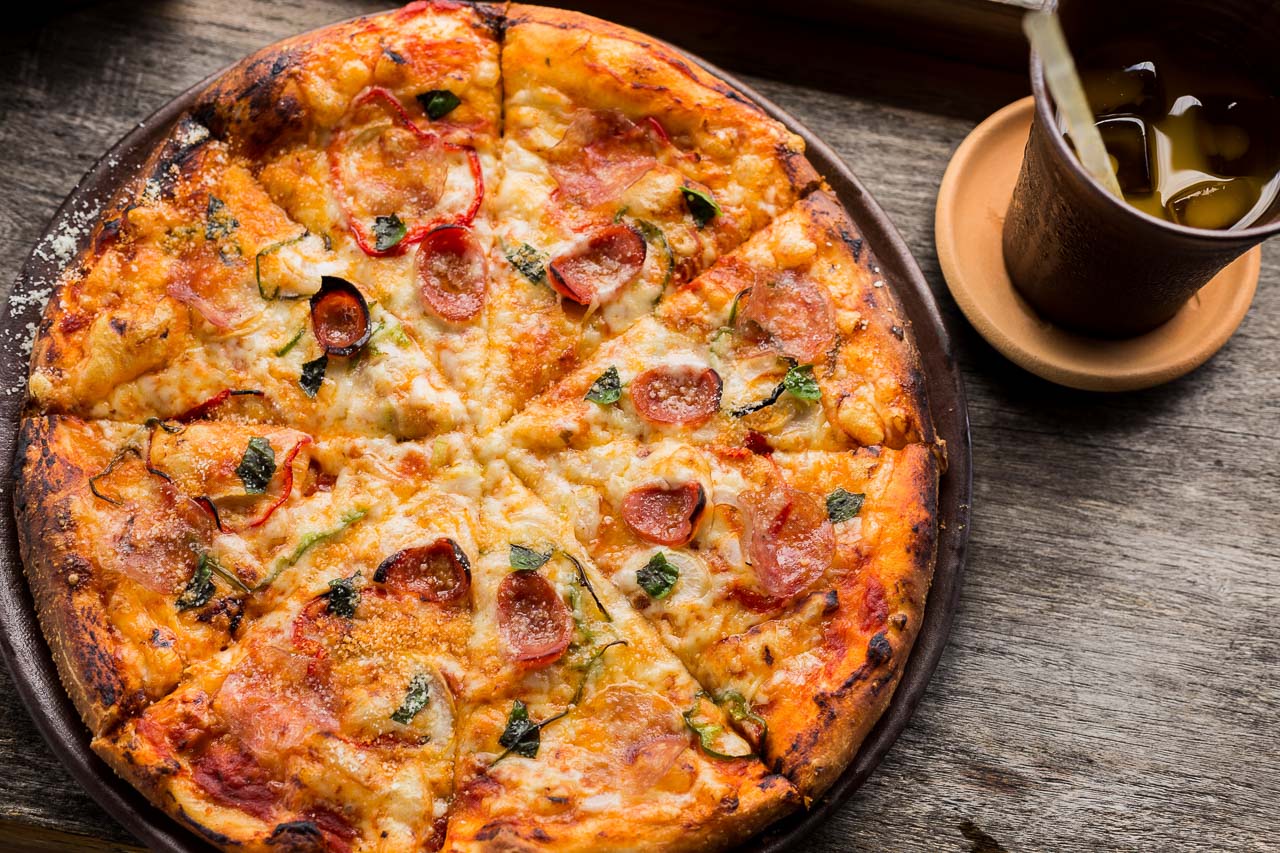
I love a shallow depth of field, and I am sure you do too. I love incorporating that into my food photos. However, when you do that, make sure that the shallow depth of field effect works for the kind of food and the composition you choose. In other words, select the depth of field that goes with your design.
7. Take the help of a food stylist
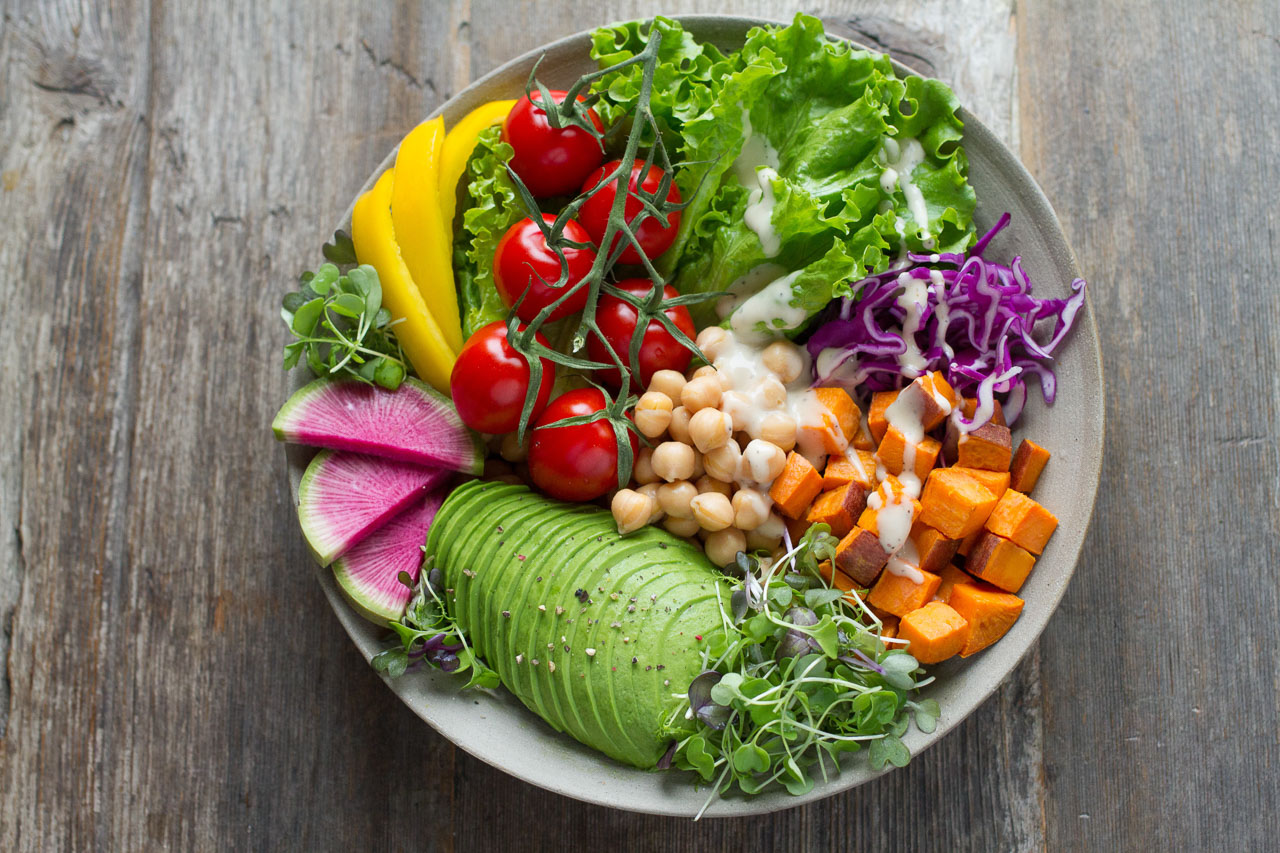
The job of a food stylist is to present a plate of food in the most attractive way possible. It is a specialized profession. Sometimes a chef would also double up as a food stylist, but I strongly recommend that you hire the services of a specialized food stylist if your budget permits. You’re going to make some good shots in the shortest time when you employ a professional.
8. Use complementary colors
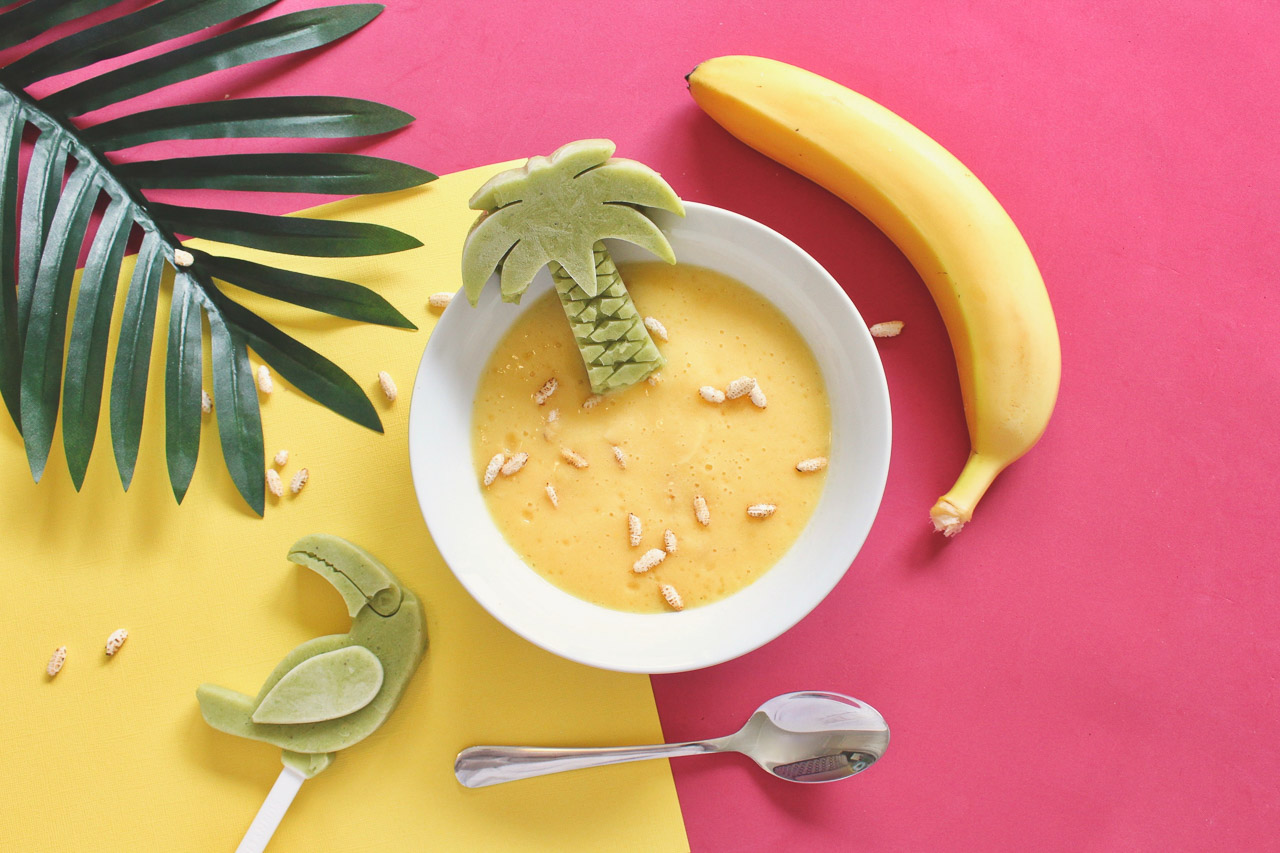
A thing that many food photographers don’t try more often is to use a minimalist approach using contrasting colors. Let’s say that the main food plate is an overabundance of red color. You can use a complementary color like green in the background to create a composition that isolates the plate of food and emphasizes it.
9. Play with the contrast and saturation slider
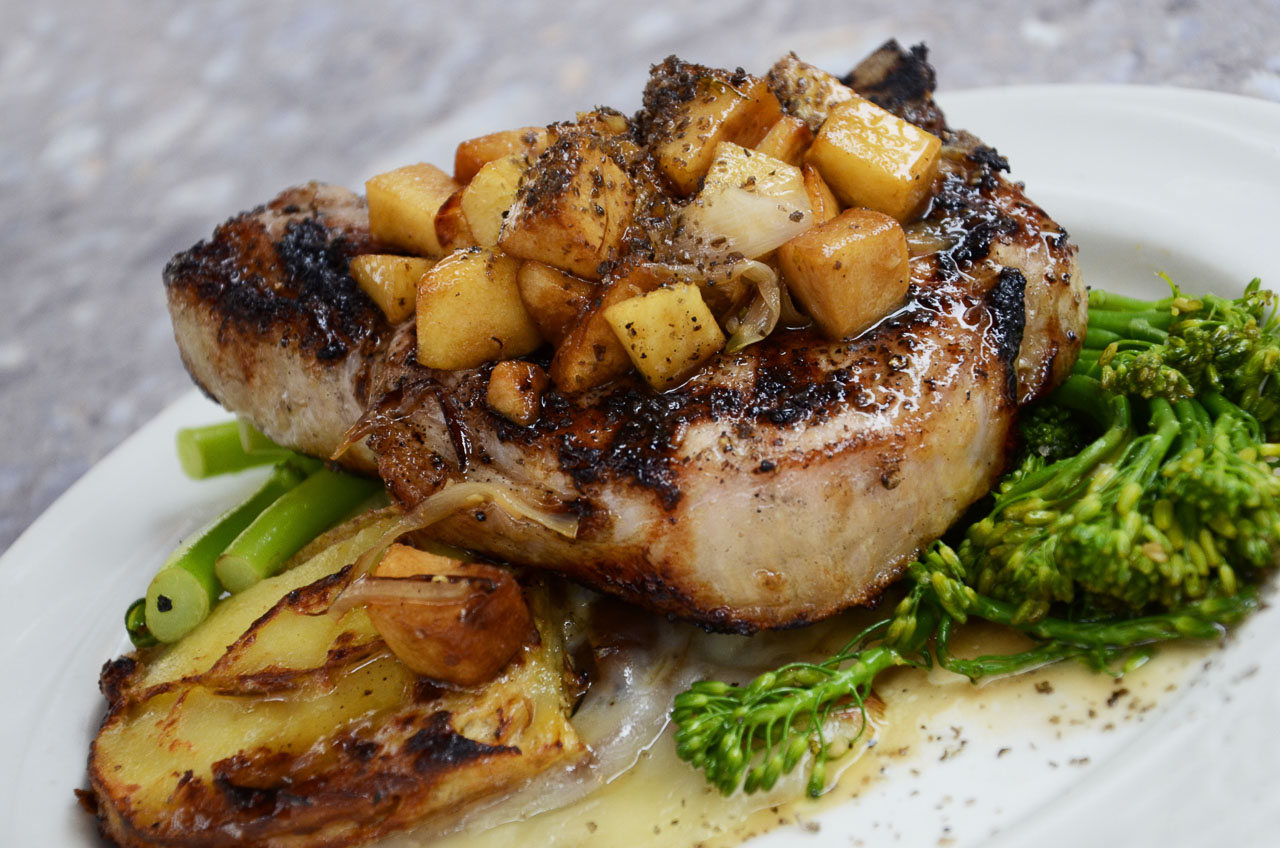
At times all that your photos need is a little bit of adjustment of the saturation and contrast sliders. Do that, and the images pop. The subject looks a lot better, and the colors are vibrant. These edits are necessary when you have used too soft a light source.
10. The right gear to shoot food photos
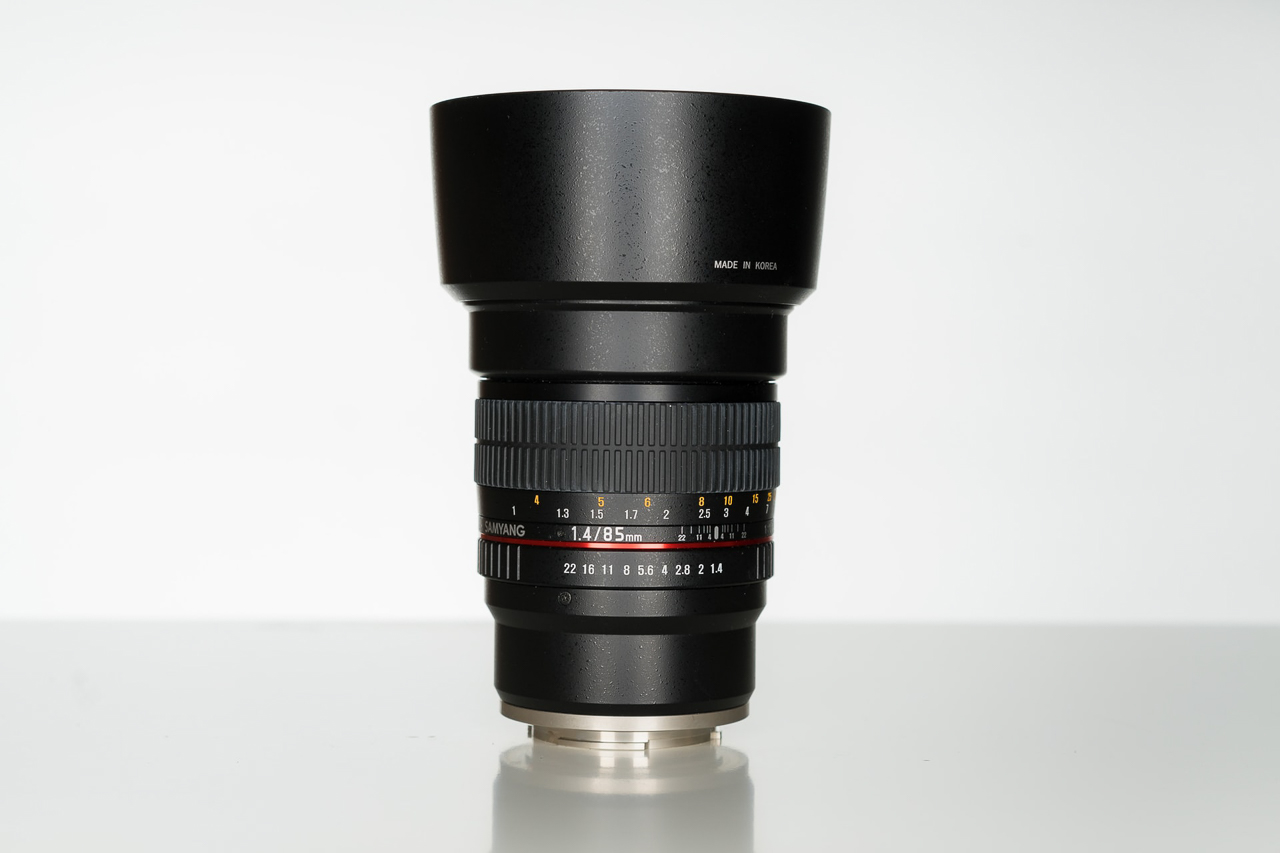
I haven’t mentioned anything about the shooting gear in this discussion. So, now’s my chance to round this list of 10 tips with a mention of the gear. Well, the camera isn’t that important. You can use pretty much any camera you can lay your hands on – APS-C or full-frame, it doesn’t matter.
But so far as lens is considered, I recommend a medium telephoto. Something like a 70-200mm. The sweet spot for me would be around 135mm. The telephoto lens gives excellent background compression.
Another lens that I recommend is a tilt-shift optic. These lenses allow you to bend the focal plane to ensure that your image has a large depth of field even though you might be shooting at an angle.
Why is it necessary to edit your food photos?
You must have got some answers about the importance of editing/post-processing your photos by now. Sometimes, some of our mistakes are not apparent until we have downloaded all the files on our computer and are ready to evaluate them.
If you’re shooting in your studio and have the set-up ready, you can always go back, recompose, or readjust the light and redo the shoot. This, however, is difficult if you’re shooting at a different location other than your place.
So, the importance of editing is mainly two. To adjust incorrect lighting and to crop to adjust the composition. It’s also important for stacking etc., and doing a bit of fine retouching.
Simple post-processing techniques to improve your food photos –
As noted above, under the paragraph Why it is necessary to edit your food photos, I have mentioned that poor lighting is a significant reason why food photos don’t have the same impact as you expect.
A simple adjustment in post-processing can help you transform your photos.
With an online editor like Colorcinch, you don’t even have to wait to reach home to be able to edit your photos. You can do it on the go. This is how –
I chose this image because I felt that the burger picture was too dark and moody.
Step 1 – Navigate to Colorcinch
Step 2 – Click on Upload to Select the image you need to edit.

Step 3 – This image requires a slight adjustment of the Exposure.
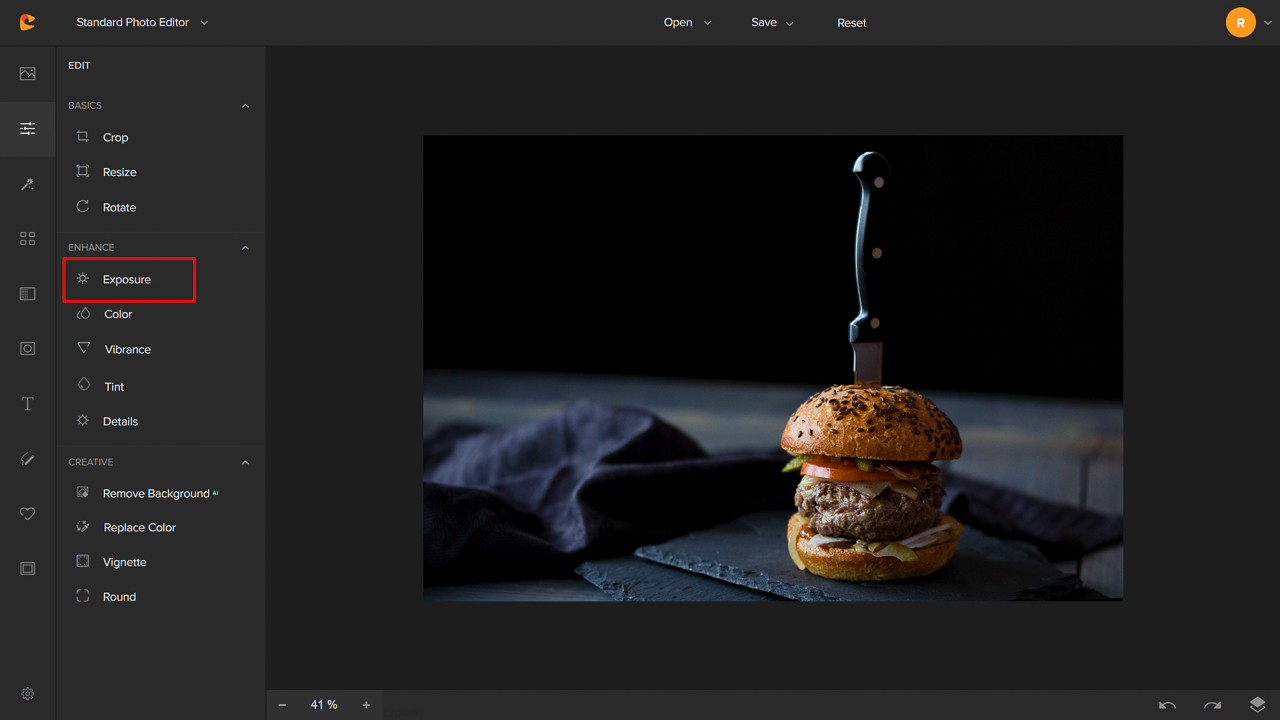
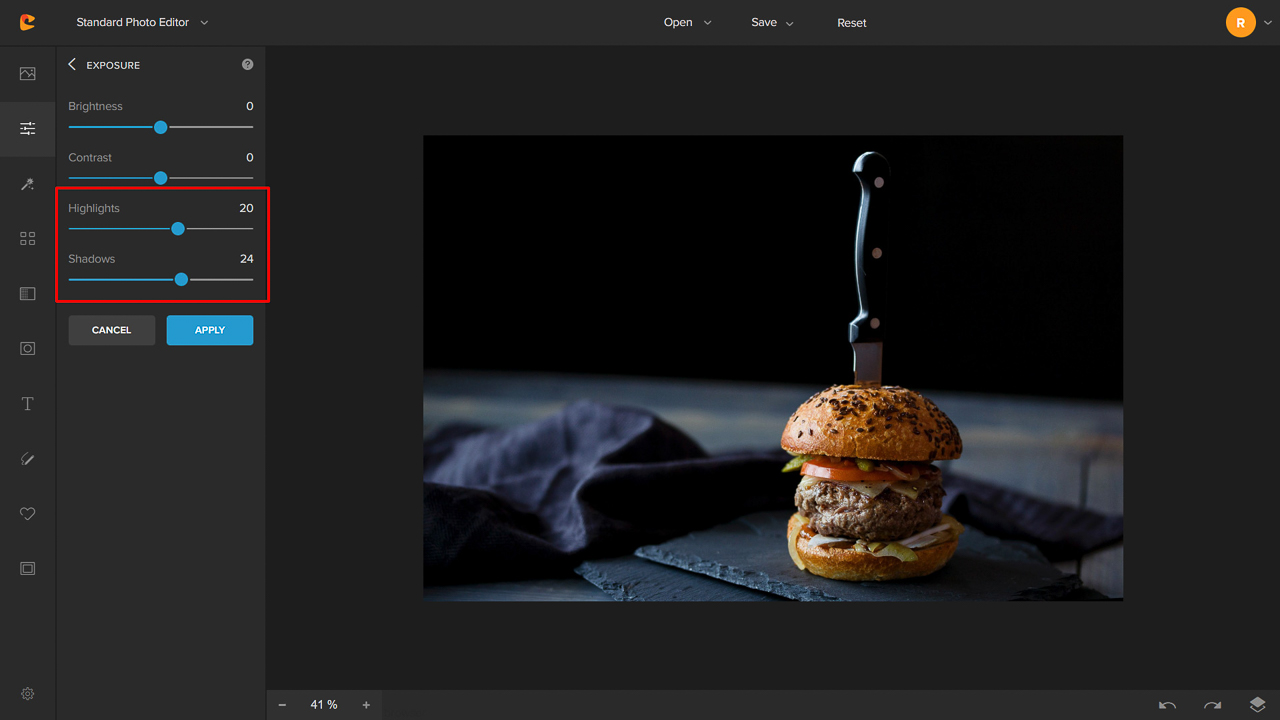
So, I open up the Shadows and tweak the Highlights a little. And that should do all the trick.
Here’s a quick before and after look. It’s subtle, but the change is necessary to make the burger look like the hero in the shot.
Concluding thoughts
They say the three things you need in life are good food, good music, and good company. Food photography comes from this love of food and celebrating all the good things in life.
Food photography isn’t only about capturing photos of plates full of food. It’s about enticing the senses. There is more than one sense at play when eating or cooking. You can see, smell, touch, and taste. And not to forget to hear! Just hear the sizzling sound of a juicy steak on the hot pan, and you will know what I mean. If a photo fails to entice at least a few of these senses, it does not qualify to be an excellent food photo.
Hopefully, you’ve enough points to get started and shoot some fantastic food photos of your own. Happy clicking!


