


You’ve long dreamed of learning to edit Instagram photos like a pro, so your images would resemble ones uploaded by your favorite celebs.
Right?
No worries! Here’s good news:
I’m about to turn your dreams into reality.
This guide covers the steps you could take to edit your Instagram pictures like a professional—even if you have zero editing experience.
Before You Start Editing Your Instagram Photos
Stay ahead of the curve and be aware of the latest Instagram trends and don’t just set out to edit random, low-quality images. You won’t love the result regardless of the efforts you put in.
So the first step to uploading a beautifully edited photo on Instagram is to take a clean shot.
Thankfully, you don’t need an expensive camera to capture lovely photographs.
Got an Android or iPhone?
Then you’ve got all you need to take excellent shots.
Here are 3 quick tips for capturing attractive photos using your mobile device:
1. Clean Your Phone’s Lens
Naturally, dirt from a greasy hand, wet pockets, or dusty surroundings could easily accumulate around your phone’s lens, making your images look blurry or faded.
So, it’s essential you check (and clean) your phone’s lens before taking your pictures.
Soft material like a handkerchief should fix this issue in a few seconds.
2. Choose Natural Light
Don’t go around taking pictures with your phone’s flash on. Unlike natural light, the phone’s flash may alter specific colors and affect your images’ overall quality.
So to get a beautiful and clear image to use on Instagram, rely on natural light instead of your phone’s flash when taking your photographs.
This might mean that you’d have to take your photographs outdoors or take your indoor photos from an angle with rays from a natural light source.
3. Embrace Multiple Perspectives & Avoid Long-Range Shots
To get a clearer picture when taking photographs on a mobile phone, move closer to the subject rather than zooming in from afar. Doing this is one smart way to obtain high-quality images.
Photos that are captured from odd angles, orientation and multiple perspectives often end up unique and beautiful.
Instead of standing opposite the subject while taking a shot, explore other angles to see which would turn out the best. And don’t forget to play around with negative space too.
Learn more ways to improve your photography skills.
How to Edit Your Instagram Photos Like a Pro
Once you’ve got a clean, high-quality shot, it’s time to add bits of freshness to your picture.
Depending on the result you’ve pictured in mind, you could edit your images directly within the Instagram app or use an external tool to achieve extra sleekness.
Using the Built-in Editor to Edit Instagram Photos Like a Pro
1. Upload Your Photo
If you already have images on your Instagram page, then it means you know how to upload a photo on the app. So you can skip to the next step.
But, if you are entirely new to this feature of the app, then I’m going to walk you through the process quickly.
First, open the Instagram app on your mobile device.
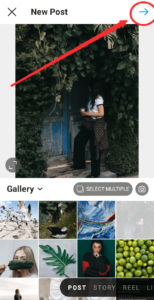
Second, tap the (+) button on the upper right corner of your phone’s screen.
Third, locate the picture you’d like to transform from your phone’s gallery.
Tap the picture to select it, then tap the arrow on the upper right corner to upload it.
Once your picture uploads successfully, it’s time to pick up your editing wand and do some magical enhancements.
2. Pick a Filter
Instagram has a series of filters. You’re free to try them all and see which would work best for your image.
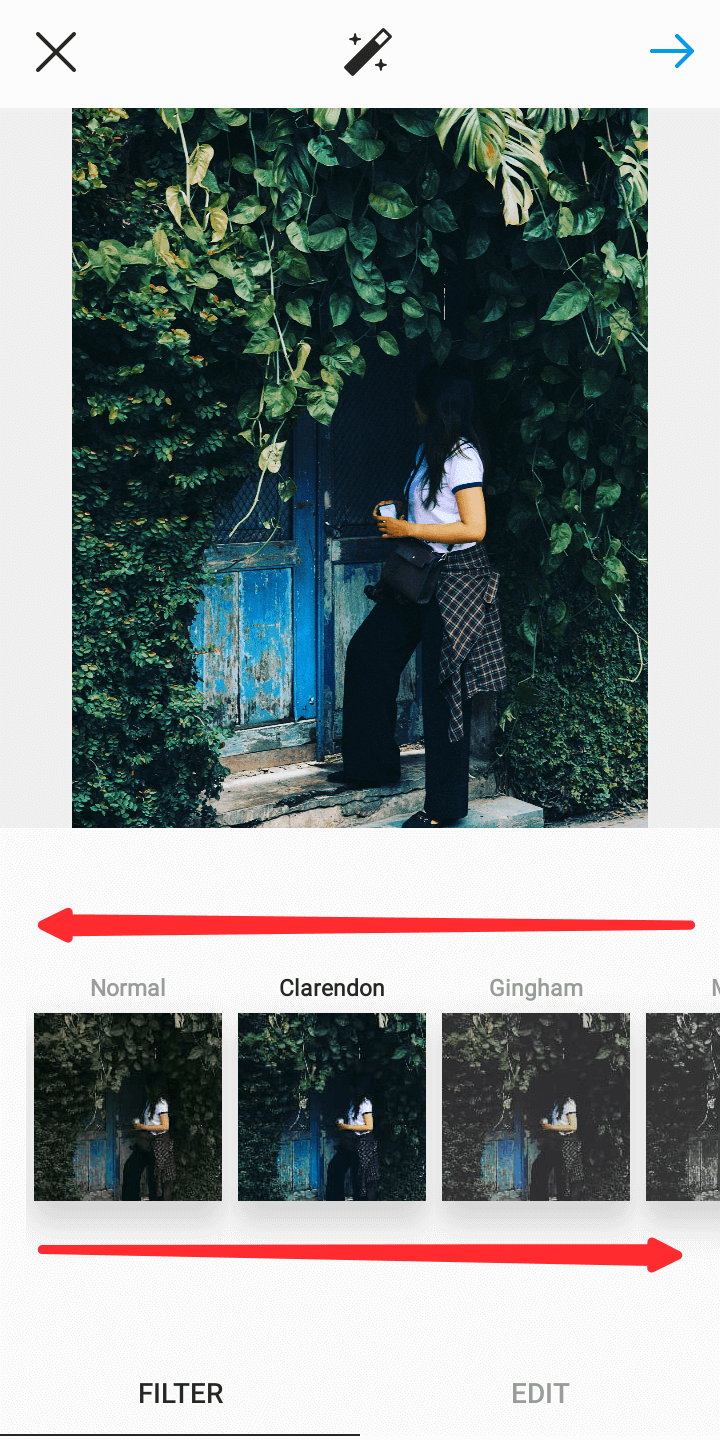
The process of choosing a filter can easily become an endless loop. Because, sometimes, more than one filter might catch your attention, even though you know you are to pick just one—and then reserve the remaining for your future uploads.
If you ever fall into this situation, here are two foolproof tricks I always use to break the loop:
- I scroll through my Instagram feed, find someone else’s edited picture I love, and then use the filter the person used (or one close to it).
- I check my previous uploads, find a picture that got lots of attention (likes & comments), and then re-use the filter I used there.
These tricks help to cut down the time you’d naturally spend sorting through numerous filters that might all appear cool at the same time.
3. Enhance Your Image
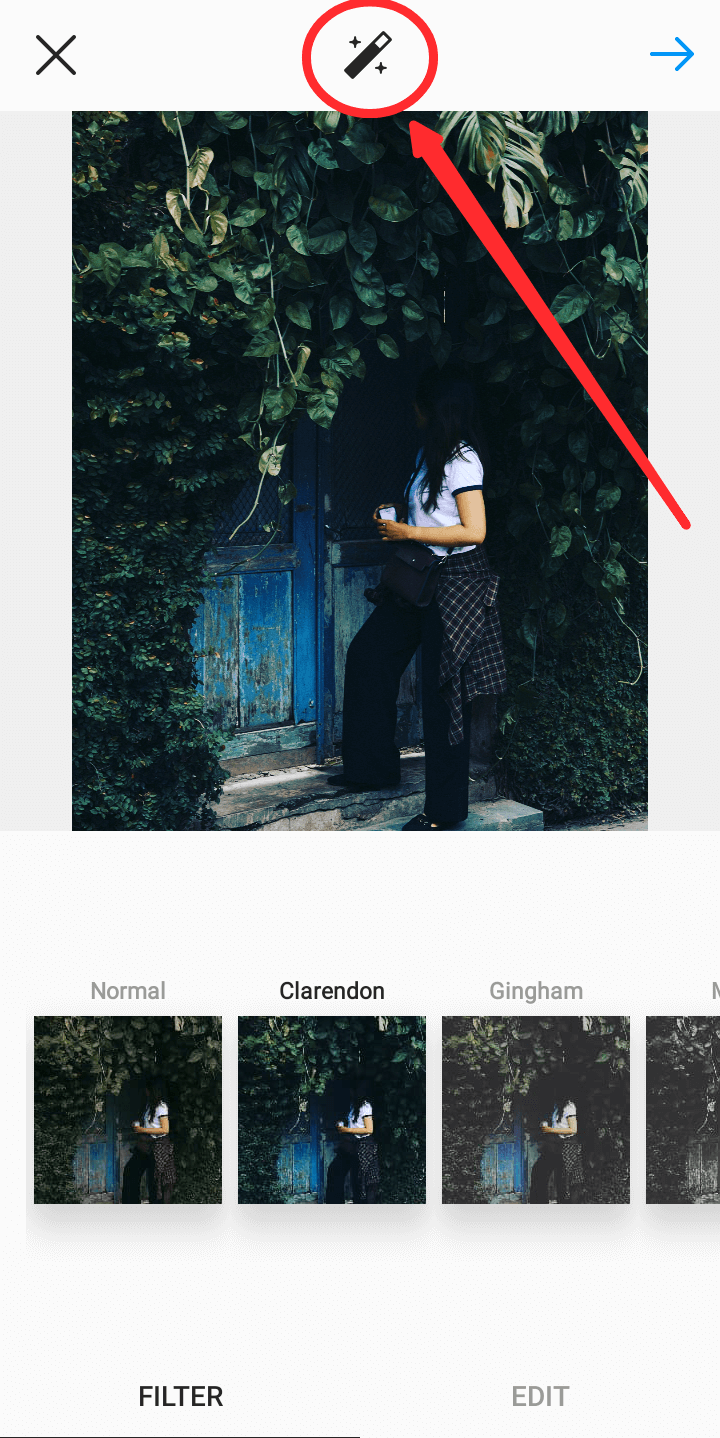
Start your adjustments by playing around with Instagram’s lux feature.
This feature helps to automatically adjust the contrast and saturation of your image, thereby increasing its vibrancy, highlighting little vital details, and making it look more attractive generally.
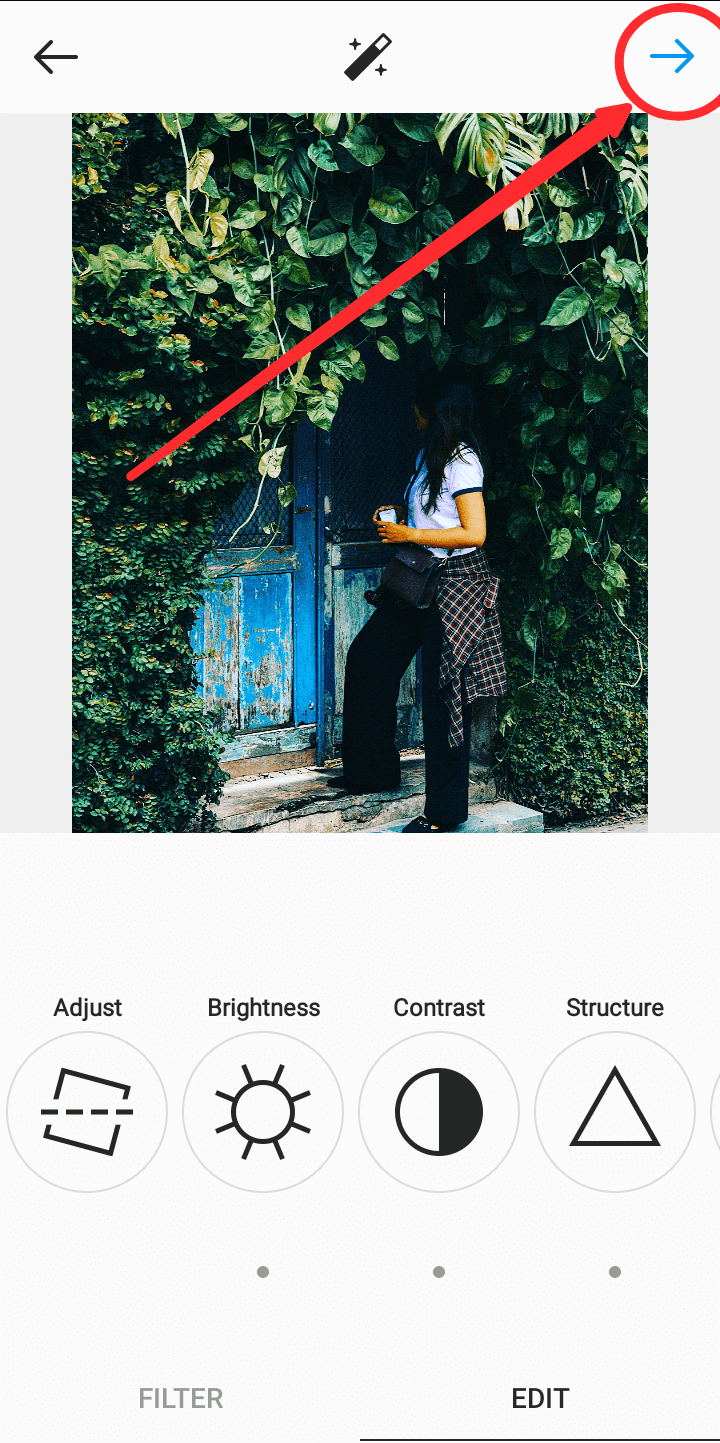
To use this option, hit the magic wand on the top of your screen and then adjust the slider from left to right to enhance your image’s looks.
After tweaking the lux, navigate to the edit tab.
You can straighten your photo (if it’s slanted), reduce/increase its brightness, add shadows, sharpen your image, and make other adjustments.
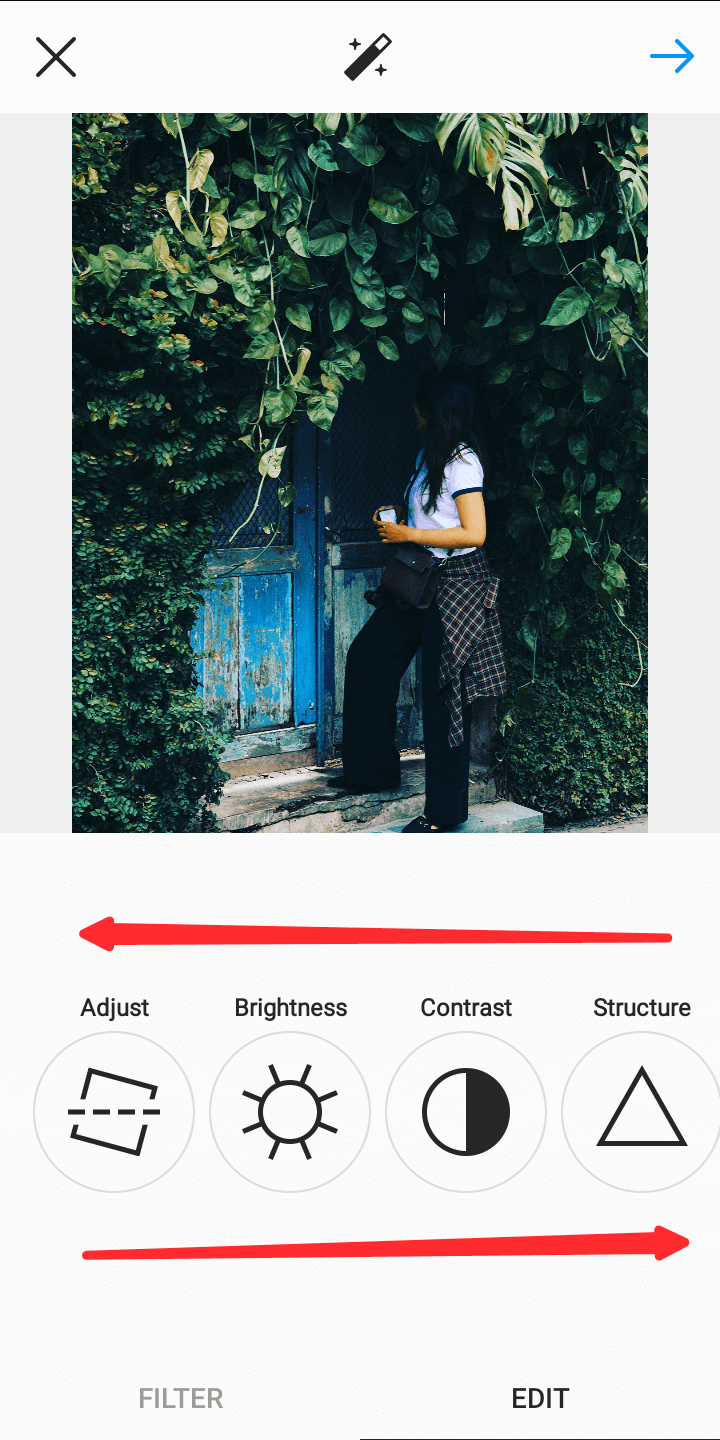
There’s no general rule to follow here.
Carefully move the different editing tools’ sliders and find the settings that’d help make your image look better. Just avoid overdoing things so your photo won’t appear overly edited and unnatural.
After enhancing your image as you desire, hit the blue arrow on the top of your screen to save your settings.
Now you’re done, you can go ahead and post your image publicly.
You can also try out Lightroom presets as an alternative to Instagram filters although you need to be more of a professional to know how to use Lightroom and its presets. In case you’re not familiar with it, check out this quick guide on how to install Lightroom Presets.
Using a Dedicated Photo-Editing Tool to Edit Instagram Photos Like a Pro
You can choose from several mobile and web-based tools to edit your Instagram photos.
In this guide, though, we shall go over the steps for editing Instagram photos like a pro using Colorcinch.
So let’s begin.
1. Upload Your Image
Open this page and click on the blue button.
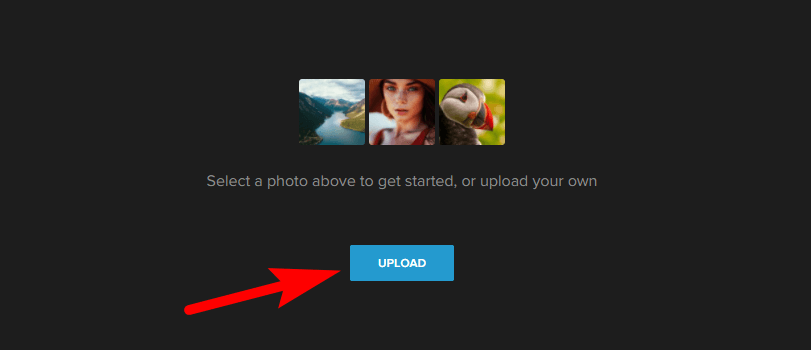
Next, locate and select the Instagram image you’d like to edit.
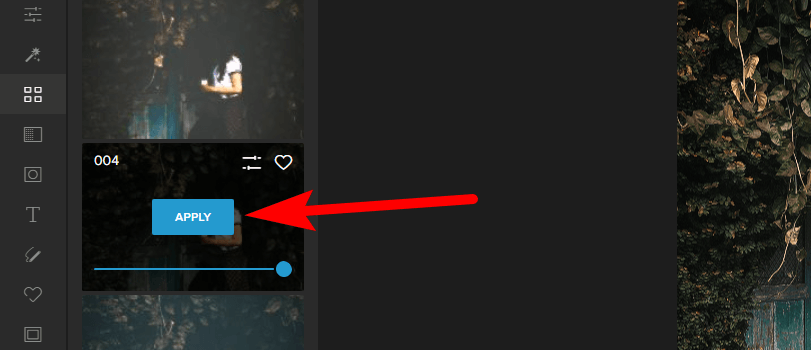
2. Choose a Filter
Colorcinch has a load of stunning filters suitable for editing pictures for both business and personal needs.
We’ve previously reviewed loads of Colorcinch’s filters (and ones from other software), so you can read this guide to get some ideas.
When you find a filter that goes well with your image and perfectly fits your needs, move the slider from left to right to adjust the filter strength, and then hit APPLY.
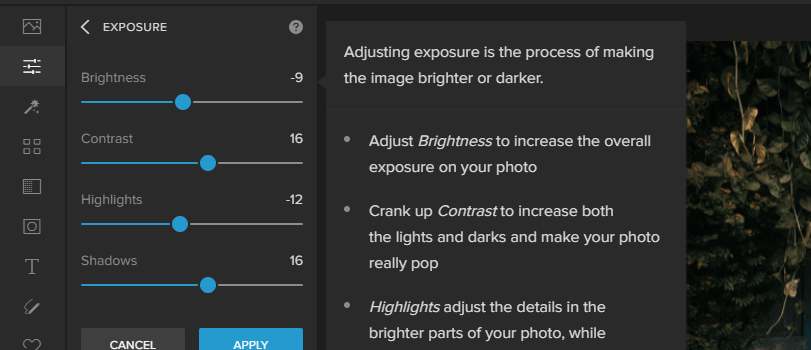
3. Enhance Your Image
Colorcinch has all the basic editing features you’ll find in most editing apps and even on Instagram.
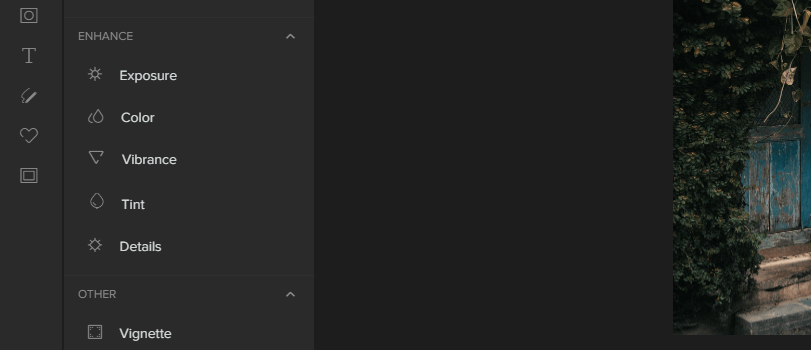
To adjust the brightness, contrast, exposure, and other features of your picture, navigate to the edit tab, click on a photo enhancement option, and carefully move the sliders from left to right.
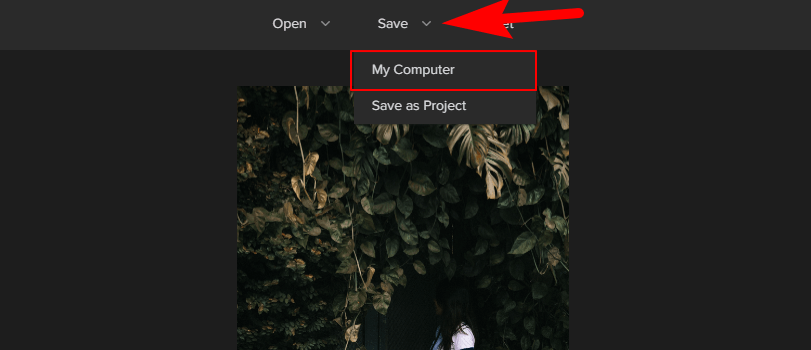
4. Download Your Image
After editing your Instagram image using Colorcinch, hit the arrow on the top of your screen, and then click on My Computer (to download the image to your mobile/desktop).
You can now proceed to upload your image on your Instagram page without editing it within the app.
Unleash Your Editing Prowess
Quality is crucial if you desire to obtain a pro-looking, irresistible photo at the end of the day.
So ensure your original image is of high resolution and quality.
If you would prefer to upload a stock photo rather than use yours, ensure you download a high-resolution version of the picture.
Creativity is one vital ingredient for editing photos beautifully.
Let yours burst forth!