• AI Tools
    • Face Restoration
    • Inpainting & Removal
    • Background Removal
    • Image Upscale
    • Image De-oldify
    • Face to Sticker
    • Prompt Generation
    • Photo to Anime
  • Tools
    • Column 1
      • Essential
        • Photo Editor
        • Background Remover
        • Image Cropper
        • Image Resizer
        • Image Flipper
        • Image Brightener
        • Image Darkener
        • Text Editor
        • Color Replacer
        • Photo Blur
    • Column 2
      • Filters & Effects
        • Photo Cartoonizer
        • NFT Maker
        • Photo to Painting
        • Photo to Drawing
        • Photo to Sketch
        • Image Posterizer
        • Color Inverter
        • Sepia Converter
        • Grayscale Images
        • Photo Filters
        • Photo Frames
        • FX Cartoonizer
    • Column 6
      • Overlays & Masks
        • Image Masking
        • Mystical Fog
        • Falling Rain
        • Falling Snow
        • Add Glitch
        • Add Bokeh
        • Add Light Leaks
        • Image Blender
    • Column 3
      • Social Media
        • Profile Picture Maker
        • Avatar Maker
        • Meme Generator
        • Watermark Photos
        • Twitch Banner Maker
        • Photo Combiner
    • Column 4
      • Converters
        • PNG to JPG
        • JPG to PDF
        • PNG Converter
        • PNG Maker
        • Image Compressor
    • Column 5
      • Creative
        • Image Pixelator
        • Color Splash
        • Draw on Pictures
        • Background Changer
        • Hair Color Changer
        • Color Picker
        • Circle Cropper
  • Features
  • Pricing
  • Learn
  • Support
  • More
    • About us
    • Affiliate program
    • Contact us
© All rights reserved.
Photo to Cartoon – Cartoonize Yourself & Create Avatar Characters for Free Photo to Cartoon – Cartoonize Yourself & Create Avatar Characters for Free
  • AI Tools new
    • Face Restoration
    • Inpainting & Removal
    • Background Removal
    • Image Upscale
    • Image De-oldify
    • Face to Sticker
    • Prompt Generation
    • Photo to Anime
  • Tools
    • Column 1
      • Essential
        • Photo Editor
        • Background Remover
        • Image Cropper
        • Image Resizer
        • Image Flipper
        • Image Brightener
        • Image Darkener
        • Text Editor
        • Color Replacer
        • Photo Blur
    • Column 2
      • Filters & Effects
        • Photo Cartoonizer
        • NFT Maker
        • Photo to Painting
        • Photo to Drawing
        • Photo to Sketch
        • Image Posterizer
        • Color Inverter
        • Sepia Converter
        • Grayscale Images
        • Photo Filters
        • Photo Frames
        • FX Cartoonizer
    • Column 6
      • Overlays & Masks
        • Image Masking
        • Mystical Fog
        • Falling Rain
        • Falling Snow
        • Add Glitch
        • Add Bokeh
        • Add Light Leaks
        • Image Blender
    • Column 3
      • Social Media
        • Profile Picture Maker
        • Avatar Maker
        • Meme Generator
        • Watermark Photos
        • Twitch Banner Maker
        • Photo Combiner
    • Column 4
      • Converters
        • PNG to JPG
        • JPG to PDF
        • PNG Converter
        • PNG Maker
        • Image Compressor
    • Column 5
      • Creative
        • Image Pixelator
        • Color Splash
        • Draw on Pictures
        • Background Changer
        • Hair Color Changer
        • Color Picker
        • Circle Cropper
  • Features
  • Pricing
  • Learn
Get started
Sign in

Sign in

Photo to Cartoon – Cartoonize Yourself & Create Avatar Characters for Free

How to Edit Birthday Cake With Name and Photo

Home / Learn / Colorcinch tips / How to Edit Birthday Cake With Name and Photo
By Editorial inColorcinch tips, Creative, Tutorials

birthday cake edit

Our world has definitely shrunken down a lot thanks to the bunch of connectivity options that we have today. No matter where your near and dear ones are across the globe, it’s like they’re always there with you.

This has had an important implication on matters like celebrating important life events and achievements. Take birthdays for instance. If your close one is away on their birthday, you can still wish them via social media.

Make the wish extra special by creating a cake with their name and photo and sharing it with them.

In this article, we’ll learn how you can use Colorcinch to edit a cake image to add a name and the photo of the birthday boy/girl. Let’s go!

Edit Happy Birthday Cake With Name: Step-By-Step Process

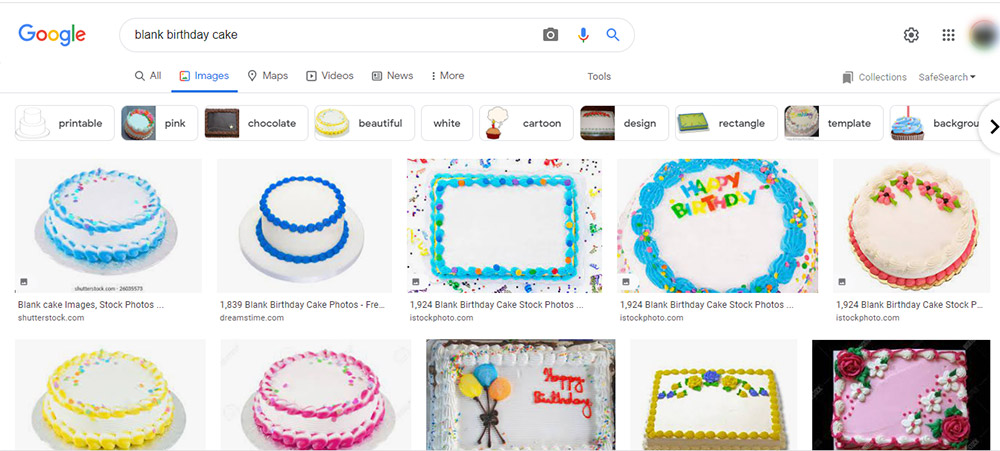
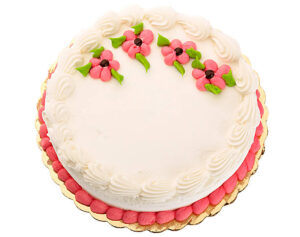
Step 1: Start by searching for an image of a cake online. You can make use of any search engine like Google or Bing to do so. It’s best if the image has a top-down view and has ample space for you to type your message.

One you find the cake that you like, be sure to save the image to your computer.

blank birthday cake image

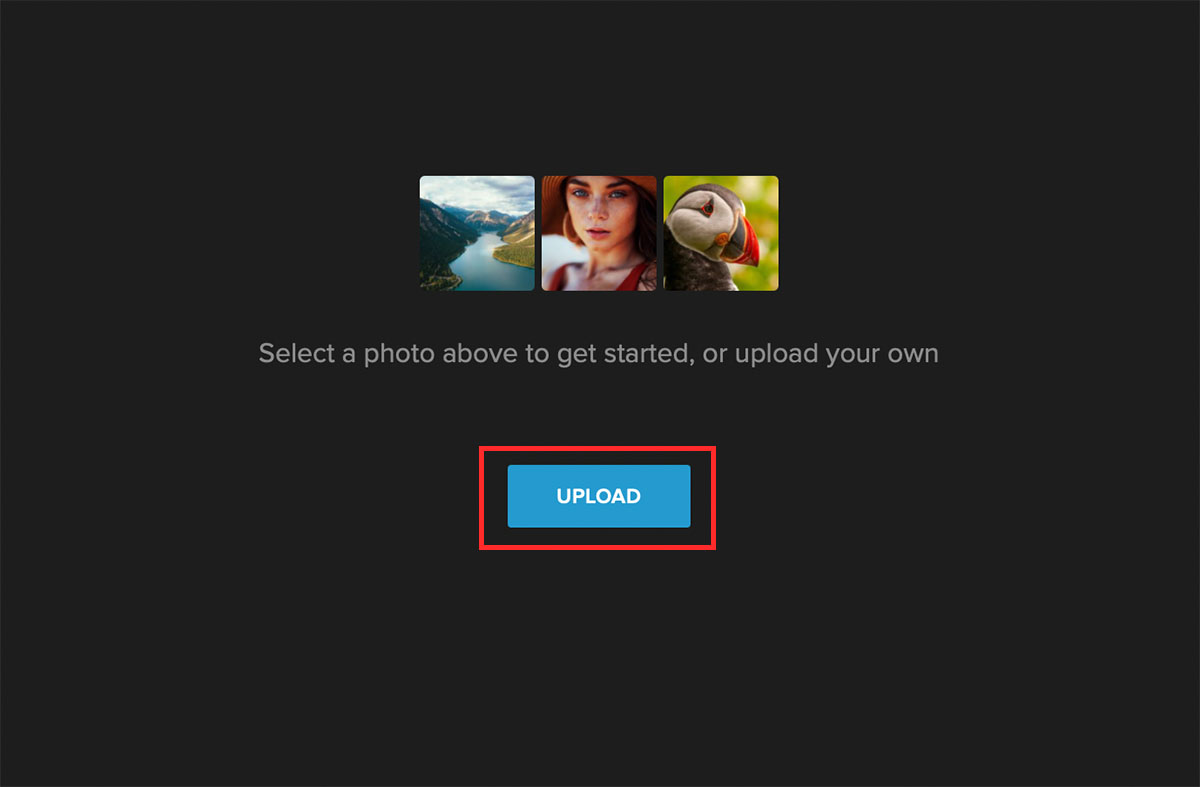
Step 2: Upload the image that you’ve just saved to Colorcinch.

uploading image to Colorcinch

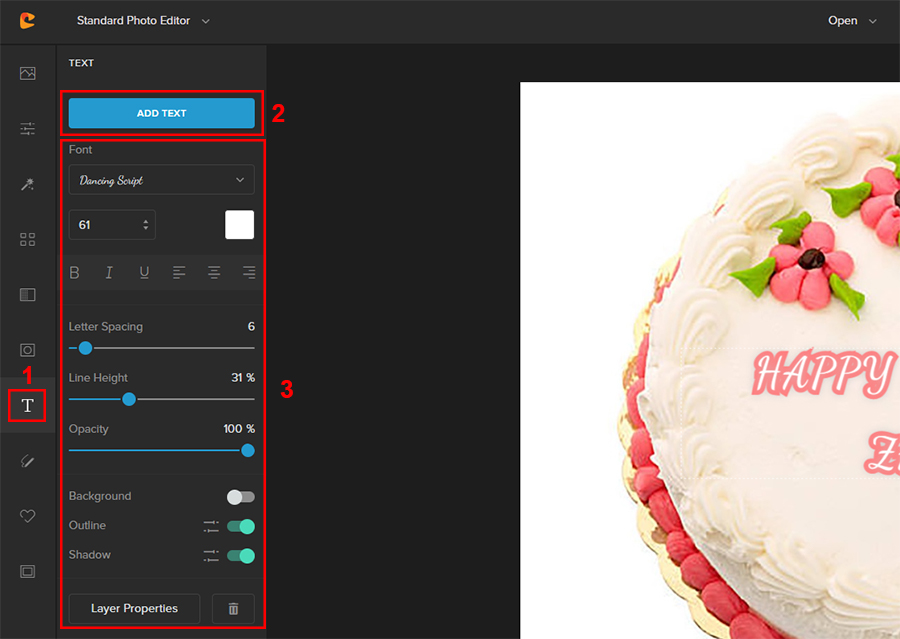
Step 3: To begin typing the name and your message on the cake, navigate to the Text menu and click on Add Text. A text box will appear in which you can start typing your message.

In the text menu, you can add a variety of styling and formatting to make the text appear more attractive and stylish. For instance, you can easily change the Letter Spacing, Line Height, Opacity and even add Background colors, Outline, and Shadow to your text.

You can learn more about our text editor and ways to stylize your text in this comprehensive blog post.

text formatting in colorcinch

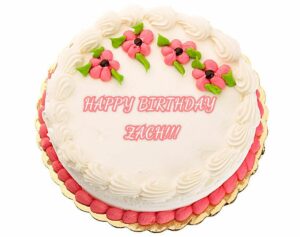
Here’s how the cake looks after adding a simple birthday message.

cake after message
cake before message

Edit Happy Birthday Cake With Photo: Step-By-Step Process

Now that you’ve seen how easy it is to edit a birthday cake photo to add a name or a message, let’s see how you can add a photo to it.

Simply placing the photo of the birthday boy/girl on a cake would appear boring. So, we’ll first see how we can crop the image on a certain shape to make it appear interesting.

Step 1: Upload the image of the person to Colorcinch.

uploading image to Colorcinch

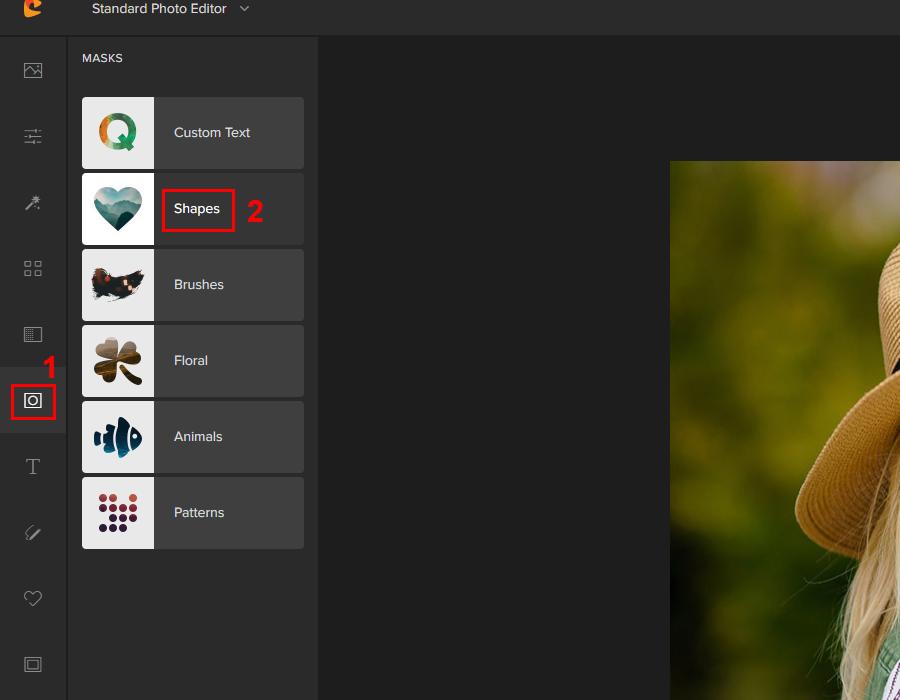
Step 2: Navigate to Masks – Shapes. You can then choose from the list of various shapes that you like.

shapes in colorcinch

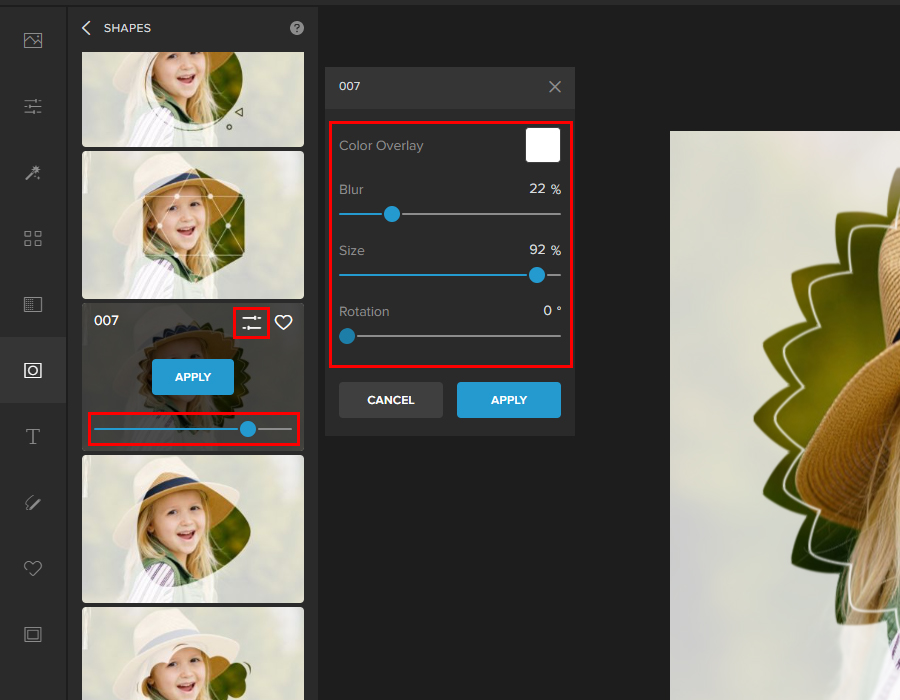
Step 3: For the shape mask that you choose, click on the Settings icon to unveil more options that’ll help you to fine-tune the shape better.

We highly recommend that you set the Color Overlay to white so that it makes the blending process a whole lot easier. Also, set the intensity of the shape mask to 100% using the Slider.

shape settings in colorcinch

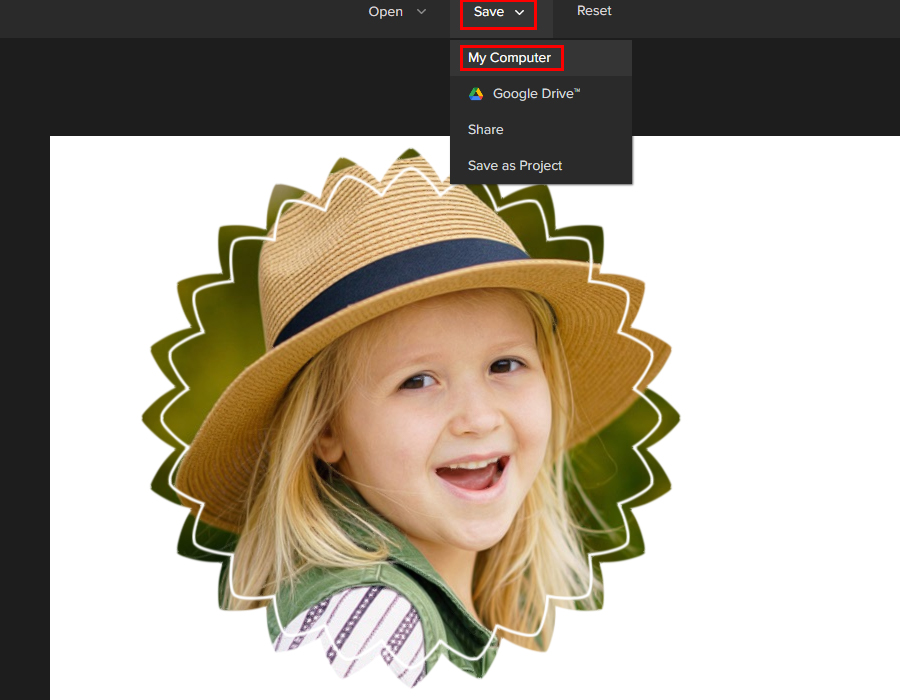
Step 4: Save the image to your computer by navigating to Save – My Computer.

Now that you have readied the image of the birthday boy/girl, let’s see how you can place this image on a birthday cake using Colorcinch.

Step 1: Upload the image of your birthday cake to Colorcinch.

uploading image to Colorcinch

Step 2: Navigate to Image Manager and click on Upload Image. Then upload the image of the birthday boy/girl with the shape mask that you’d readied earlier.

colorcinch image manager

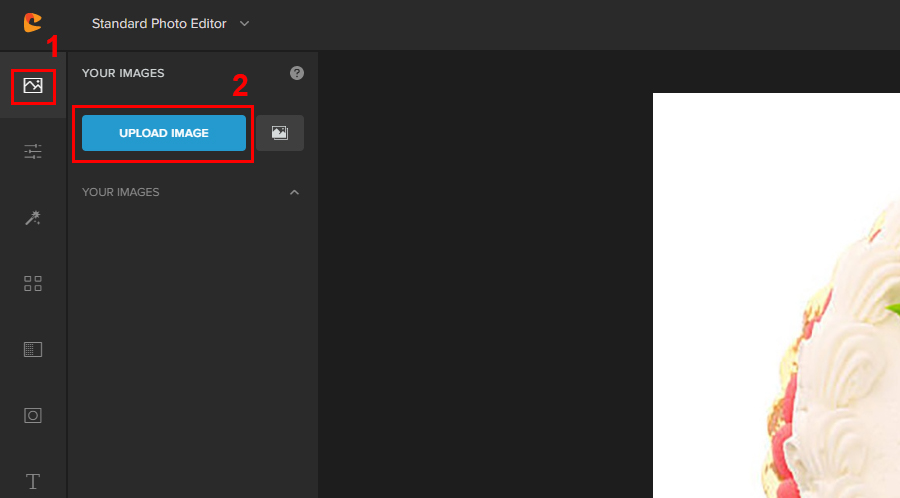
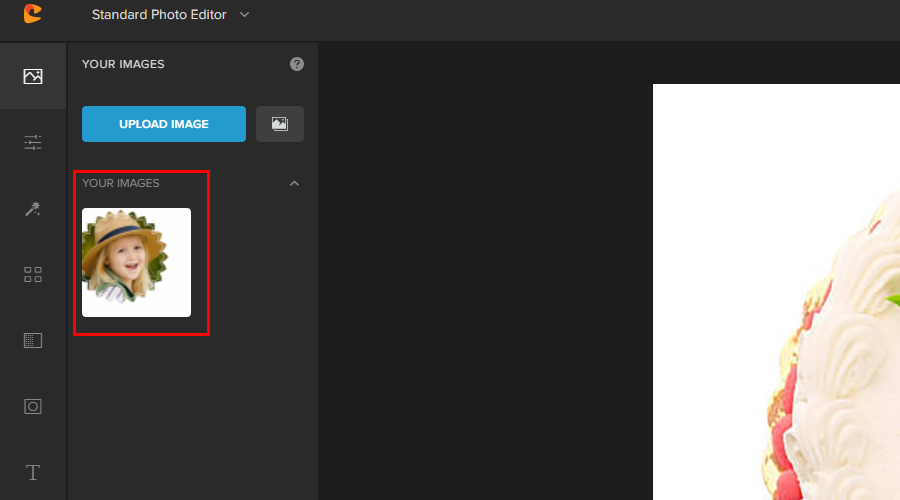
Once you upload the image, it will appear right below the Upload Image button in the Your Images section.

image uploaded in image manager

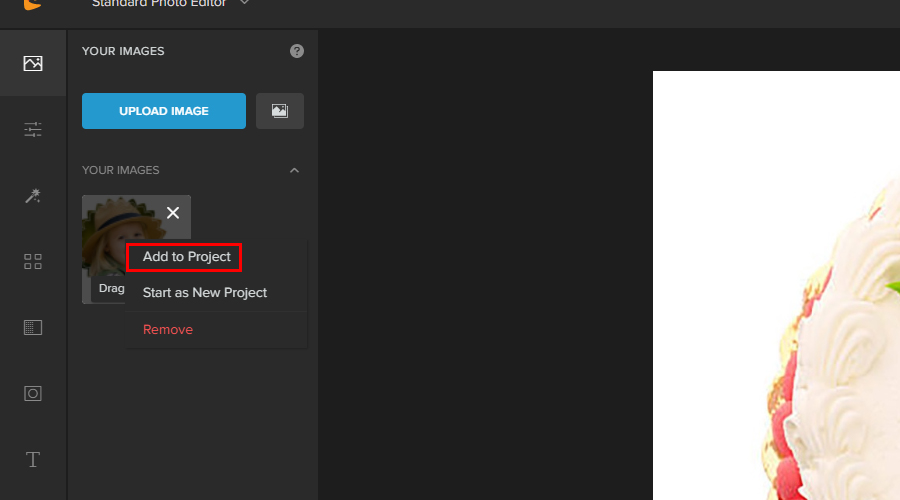
Step 3: You can add the image to your workspace by either dragging it directly, or by clicking on the image and selecting Add to Project.

add image to project

Step 4: Once the photo is added to the workspace, in the Image Properties menu, click on Layer Properties and change the Blend Mode either to Darken or Multiply. This will get rid of the excessive white background.

adjusting blend mode in colorcinch

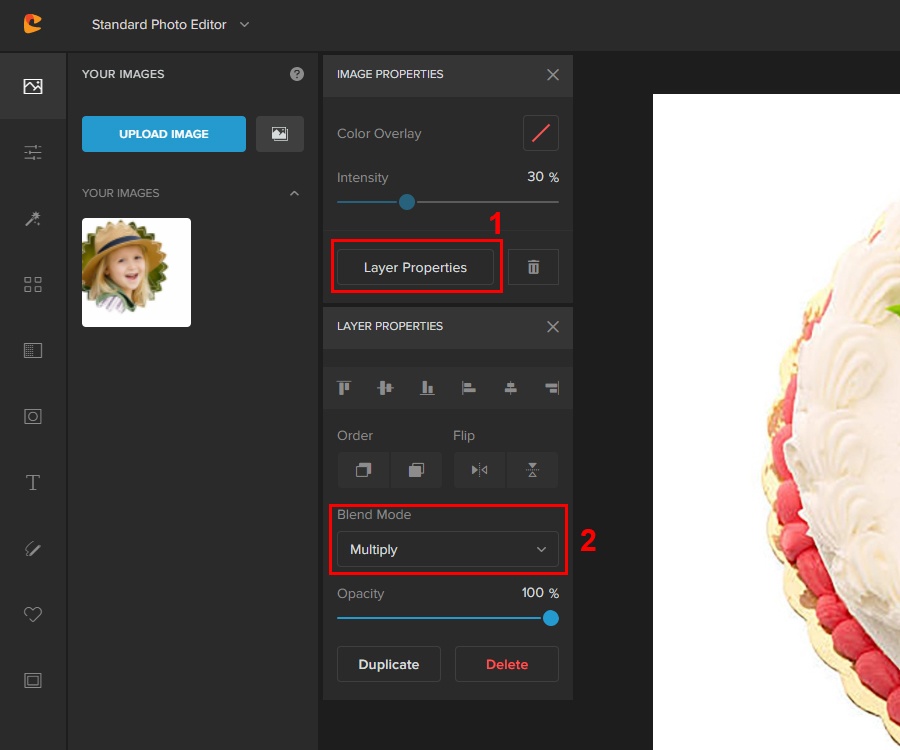
Now, you can easily resize and rotate the photo by clicking on the control points. Then place the photo in an appropriate position on the cake.

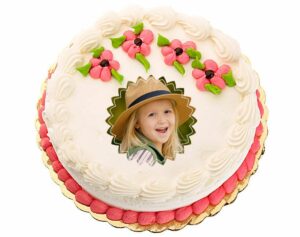
Here’s a quick comparison of how the cake appears before and after adding a photo.

edit cake with photo
cake before message

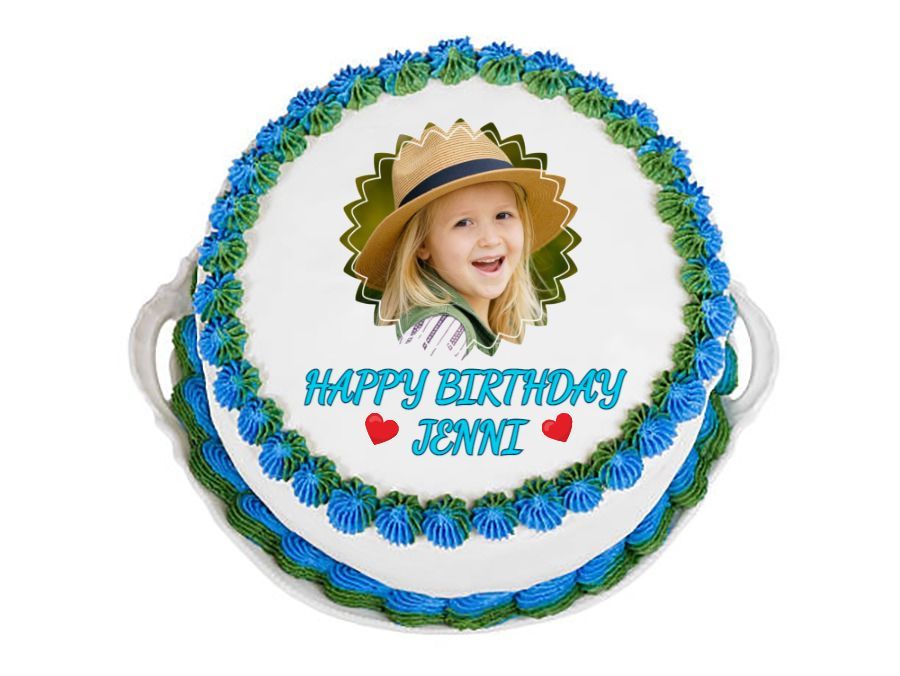
We’ve shown you how you can add name and photo to a birthday cake separately. However, you can easily do both of these at once. You just need to be wary of the spacing between the photo and the text you’re adding to it. It also helps if the cake’s image has ample space on it.

Here’s an example.

birthday cake with photo and name

To Sum It Up

Once you have edited the birthday cake with the name and photo on it, it’s just a matter of saving it and sharing it with your loved one.

You can share such images with the person celebrating the birthday directly, or post it on your social media for others to see as well. This will not only showcase the bond you share with that person, but it’ll also make the person feel extra special. Give it a try.

birthday cakebirthday cake namebirthday cake photoedit birthday cake
137 Posts
Editorial
  • 50 Family Photo Ideas You Should Try For Gorgeous Photos
    Previous Post50 Family Photo Ideas You Should Try For Gorgeous Photos
  • Next Post100 Best CB Background Wallpapers & Photos
    50 Family Photo Ideas You Should Try For Gorgeous Photos

Related Posts

The Principles & Elements of Design – The ULTIMATE Guide
Blog Creative Graphic design

The Principles & Elements of Design – The ULTIMATE Guide

Essential Design Tips for Non-Designers
Blog Creative

Essential Design Tips for Non-Designers

How to Innovate Graphic Design for Digital Advertising in 2024
Blog Creative

How to Innovate Graphic Design for Digital Advertising in 2024

Mastering Color Harmony for E-commerce Photography
Blog Creative

Mastering Color Harmony for E-commerce Photography

colorcinch-dark

All Rights Reserved
© Colorcinch

Product

  • Home
  • Get started
  • Features
  • Pricing
More
  • Sitemap

Company

  • About us
  • Leadership
  • Careers
  • Affiliate program
  • Contact us

Information

  • Getting started
  • Online Cartoonizer
  • FX Cartoonizer
  • FAQ
  • Blog
  • Support

Subscribe to our newsletter:

© Colorcinch. All Rights Reserved.

Terms of Service Privacy Policy Disclaimers

colorcinch-dark
English
  • English
  • French
  • Spanish
  • Indonesian
  • Turkish
  • Arabic
  • German
  • Italian
  • Portuguese
  • Russian

Terms of Service Privacy Policy Disclaimers

  • Home
  • Get started
  • Features
  • Pricing
Copy

Forgot password