Do you have tons of photos that you want to share in just one frame? Then you might consider combining those photos and creating a beautiful collage instead. A collage is an easy way to display a collection of photos. Using Colorcinch you can easily import a handful of photos to play around to your liking.
Create Beautiful Collages Using Colorcinch
Here’s a step-by-step guide on how to do it:
Step 1: Open Colorcinch. Upload a blank white image. This will serve as our canvas.

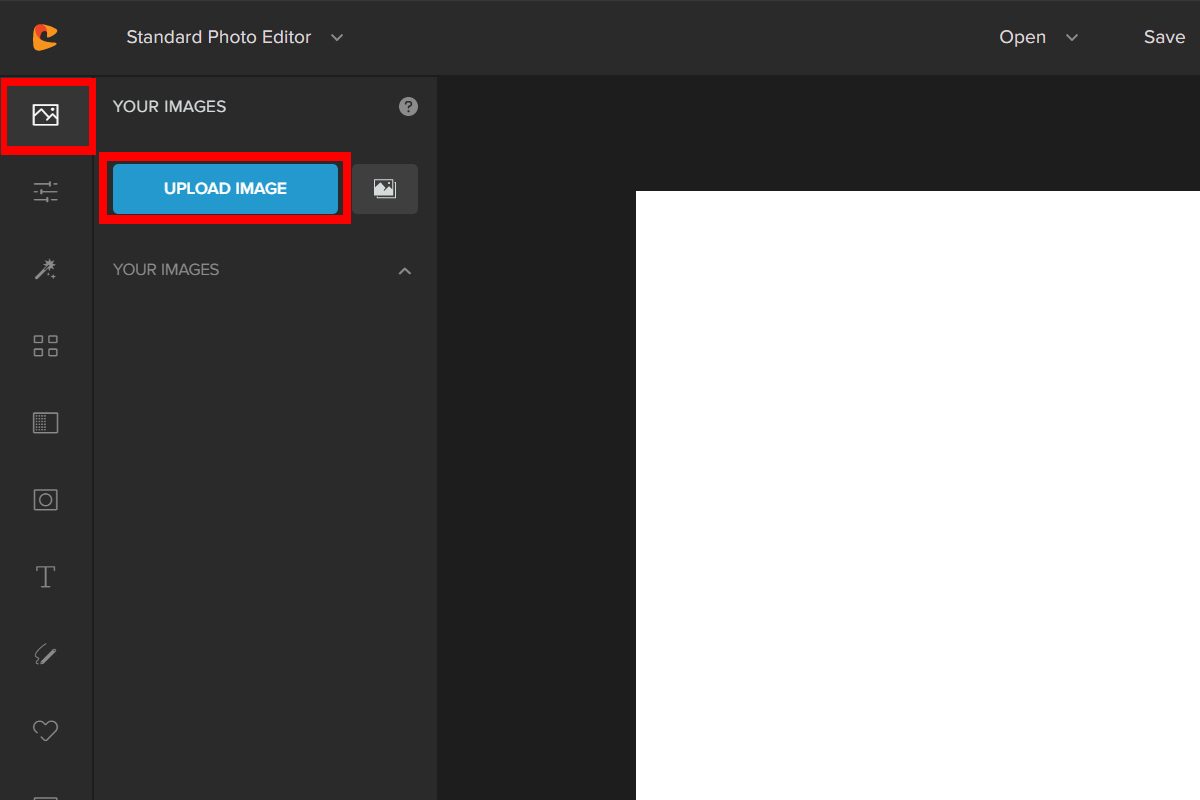
Step 2: Navigate to the Image Manager. Click on Upload Image to add the photos you want to be part of the collage. For this example, we will be using four images.
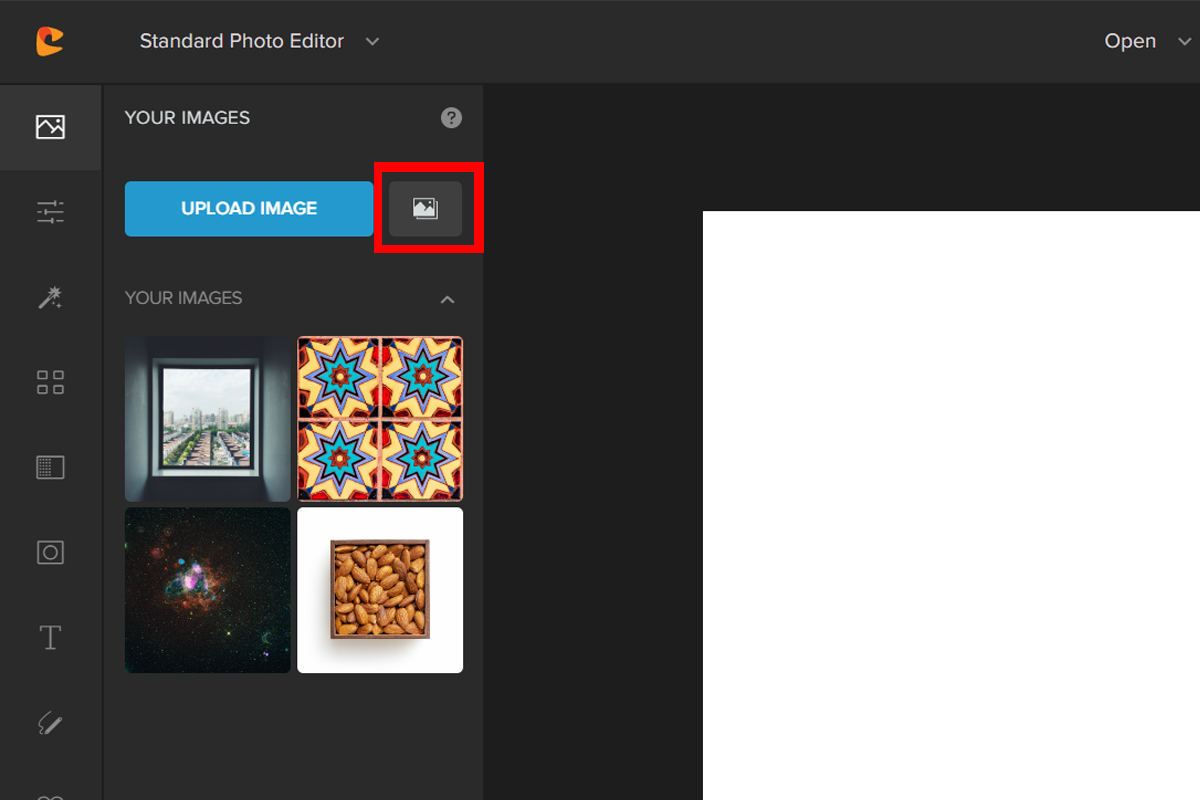
Step 3: Let’s add a few more photos from our Stock Library. To do this, click the small box that has a picture icon.
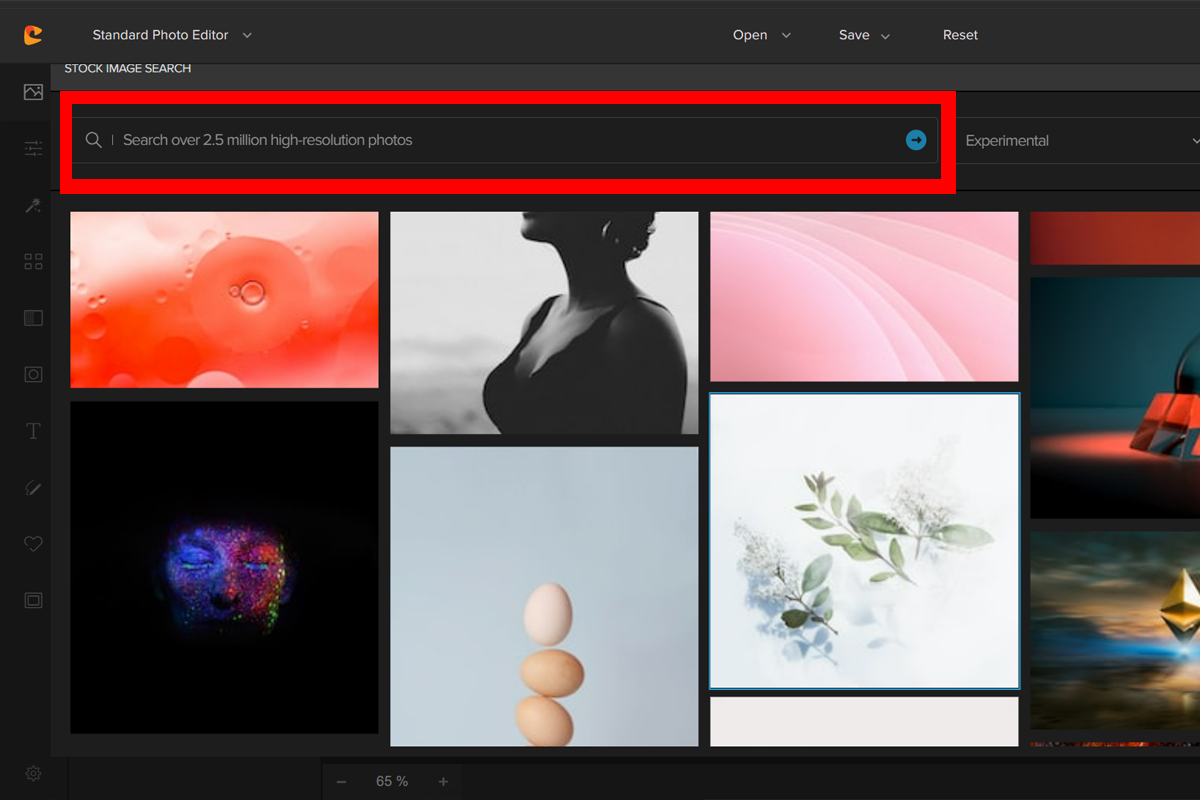
Step 4: Once the stock photo library opens, you may use the search box to find images that you want to be part of the collage. Simply click on the image to add.
Step 5: Add all images to the white canvas. A menu will pop up once you click on the image. Choose Add to Project. To resize, click on the Anchor Point and drag.
Do this to all the images and arrange them in a manner that would create a simple collage.
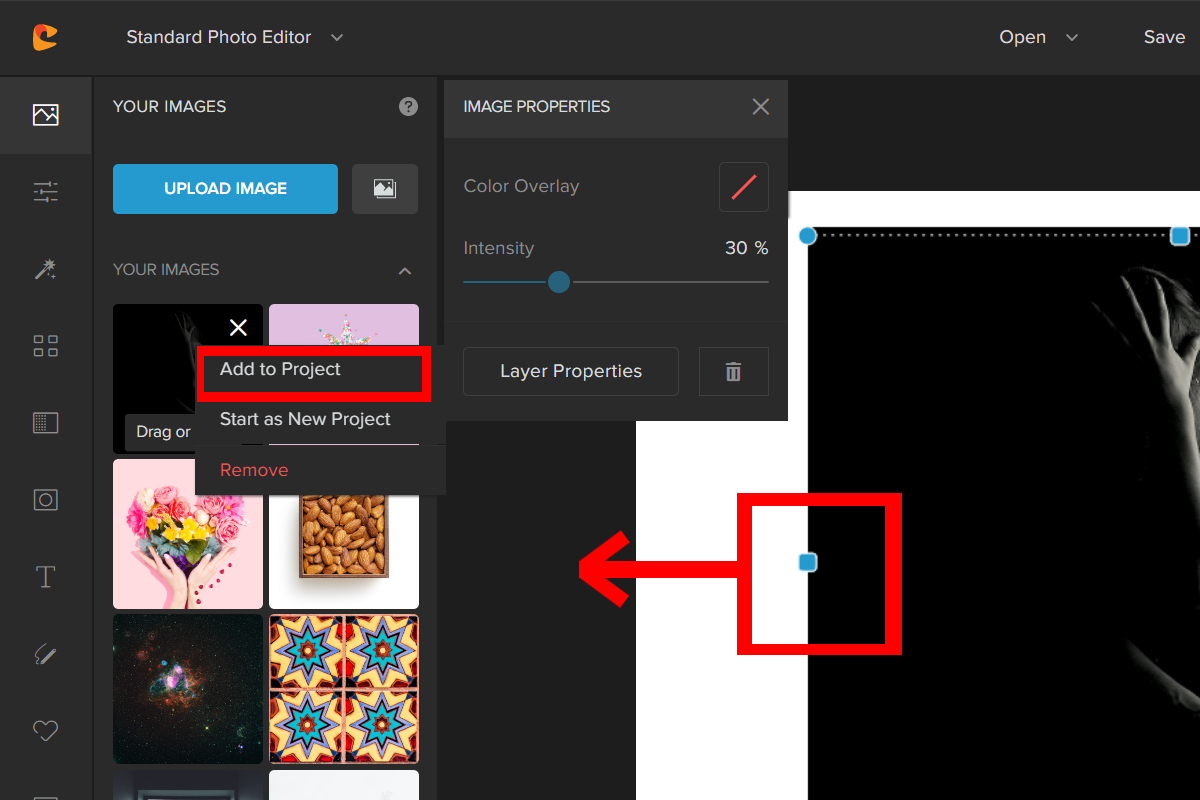
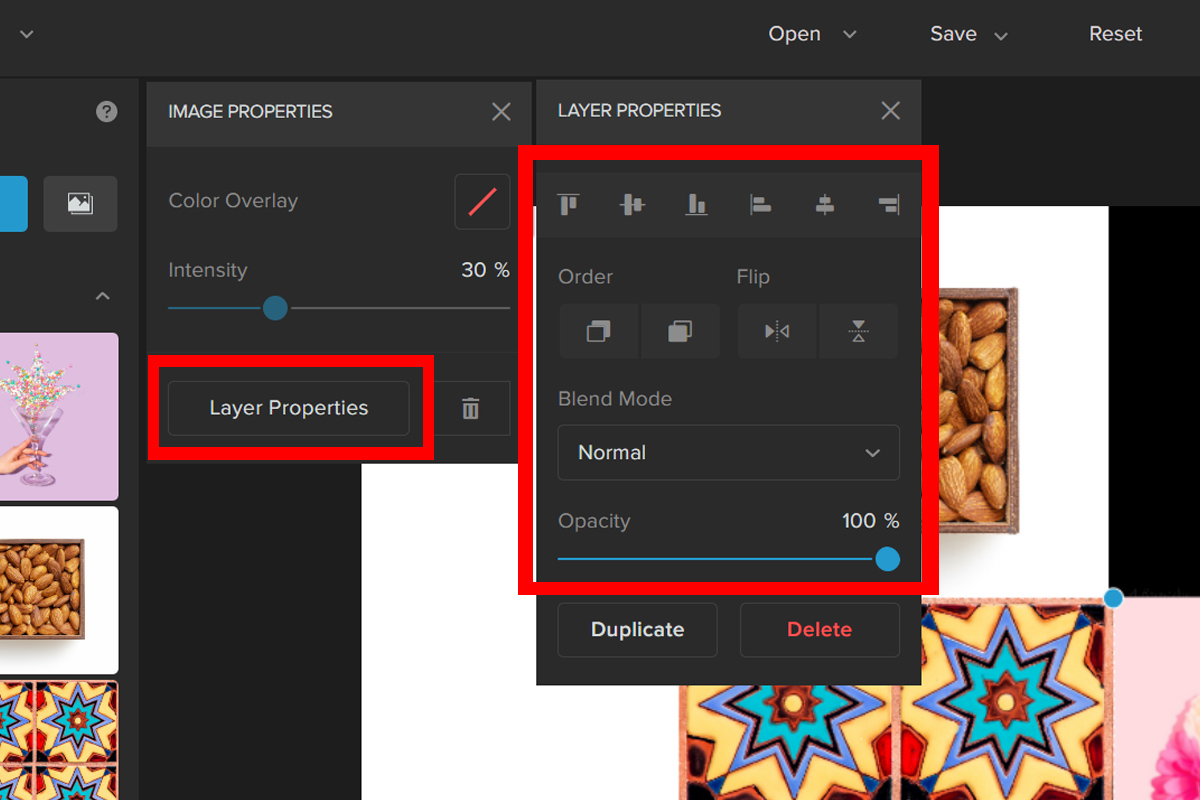
Step 6: Click on the Layer Properties tab to access more editing options. In this tab, you may Flip, Re-align, change the Blend Mode, and adjust the Opacity.
Here is the final result:
Conclusion
There you have it, a quick and easy way to display your favorite photos! You can combine photos and create a collage out of all your favorite memories, and use it as an easy way to share some of your favorite photos with others. If there’s something else you want to know about making a collage, feel free to leave us a comment or reach out!


