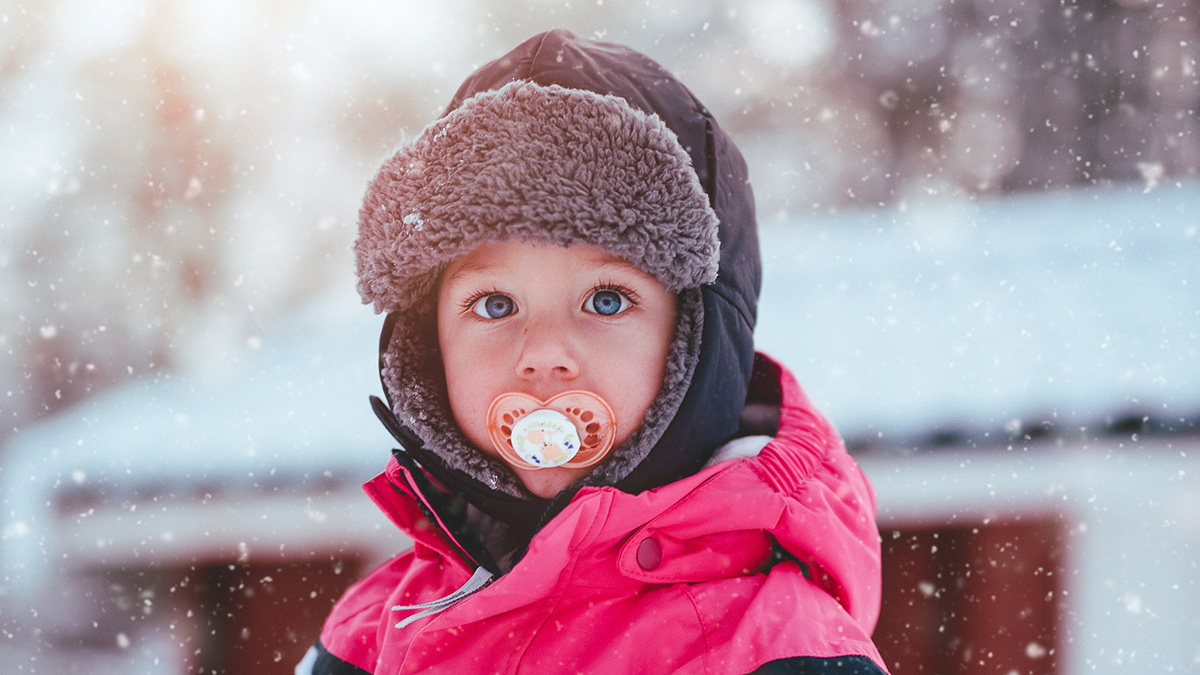
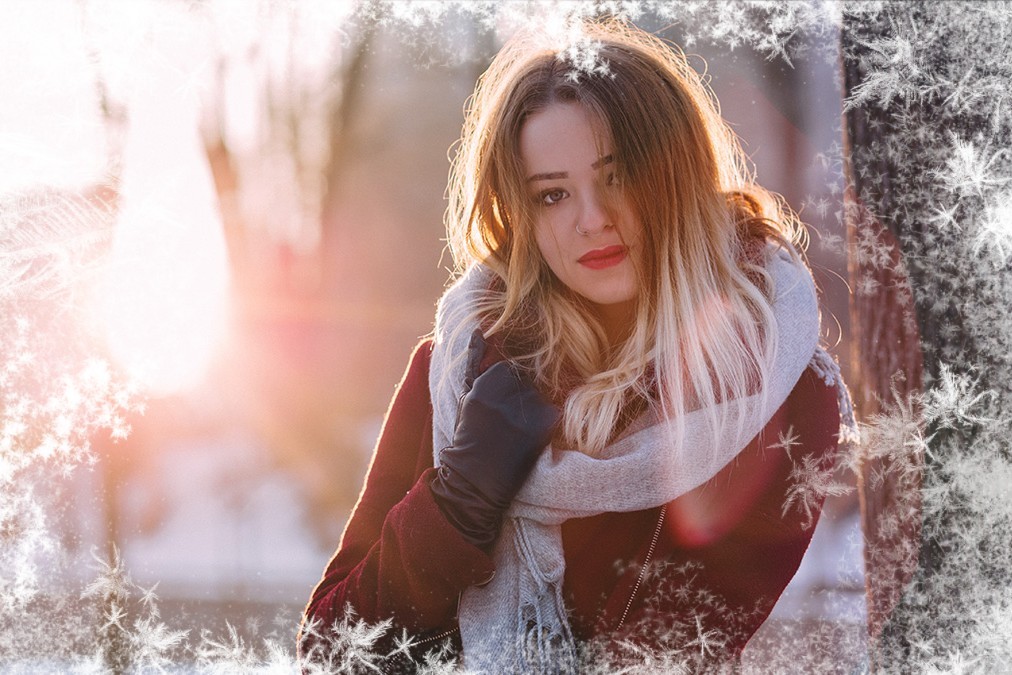
Summer is about to end and winter is fast approaching in some parts of the world. It’s time to take advantage of this beautiful season. With a little creativity, you can create some amazing winter photographs!
What is the secret to taking great pictures in the snow? It’s not just about shooting what is there, but also using your imagination and creating something new. The best way to do this is by using different perspectives, lighting, and composition.
Create Unique Images That Capture Winter Well!
- Use the Light to Your Advantage
In the winter, it’s best to shoot during the golden hours: sunrise and sunset. These are when there is more natural light and fewer harsh shadows. The golden hour will give you a warm glow for any winter shot.
- Use the Snow to Your Advantage
When it snows, the landscape takes on an even more magical quality than usual—and if you’re lucky, it may even create some beautiful reflections in puddles!
- Know Your Camera Settings
Use a low ISO setting (100 or 200). Be sure that your camera is set up properly so that you don’t get blurry pictures from the camera shaking at low shutter speeds due to poor lighting conditions.
- Stabilize
A tripod will help prevent shaking and will enable longer exposure times without compromising image quality too much. If you don’t have a tripod with you, try using the self-timer to help ensure that your camera is stable when taking the shot.
- Gear Up
Don’t forget to bring along extra batteries, memory cards, and lens cloth—you never know when you’ll need them!
The Challenge of Capturing Fabulous Winter Photos
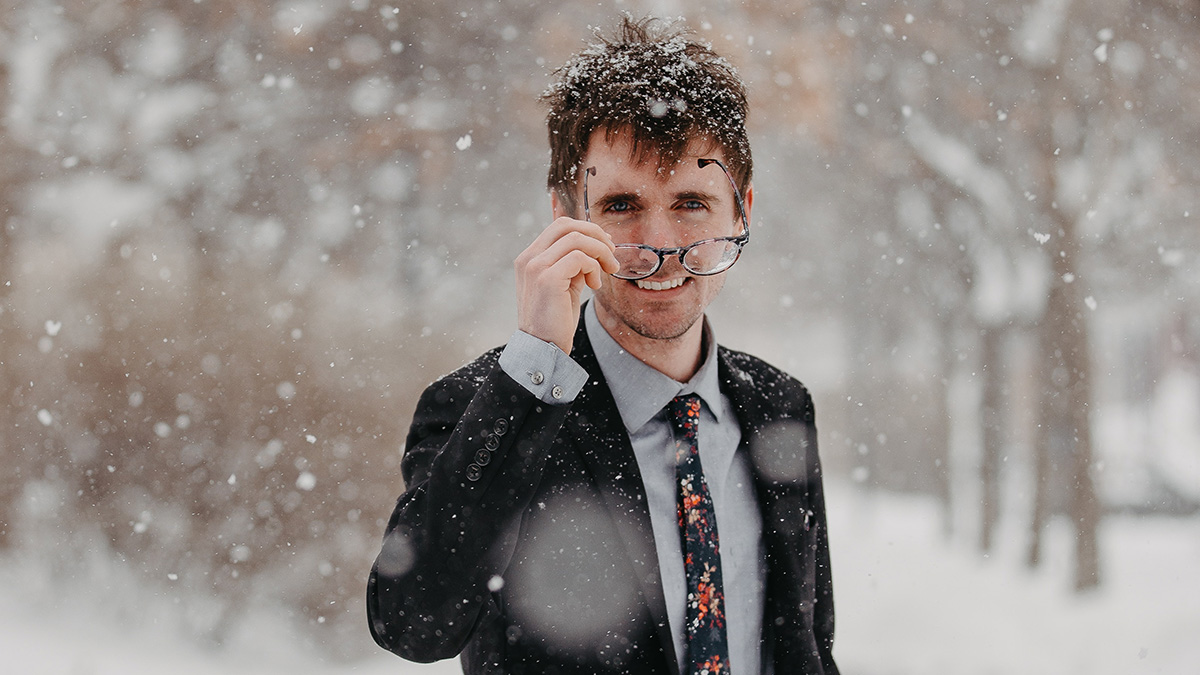
Photos taken during the wintertime have a lot of appealing qualities, whether it’s the sprinkling of snow, the ominous mist, or the dark tones. However, for many people, capturing a winter scene may be rather challenging due to harsh weather conditions.
Don’t worry! There are ways around this problem. You can add realistic falling snow to your photos using layers or filters and any other elements that add depth and color.
The overlay effect is probably the easiest way to upgrade an image. It can transform a mundane photo into a fabulous one. There are many overlays that you can use to make your photos stand out.
Overlays are unique images that you can add to your photos to give them more depth and character. They can be used to add texture, light leaks, or falling snow effect.

What is an Overlay?
An overlay image is a picture you put on top of another picture. You can use an overlay image to add something to an existing image, make a new kind of image, or even just change the way an existing image looks.
For example, you have a picture of flowers against a blue sky. Instead, you could take another picture of flowers and lay it on top of the first one so that they look like one picture.
Overlays can be used to add texture, depth, and interest to your photos. They can also be used to create a vintage effect or light leak effect. Overlays are also great for adding snow effects to images.
Blending photos and applying overlays can be done by using a photo editor like Photoshop, which is a great way to enhance your photos without much effort.

Can You Add Realistic Falling Snow Effects to Photos?
Adding snow effects to your photos is absolutely possible. There are different ways to do this depending on your editing skills.
A professional graphic artist will do this by using complex software. Like the powerful editing tool Photoshop, it also has a number of functions that can be used to play around with your photos. They spent time learning the editing software, which is why they became experts.
However, if you are a beginner or a hobbyist who just wants to add cool effects to your holiday photos, learning complex software might not be the best option for you. Using a user-friendly editing platform could be just right for you. There are many web and mobile apps available for you to start using without having technical skills.
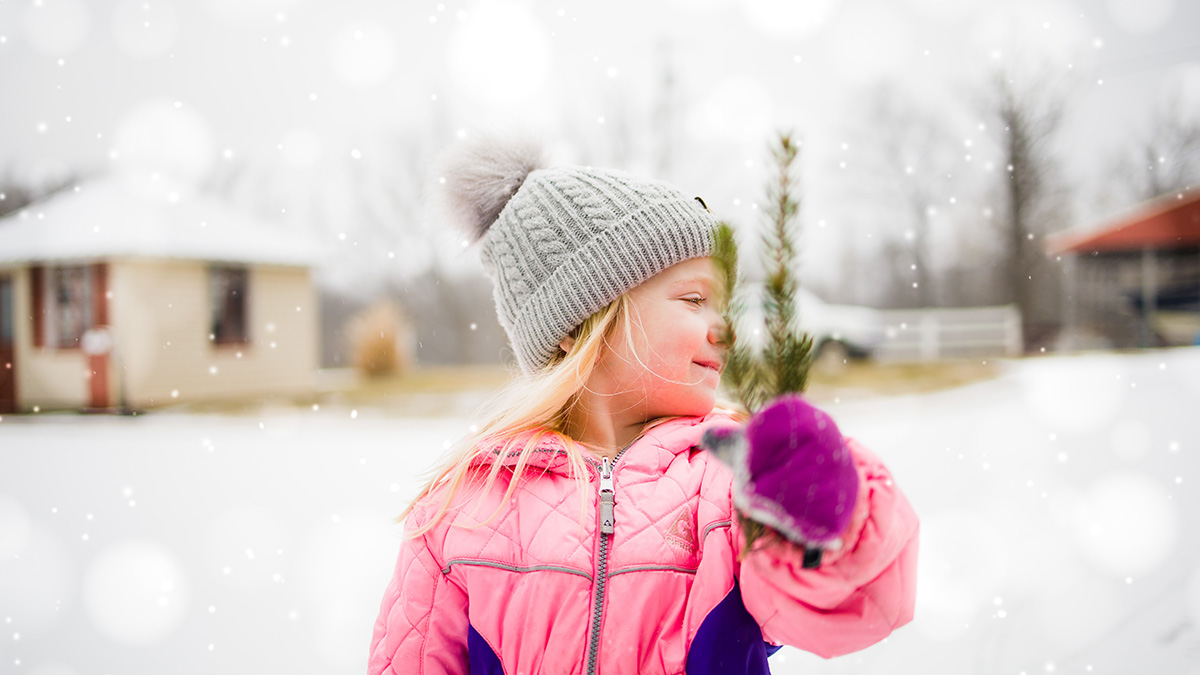
How to Add Falling Snow to Photo Using Colorcinch
Making your photo pop with a winter wonderland theme is super easy. Add snowfall to photo! For this tutorial, we are going to add falling snow to your image using Colorcinch.
Step 1: Open Colorcinch and Upload an image.

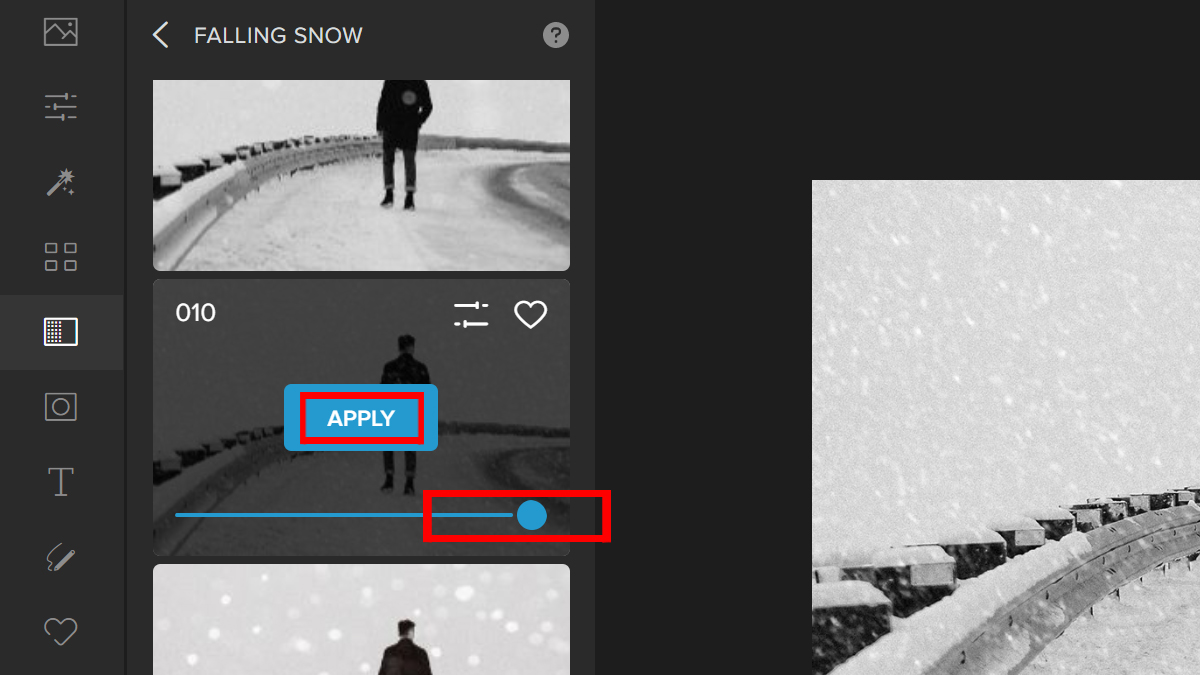
Step 2: Navigate to Overlay on the left side of the panel and it will open a tab of Overlay filters. Scan through it and choose Falling Snow. Pick a Falling Snow filter that would fit your image.

Step 3: Fine-tune the effect by adjusting the Slider. You may have a moderate snowfall or a heavy one, depending on how you like your photos to look. Once adjustments are made, click Apply.
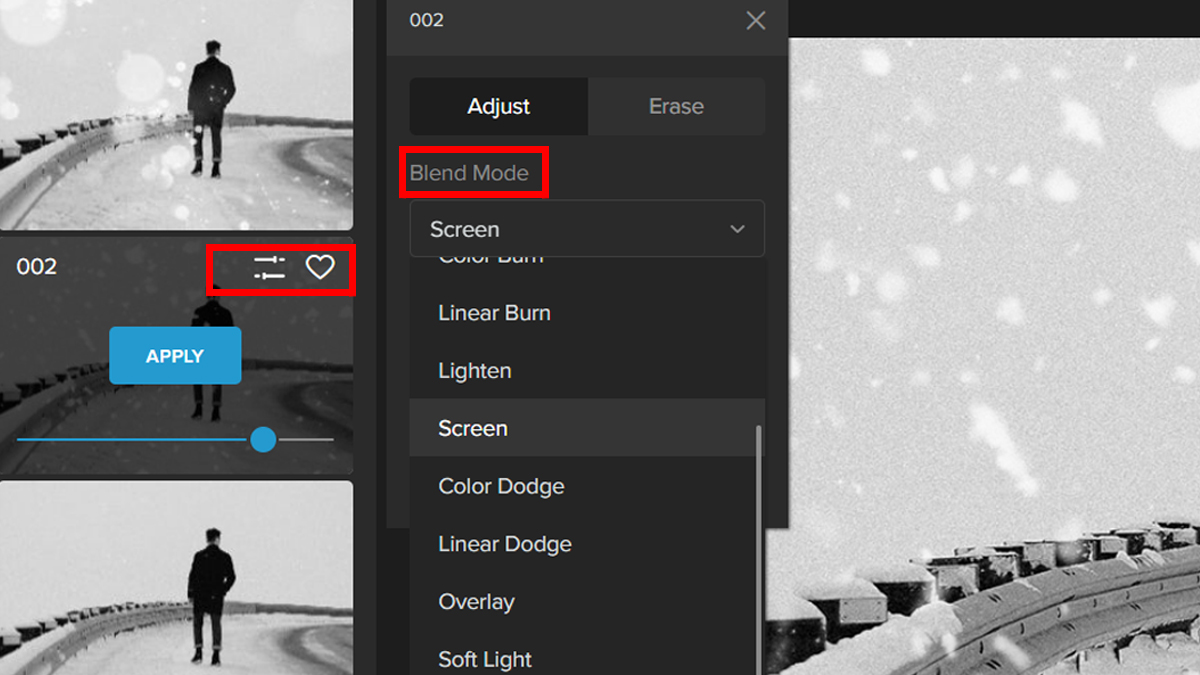
Bonus Tip: You can also click on Settings to have advanced control over the effect. You can further adjust the filter by selecting a Blend Mode.
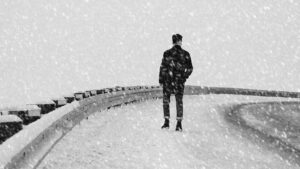
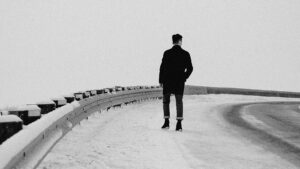
It’s super easy to create winter photos, right? Let’s look at the final output:
Other Ways to Winterize Your Photos
There are also a few more ways to achieve a holiday season themed photo using Colorcinch.
Color Temperature
Color temperature is a measurement of the warmth or coolness of light. The temperature of the light affects all the colors in the entire image.
Because winter is characterized by colder temperatures and more cloudy skies, photographs taken during this season often contain cooler tones, such as blue and gray. This is because these colors more accurately convey the season’s characteristic appearance.
Let us use the sample photo, to which we have added a snow overlay. We can still improve the winter vibe of our image by tweaking the color temperature.
Step 1: Navigate to Edit — Color
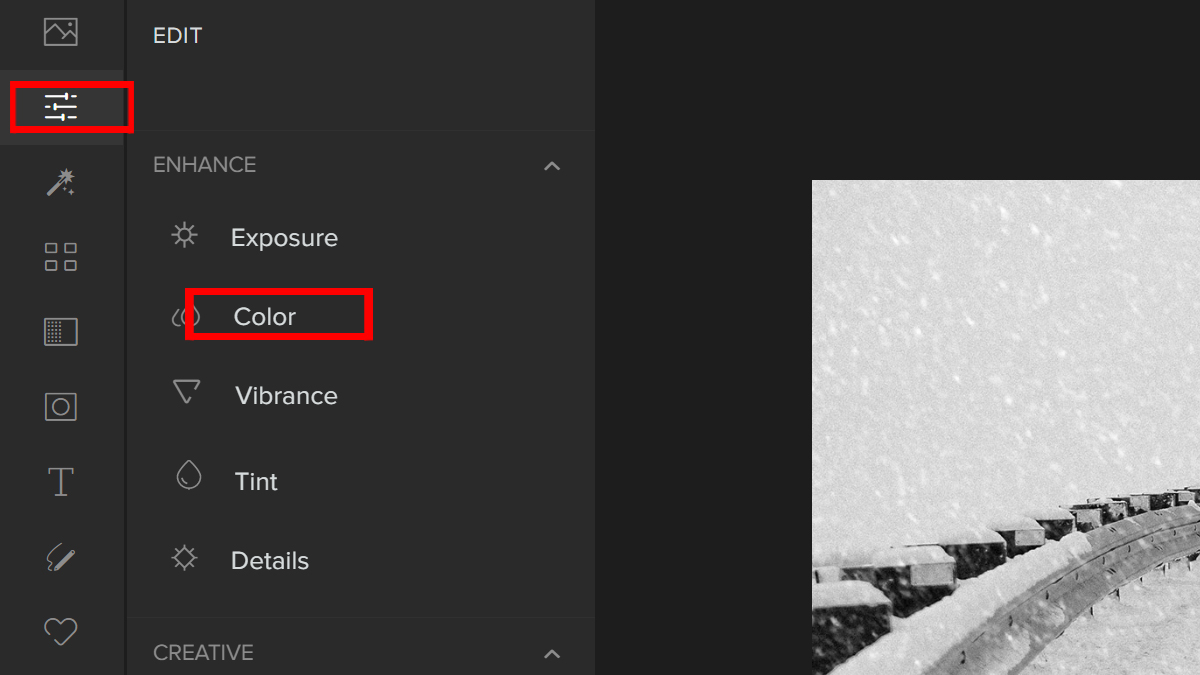
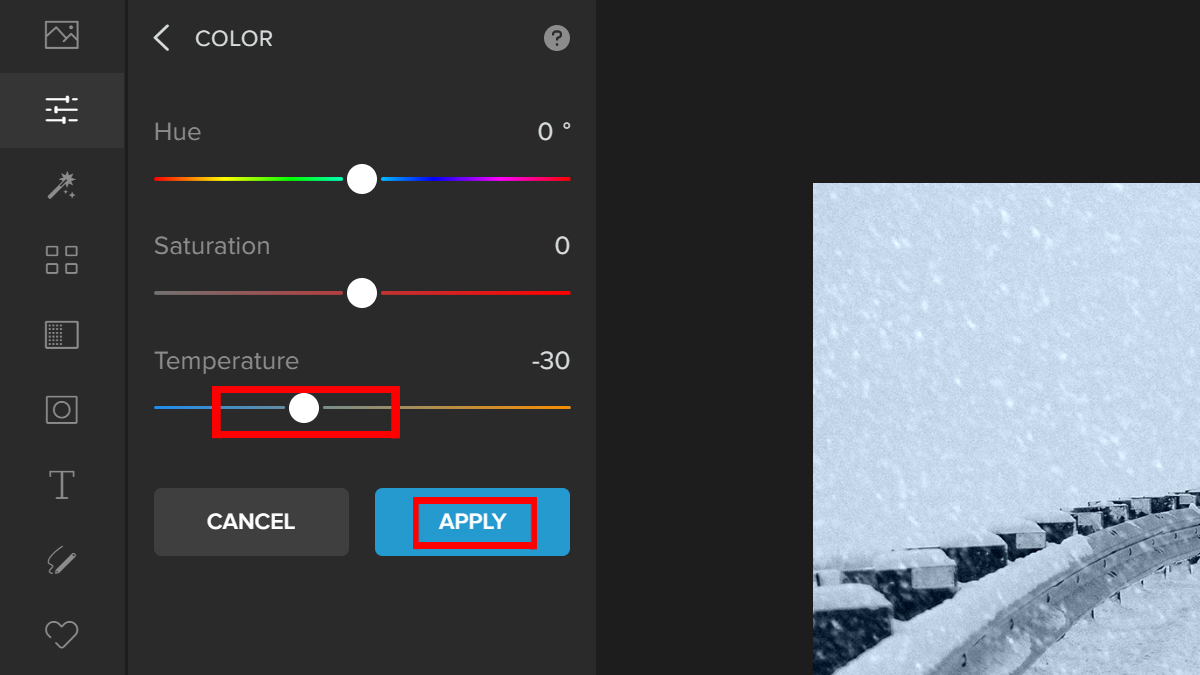
Step 2: Adjust the Temperature Slider to give the image a cooler tone. Once satisfied with the adjustments, click on Apply.
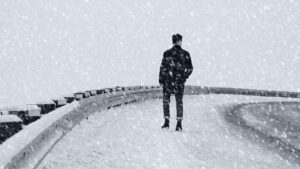
Let’s take a look at the before and after:

Festive Borders
There are also frames that we can use to make our winter-inspired photos look even cooler, no pun intended. Frames are not just decor, but they help accentuate an image.
Step 1: Start by opening Colorcinch and Upload an image. Navigate to Frames. Colorcinch has a wide array of frames to choose from. Scroll down and pick Celebratory.
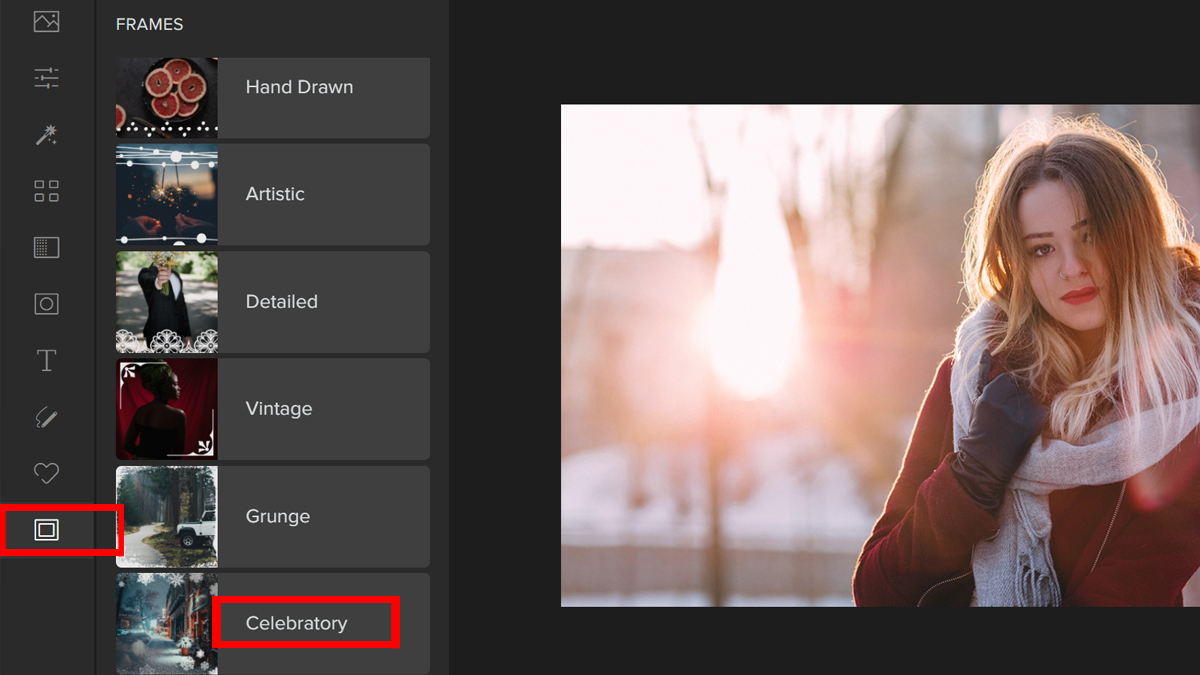
Step 2: Choose a cool frame. Adjust the Slider to change the intensity of the frame if needed. You have an option to further adjust the filter by clicking on Settings. Once satisfied with the adjustments, click on Apply.

Isn’t it wonderful to have lots of winter filters in just one web app? Here is the final output.
Specialty Overlays
It’s also nice to take note that there are Specialty Overlays in Colorcinch that we can explore. Make your winter photos extra cool by adding one.
Step 1: Navigate to Overlay —Specialty.
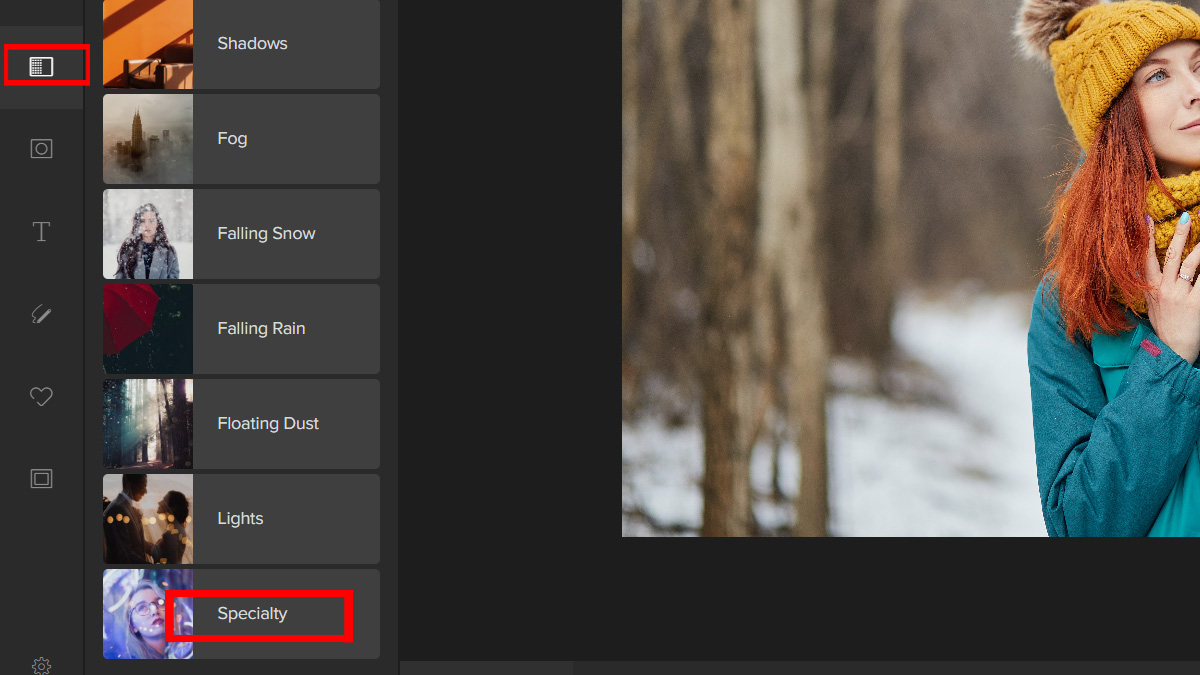
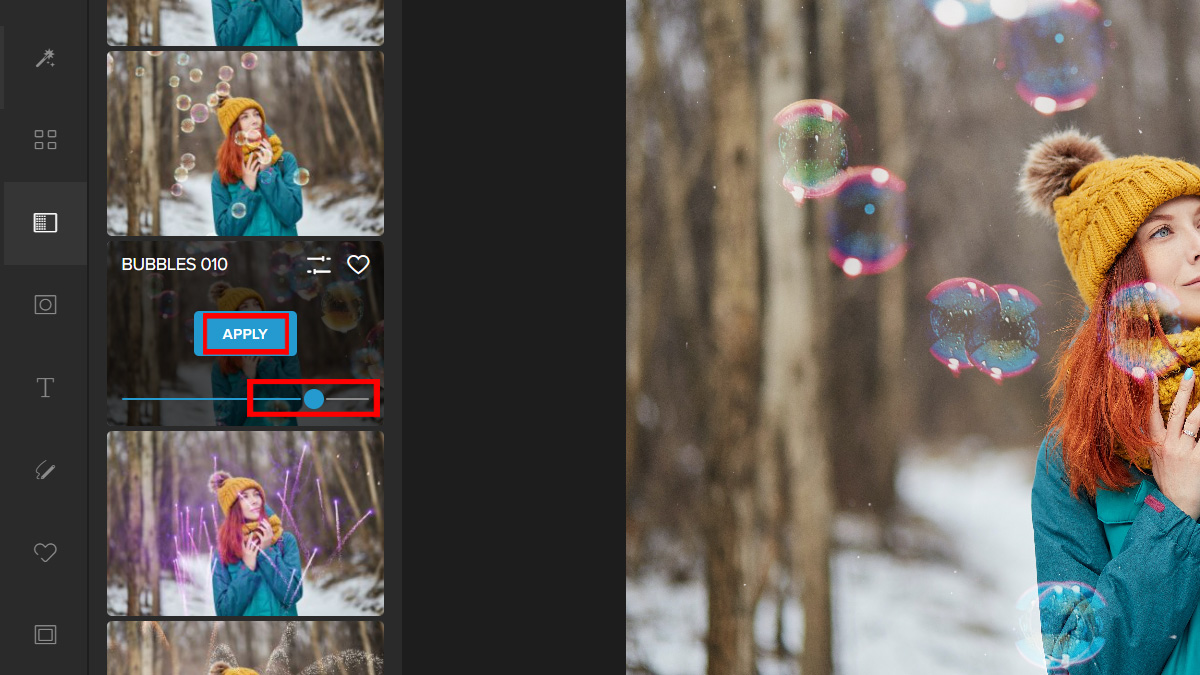
Step 2: Choose from the wide array of Specialty Overlays. For this photo, we will be adding a bubble effect. Make your adjustments using the Slider and click Apply once done.

Conclusion
Overlay images are a great way to add unique and eye-catching effects to your photos. They’re also useful for stylizing an image or making changes to it in different ways. If you have an image editor that supports layers, creating overlay images is really simple.
Now you have a bunch of new ways to add snow effects to your photos, so go out and play! Capture beautiful moments and be sure to apply all the techniques we shared with you. I hope you found something useful in this post that will help you make your photos more fun.


