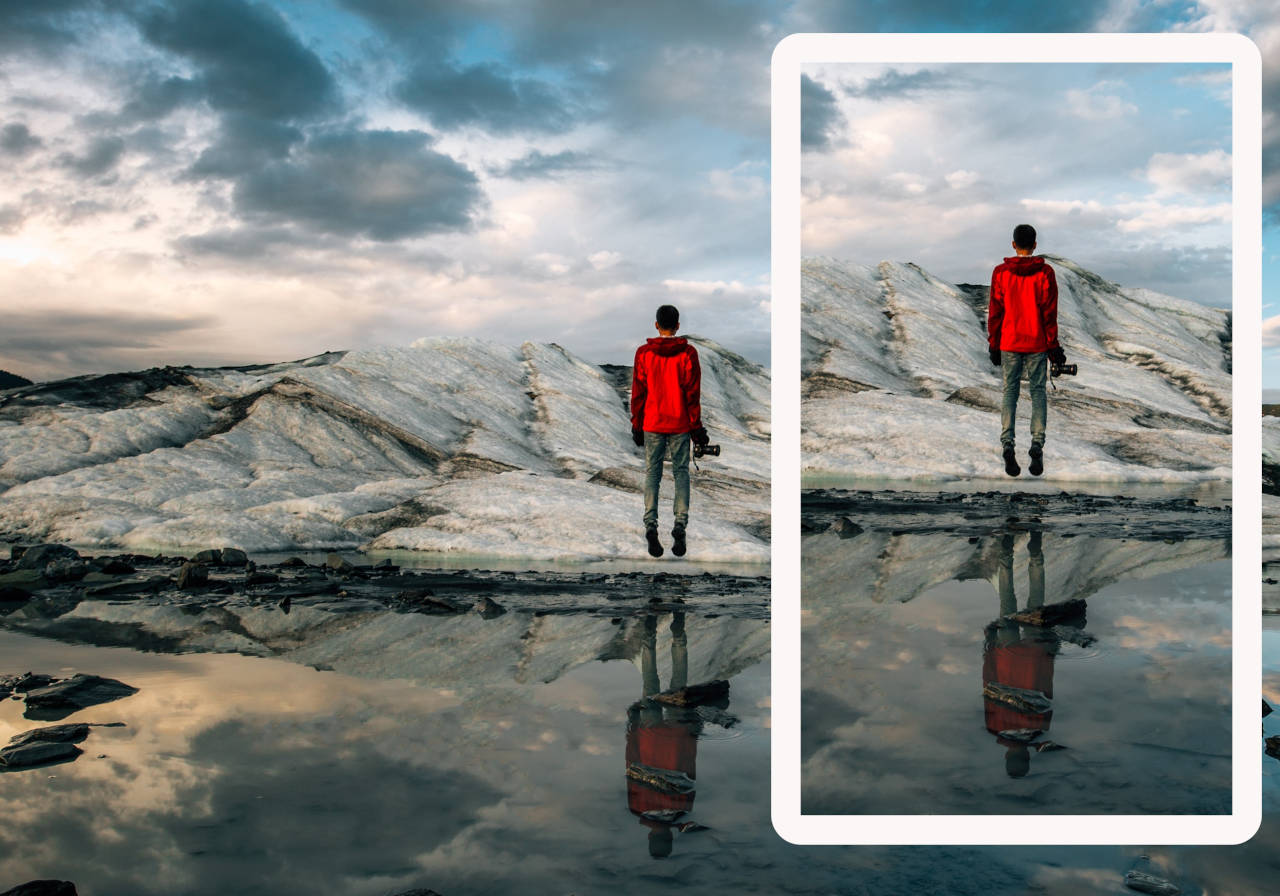
Portrait and Landscape Orientation in Photography
Before going into the comparison of portrait vs landscape, let’s get to know about these orientations first.
An image is said to be in a portrait orientation if its height is greater than its width. And it is said to be in a landscape orientation if its width is greater than its height.
In general terms, a portrait image is also called as a vertical image. Similarly, a landscape image is also commonly known as a horizontal image.
Portrait vs Landscape: Use Cases
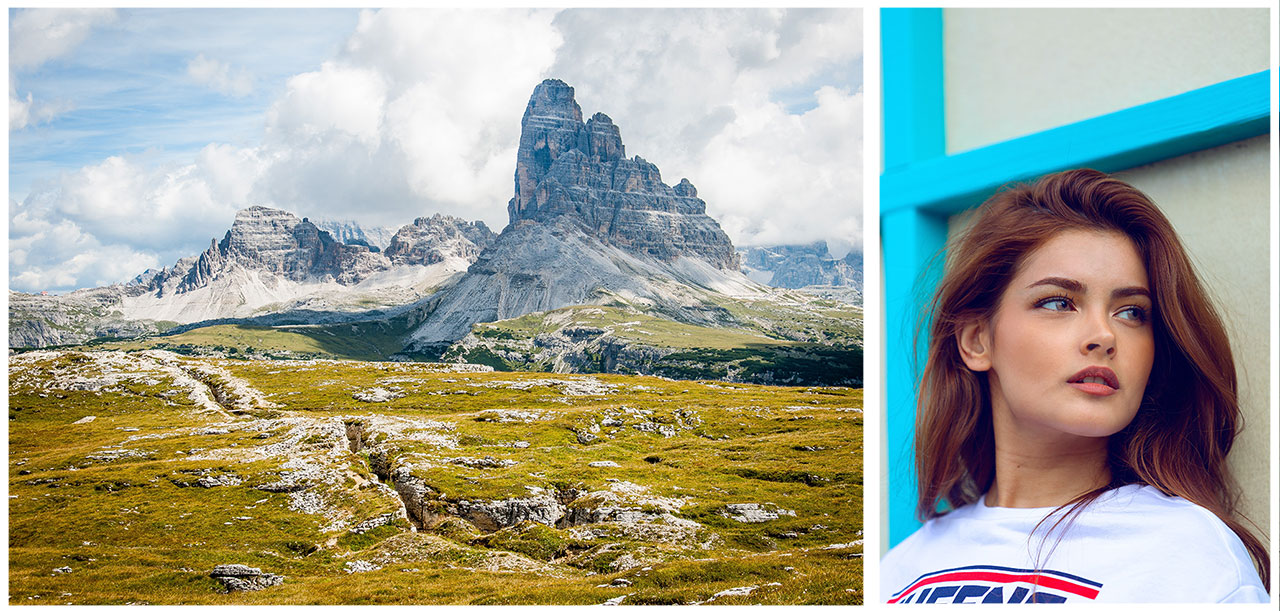
The typical use cases of portrait and landscape orientation is as suggested by their names themselves. Usually, when photographing natural scenes, we stick with the landscape orientation, and use portrait orientation when photographing an individual or object.
When photographing a typical landscape, the elements that we want to shoot are usually spread out horizontally. It could be hills, mountains, a river, or a beautiful sunset. Using the camera in landscape orientation makes the best sense in such circumstances.
Similarly, when taking the portrait of a person, we want to fill as much of the frame as possible with the subject. While this can be difficult to achieve in a landscape orientation, we can easily do so when the camera is turned vertically i.e. portrait orientation.
However, there are always exceptions. And in this case, there are lots of them.
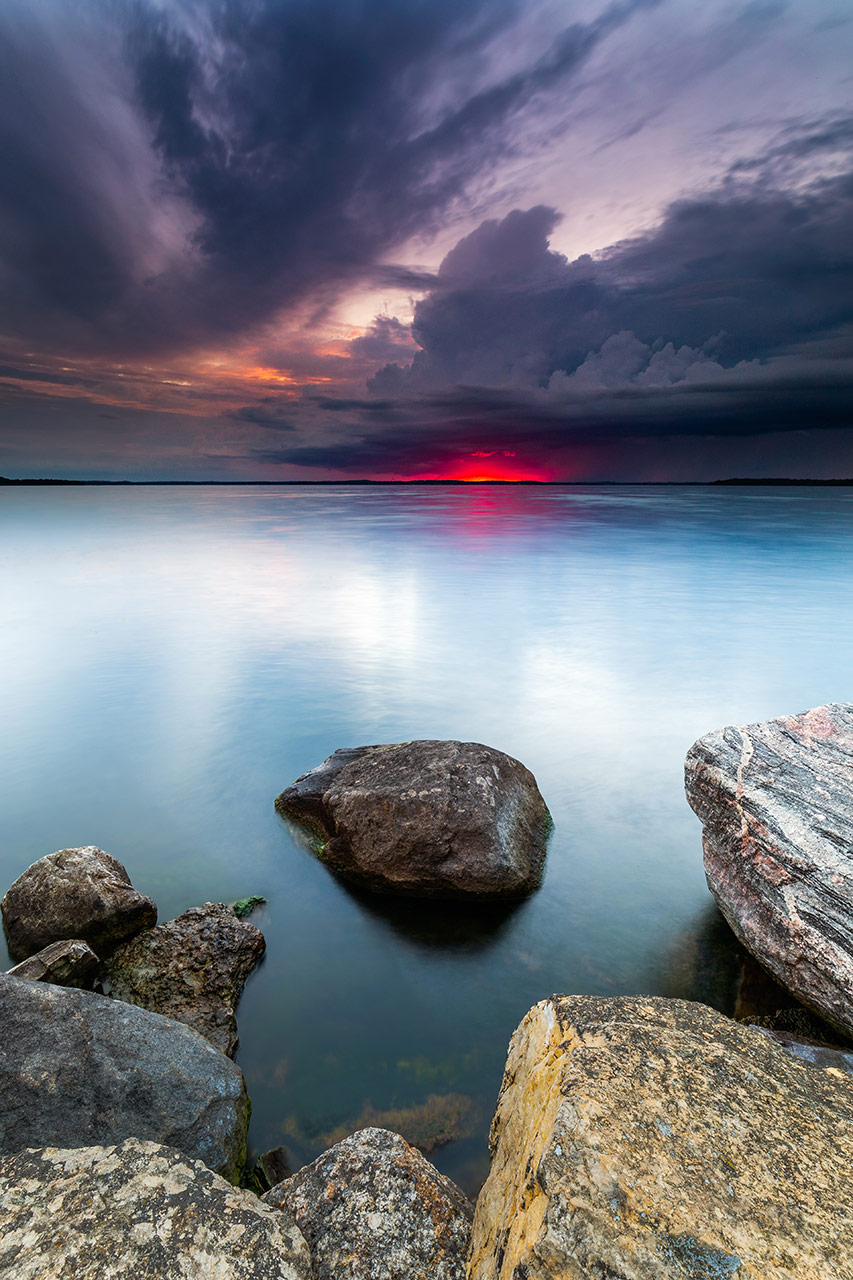
You can still take landscape photos with the camera in portrait orientation. This works especially well if you have a very interesting foreground close-by that’s accompanied by a mid-ground and the background.
This technique also works great when photographing rivers, shore lines, waterfalls, or any other natural leading lines.
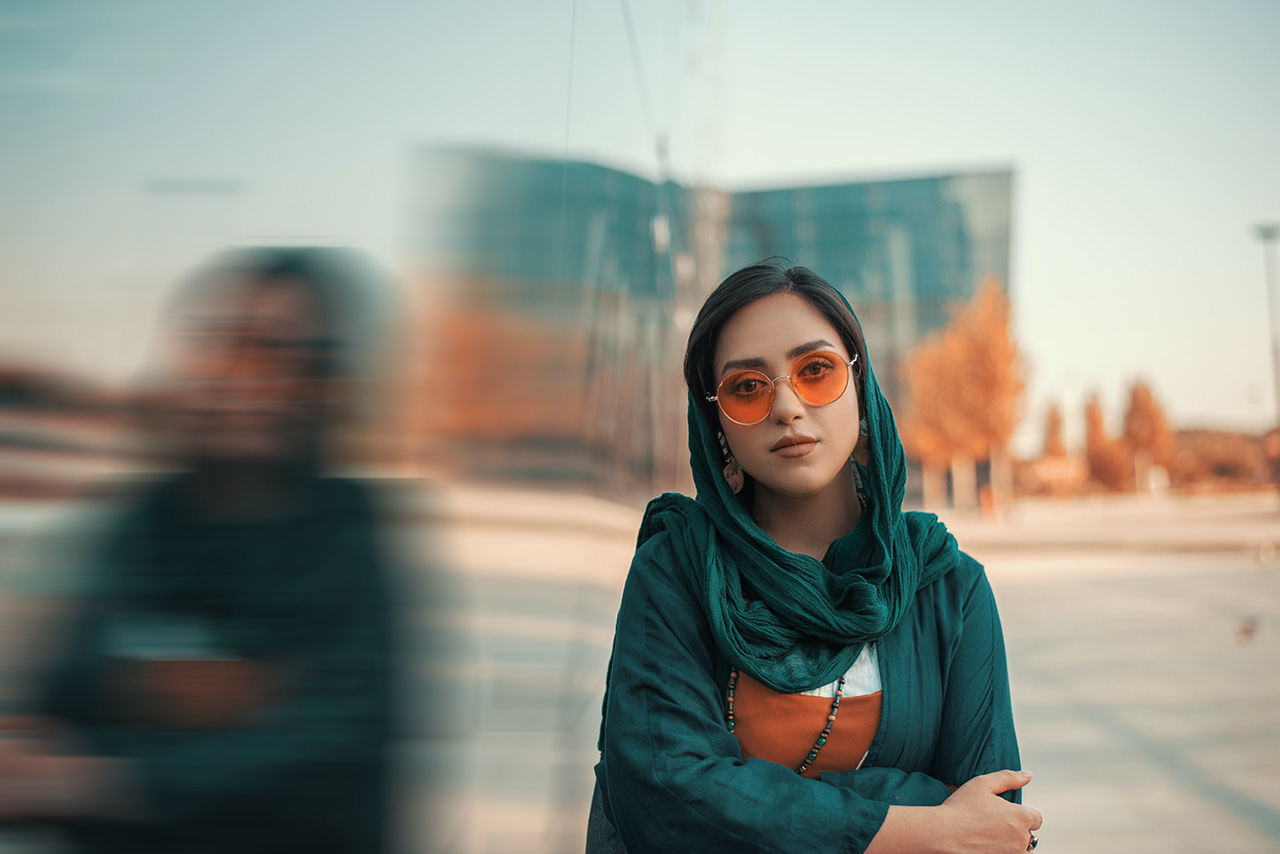
Similarly, there are ample of situations where you will find yourself using the camera in landscape orientation to photograph a portrait.
The most common scenario is when taking environmental portraits. This is when you want to showcase any sort of interaction between the subject and their environment.
You can also do this if there’s something interesting besides the subject that you want to capture in the portrait – like an epic sunset in the background. In addition to this, if you’re taking group photos, then in that case too, landscape orientation is your friend.
Which Orientation Should You Shoot In: Portrait or Landscape?
Deciding whether to shoot portrait vs landscape might sound simple at first going by the notions that we discussed. However, when deciding on this, it’s essential that we’re clear about where and how the image will be used; especially when doing commissioned work.
Many a times, a particular image stands out from the rest and it leaves us wondering how it would’ve looked like in the other orientation. Similarly, a client might like one particular image, but what if they need it in the other orientation due to certain printing constraints?
It’s therefore a good practice to ensure that you spend some extra time in photographing a particular scene or a subject in both the orientations as far as possible.
While this should not be an issue when photographing architecture, natural scenery, or someone you know, things can be tricky when shooting other genres like street photography, sports, or wildlife photography.
In the latter case, where things are very much uncertain, a trick is to photograph in the landscape orientation while leaving some breathing space around the subject. It also helps if the camera has a high resolution.
You can then easily convert such landscape image to portrait orientation by cropping it. Here’s how you can do it in Colorcinch.
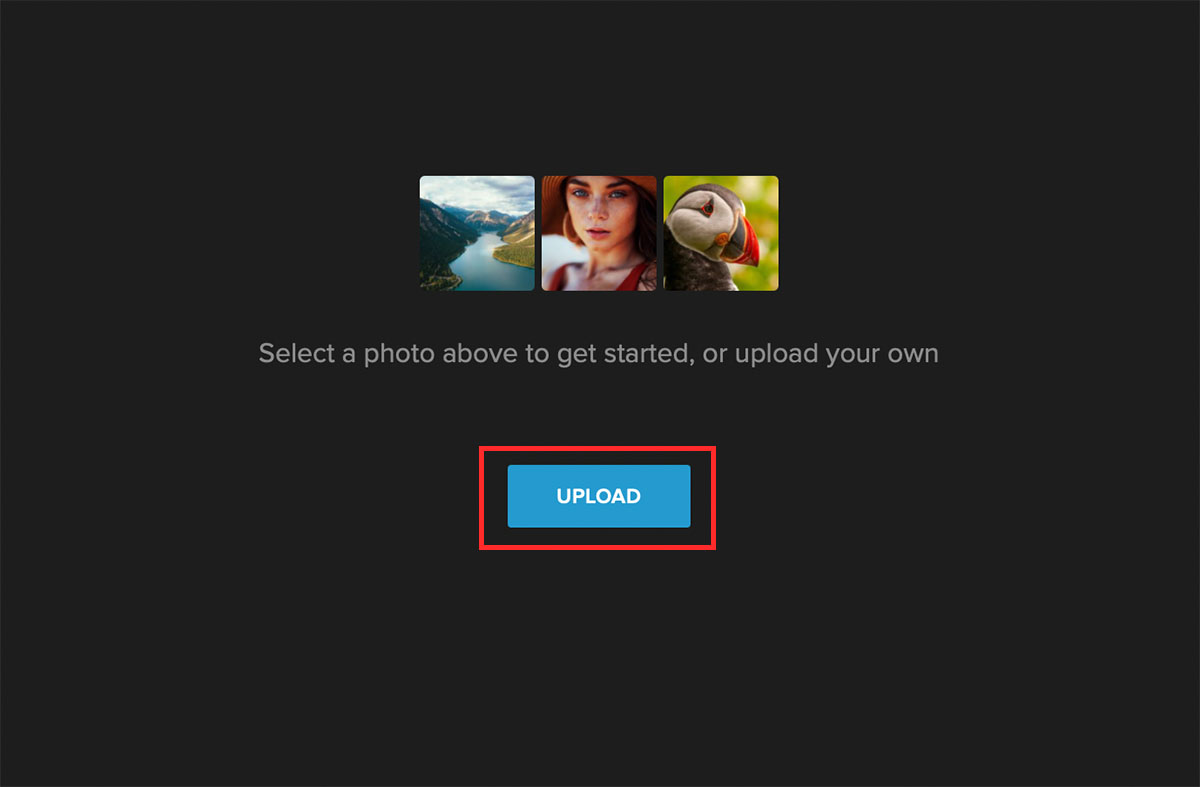
Step 1: Upload your image to Colorcinch.
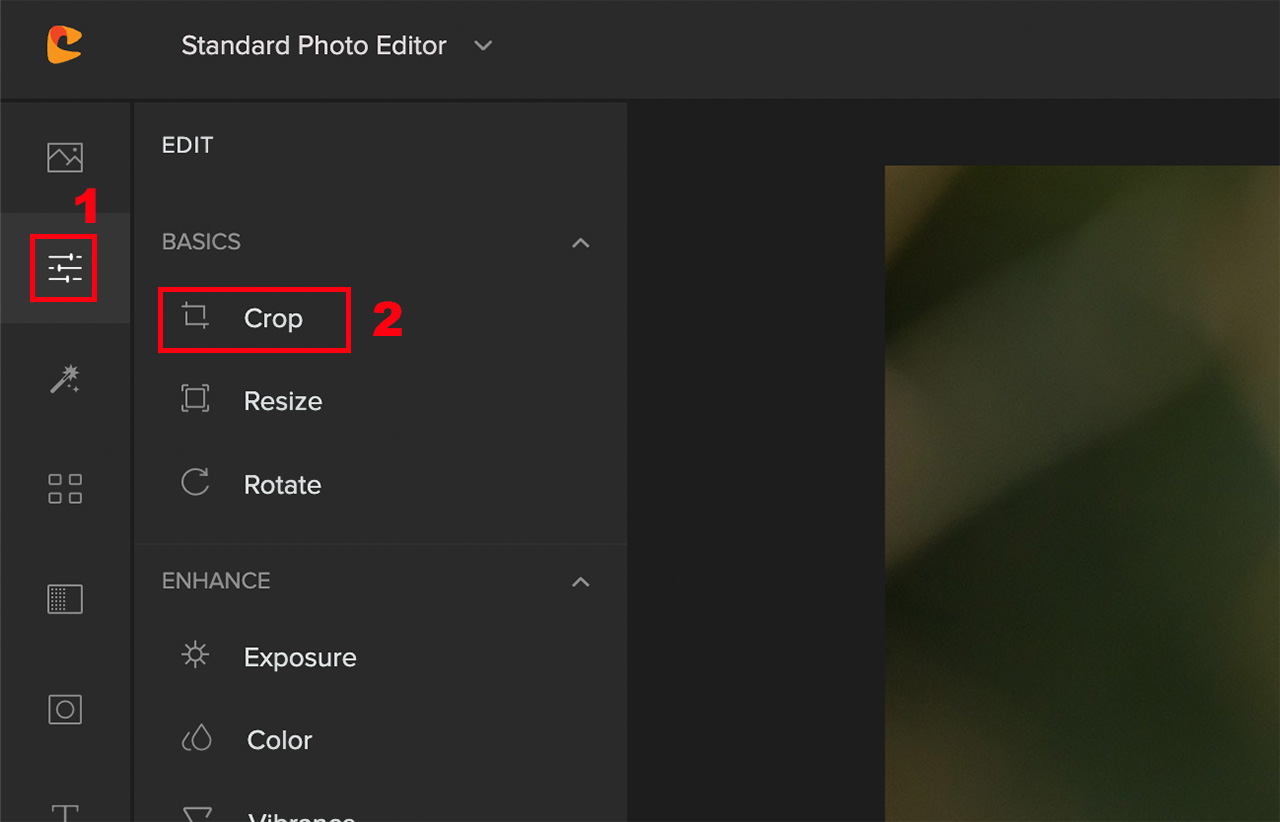
Step 2: Navigate to Edit – Crop. There, you’ll find a couple of options that will help you to crop the image as per your requirement.
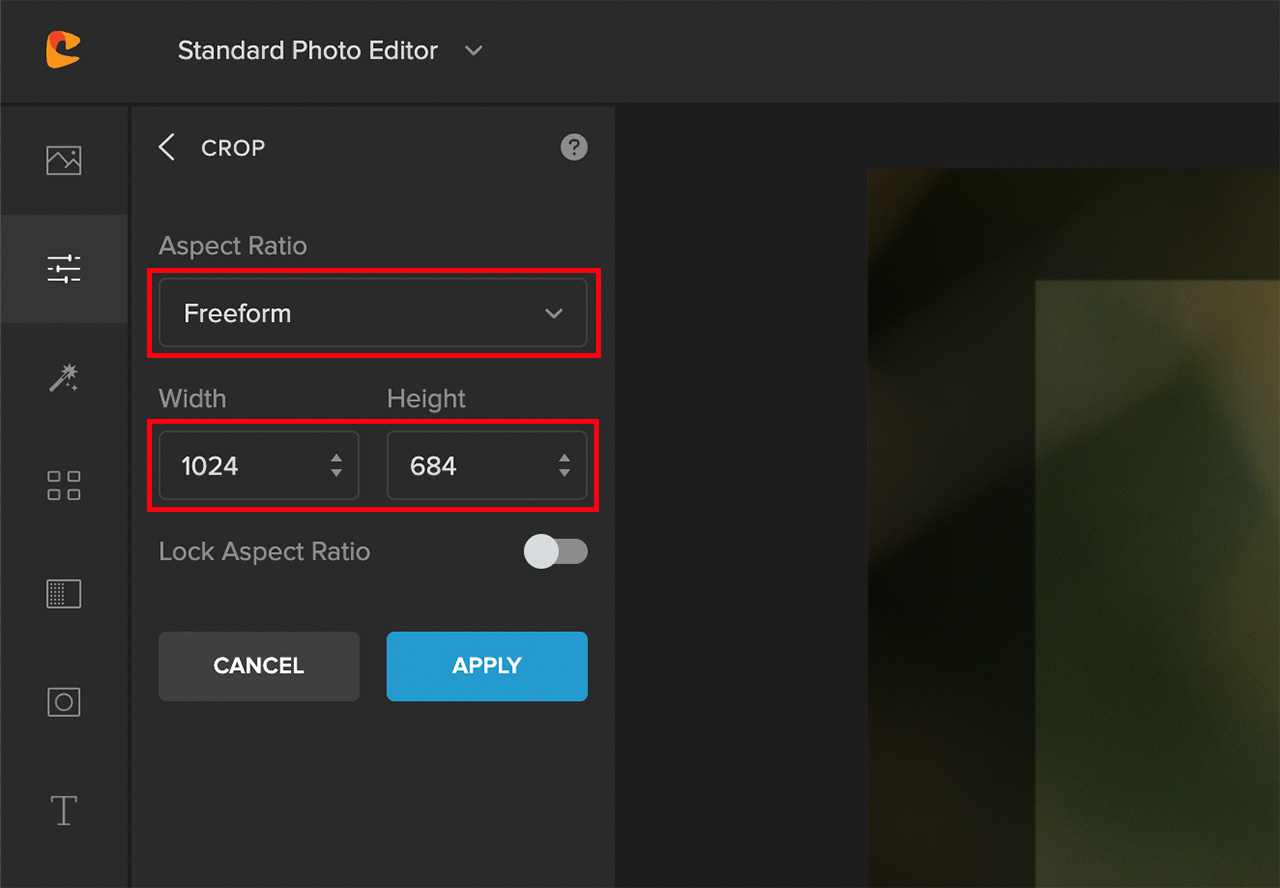
Step 3: If you’re sure about the exact dimensions, you can enter the Width and Height manually.
Alternatively, you can crop the using the Freeform crop, or choose a particular Aspect Ratio from the drop-down list.
Here’s how the image looks after we cropped it to a portrait orientation.
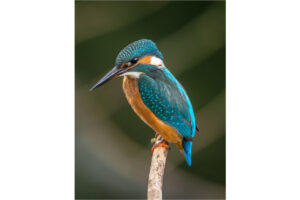

This is a great trick that you can use to get your photos taken in landscape orientation ready to be posted in Facebook or Instagram stories, and even in TikTok.
To Sum It Up
If you’re wondering about which orientation comes out as the winner in portrait vs landscape comparison, then a simple answer is that there’s no clear winner. It totally depends on what you’re trying to achieve, and how you want to showcase the output.
If possible, try & have a prior information of how the image will be printed or displayed. This will enable you to set up your camera’s orientation accordingly to get the shot. This way, you don’t need to crop out anything thereby preserving the details in the image.
Otherwise, try and shoot the images in both portrait and landscape orientation whenever possible. And in difficult circumstances, try and shoot in landscape orientation with a wider perspective. This makes cropping so much easier.
Would you agree if we say that landscape orientation is a bit more flexible?


