You may or may not have heard about focus stacking. But it’s one of the most effective methods to play around with the depth of field of your images. This technique is helpful, particularly to landscape photographers who need to create images with a large depth of field.
The technique is also helpful for macro photographers flower and product photographers who have to work with macro lenses. These lenses have a close focusing distance and therefore produce a shallow depth of field (DoF).
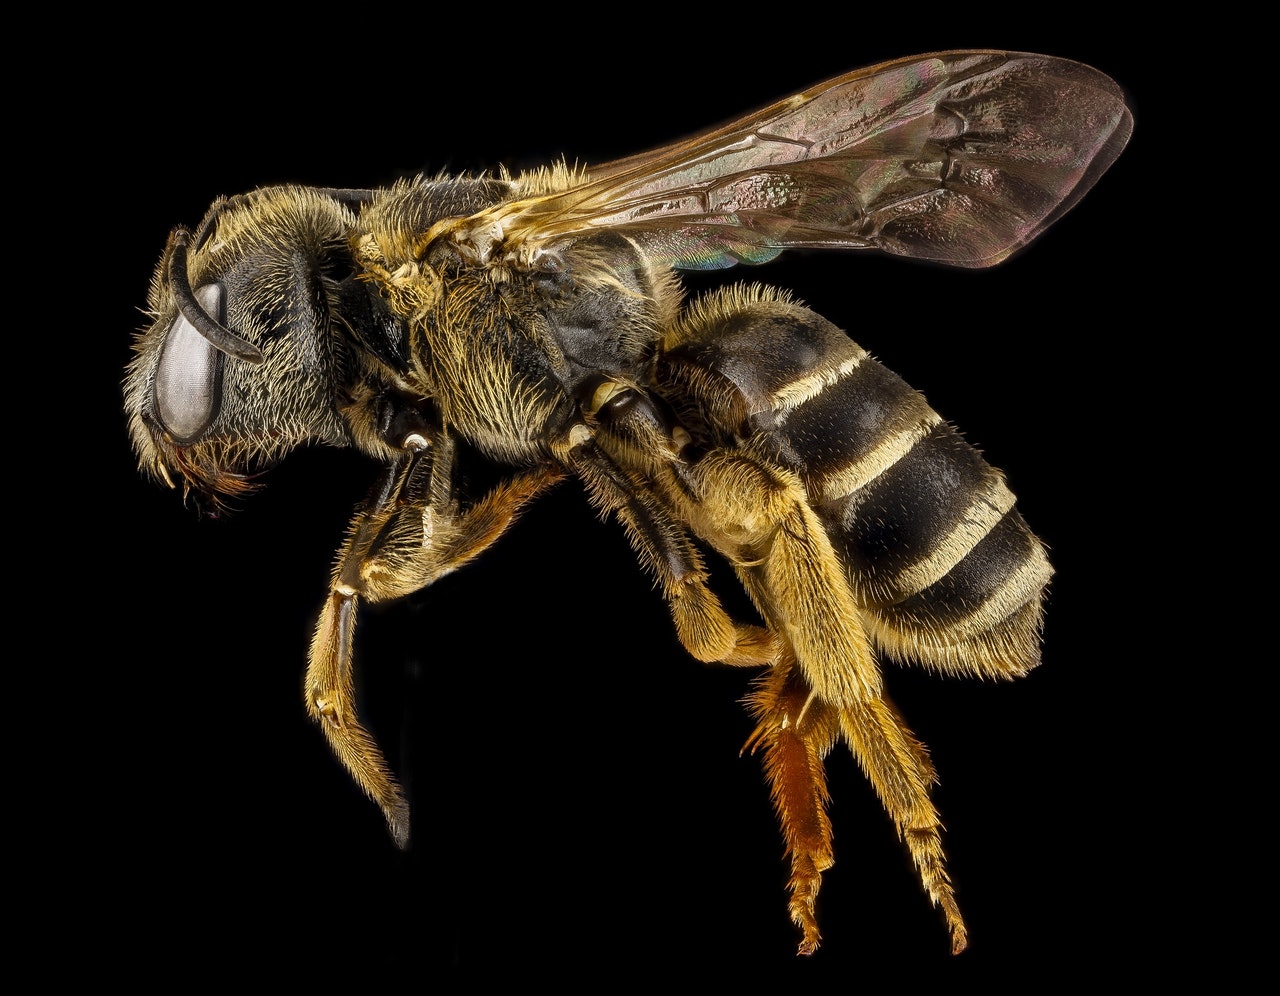
Shallow DoF isn’t always great for macro, product, and flower photographers.
In this discussion, we’ll be looking at the focus stacking technique. We’ll also discuss a few circumstances under which focus stacking should or should not be used.
What Is Focus Stacking in Photography?
In simple terms, focus stacking denotes the process of stacking or blending two or more images. The photos are shot at different focusing distances and then stacked using photo editing software to produce a single composite image with a large depth of field.
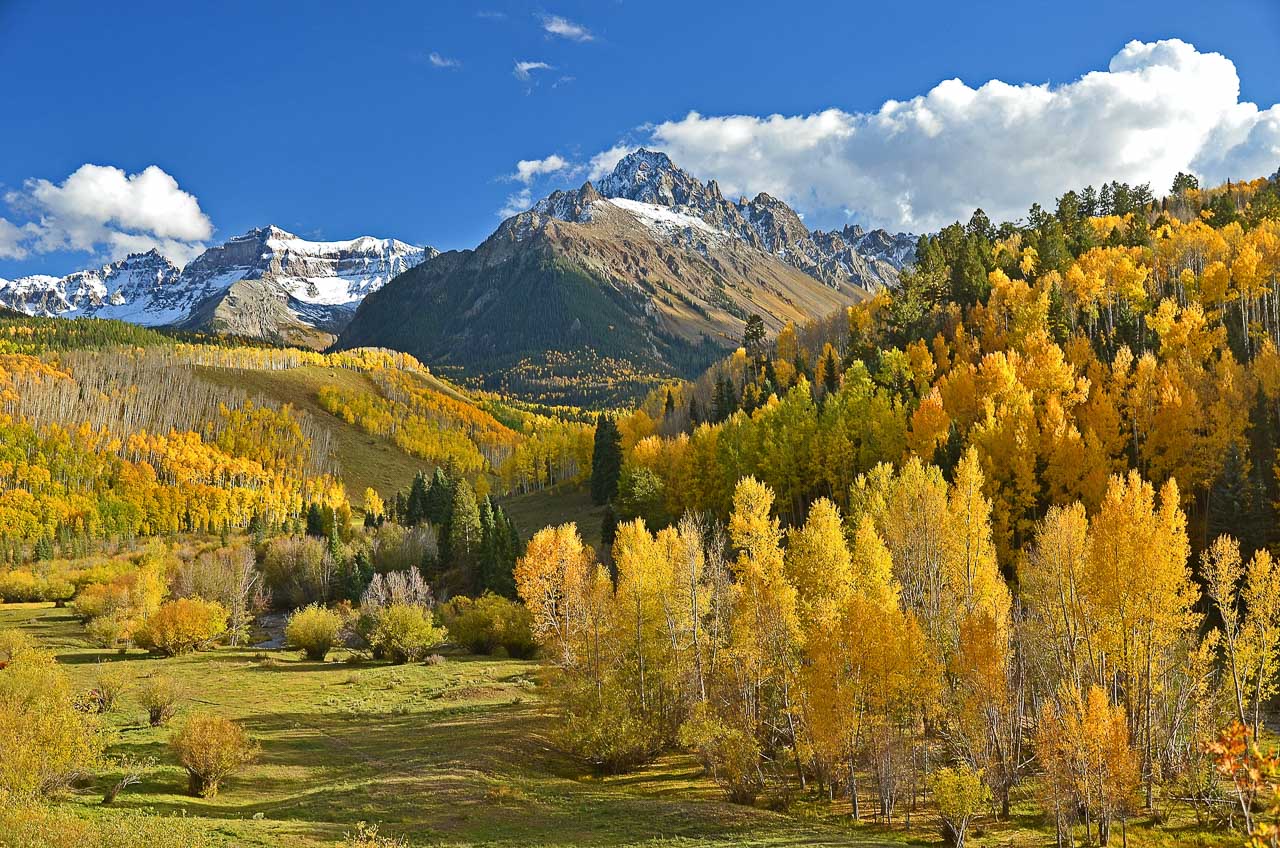
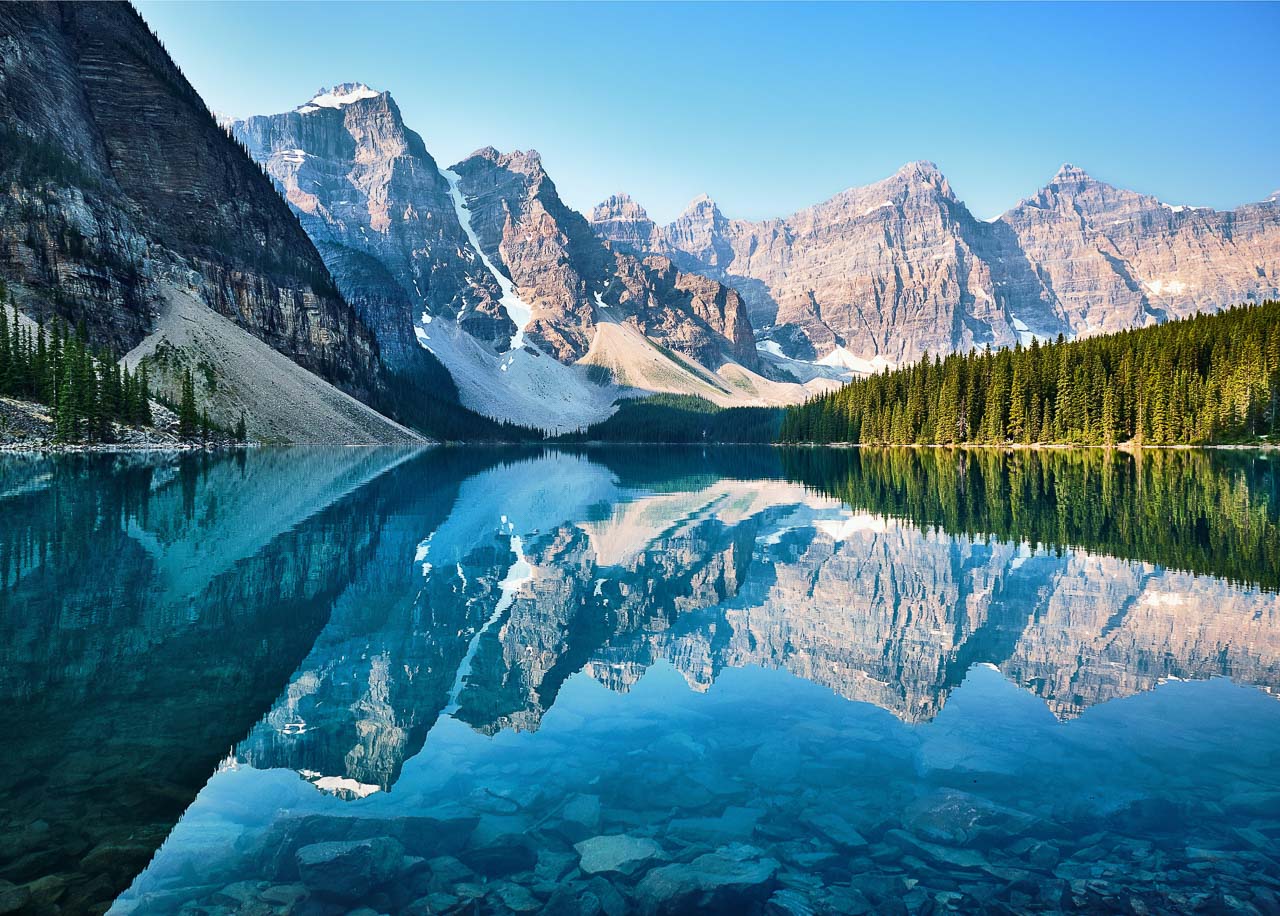
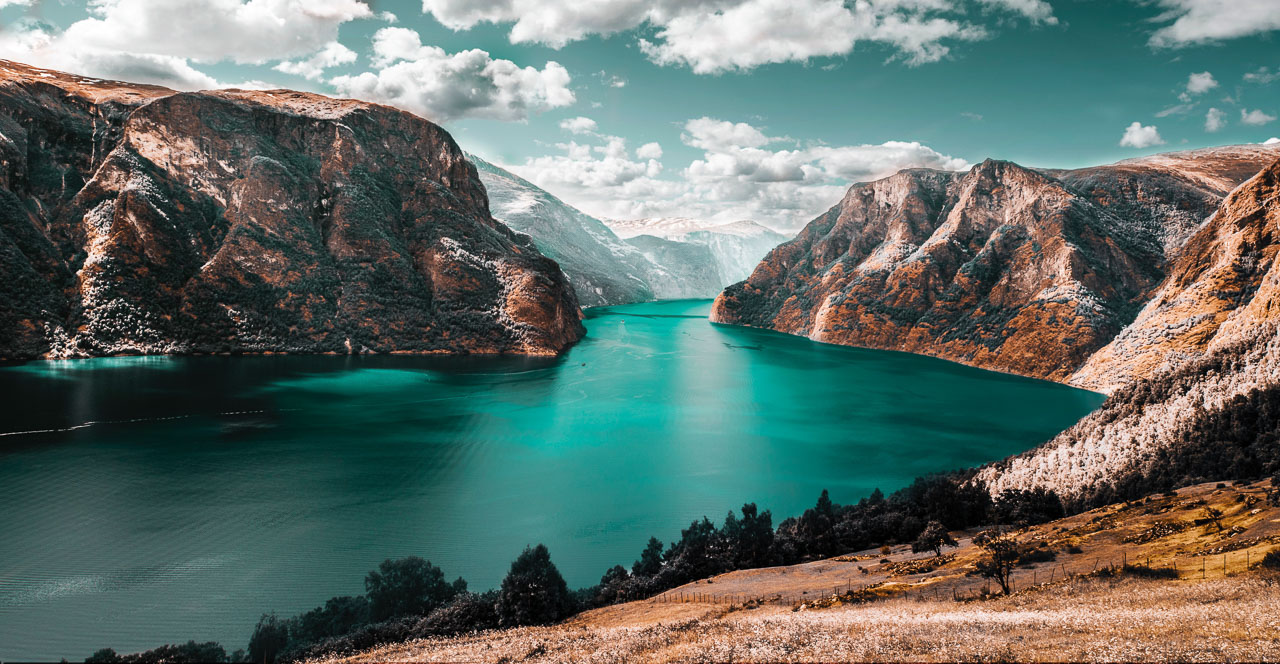
Here are some examples of focus stacking:
Benefits of Focus Stacking
The photographic lens can focus at only one point. This is the inherent limitation of a photographic lens and that of a two-dimensional photograph.
Unlike the human eye, which constantly moves about and refocuses, a photographic lens can only focus at any one point.
While the point of focus is sharp, the rest of the image shows varying degrees of lack of sharpness.
Examples are photographing a small bug using a macro lens, taking a portrait image using a wide-open aperture, or focusing on something in the foreground in a wide-angle composition. You will notice that only a part of the bug is in focus while the rest is out of focus.
Alternatives to Using Focus Stacking
Photographers use several techniques to overcome this problem. One approach is to use the hyper-focal distance calculator.
In most cases, you won’t even require to use the complicated hyperfocal distance calculator. In any case, it’s difficult to calculate unless you have a cheat sheet in hand or you can access an online calculator. So the next option is to use a small f-number.
I find this a better solution than having to check an online app. Especially when trekking on remote landscapes with no phone network.
Sometimes you don’t even require hyperfocal distance because for landscape photography, if you use a wide-angle lens, choose a large f-number and then focus two-thirds of the way into the frame; you can achieve a large depth of field. That’s another way to achieve a large DoF.
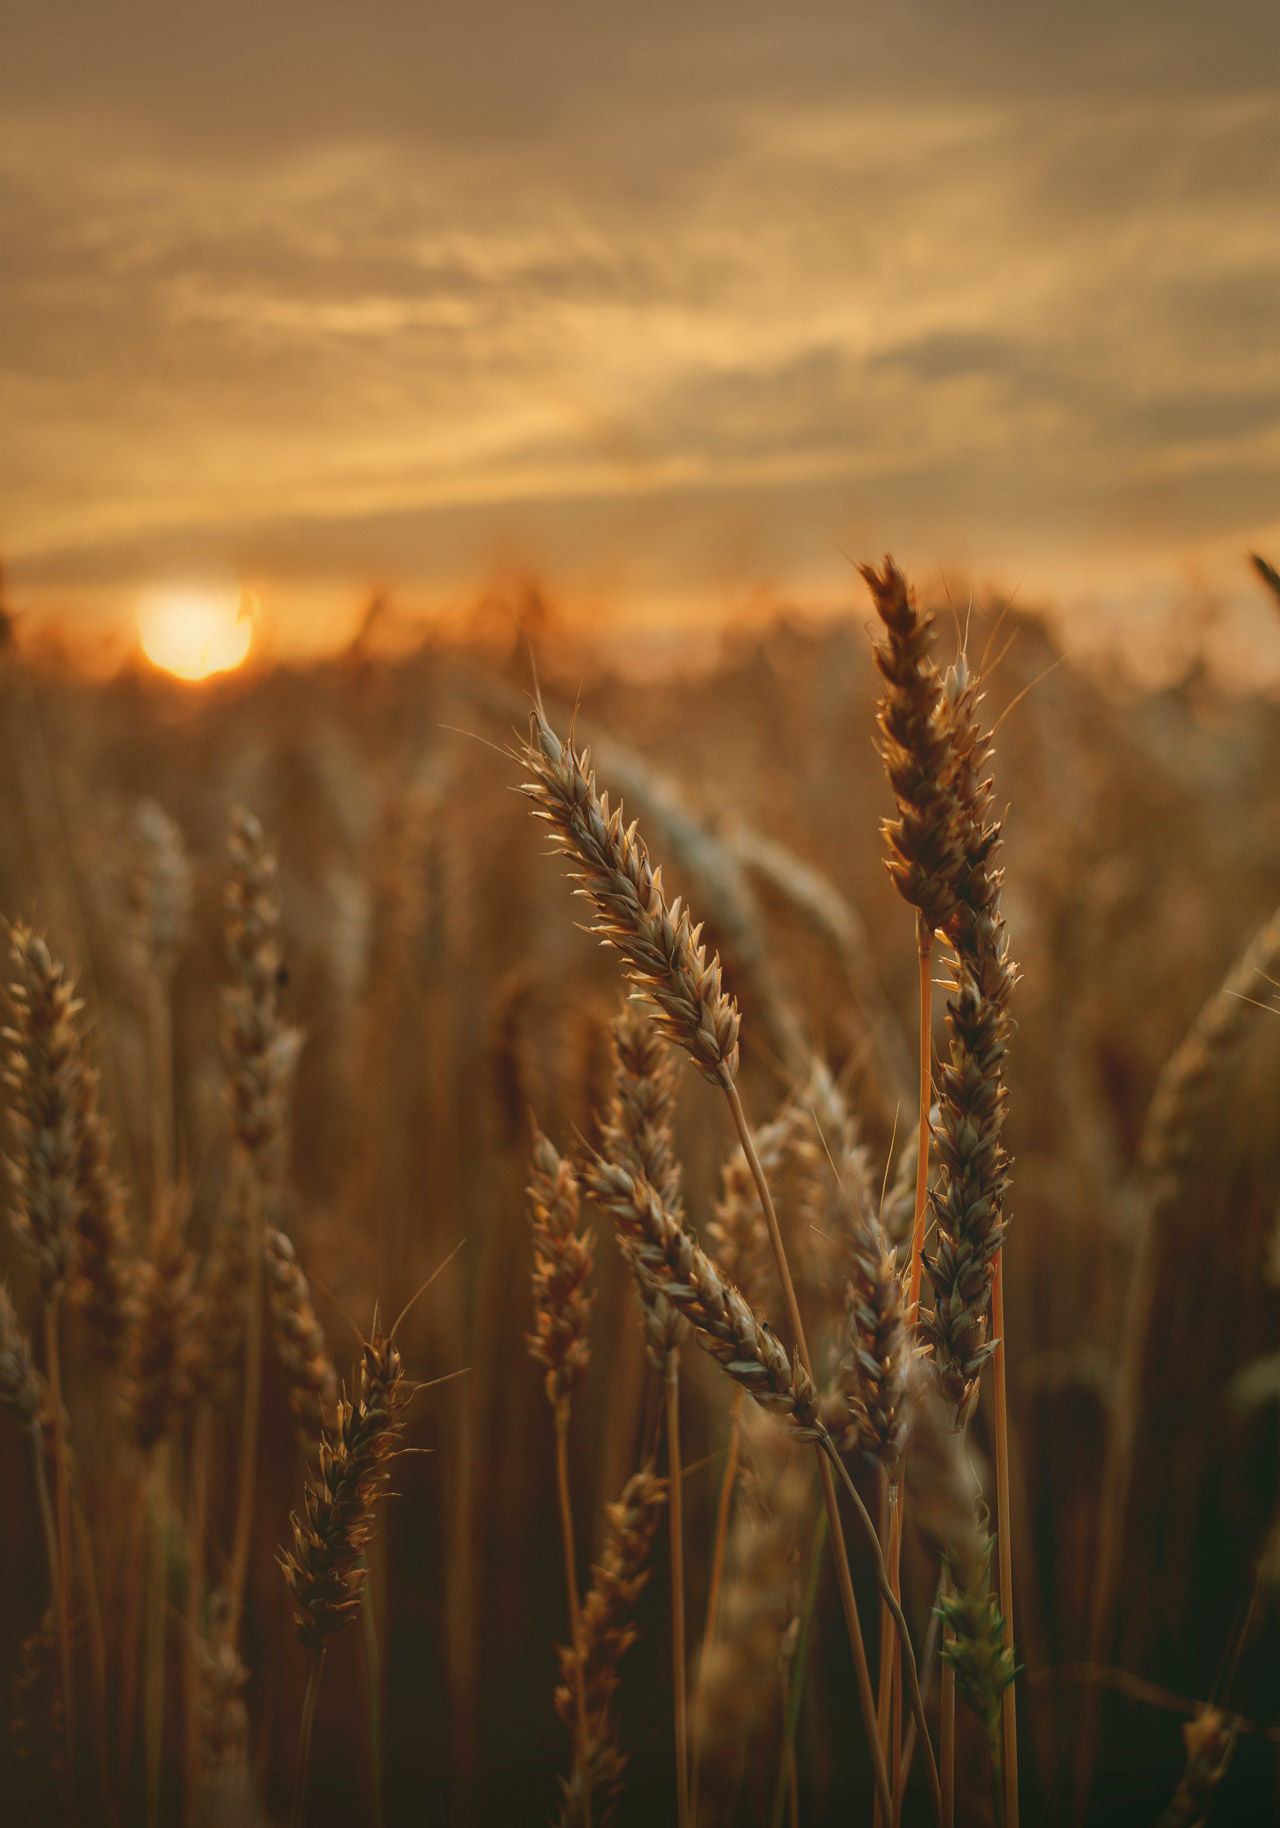
The real problem starts when you have several elements in the scene at different distances, and you want to have a good focus lock on all of them. Or when you need to use a wide aperture because of the low ambient light and yet want to capture a considerable depth of field.
In all those situations, focus stacking is the best solution. This technique, however, isn’t without its problems.
How Many Images Are Necessary for a Proper Focus-Stacked Image?
A minimum of two images are required to produce a decent stacked composite image. The number of images you will need will depend on the composition, the aperture used, the focal length, and your desired depth of field.
How to Achieve Focus Stacking
Here are the steps to create a focus-stacked image.
1. Choose the Right Subject for the Technique
First thing’s first. It would help if you chose the right subject. If the subject moves about, it’s not a good fit for focus stacking. Even in favorable conditions, an average stacked image requires a few minutes to shoot.
You have to identify the subject, make the composition, meter and adjust exposure, lock focus, and make the first shot. Then repeat the next few shots after readjusting focus. If the subject moves even slightly during those few minutes, your attempt is ruined.
2. Make the Composition
The composition is the next part. Make your composition and decide what you’re going to include in the frame and what you’ll leave out.
3. Set the Exposure
Next is the exposure setting. Meter and then set your exposure based on the scene. Once you have dialed in your exposure settings, make sure that you switch to manual mode or lock the exposure so that the camera does not inadvertently alter the exposure later.
4. Switch to Manual Focusing
Switch to manual focusing and focus on the subject. Take the shot. Readjust focus to capture a sharp foreground and retake the shot. Repeat for the background, and as many times you feel you need to for a corner to corner sharp image.
5. Blend the Exposures
Steps to Blend multiple images is easy in a photo editing software like Colorcinch:
Step 1: Upload the image using the Upload button on Colorcinch

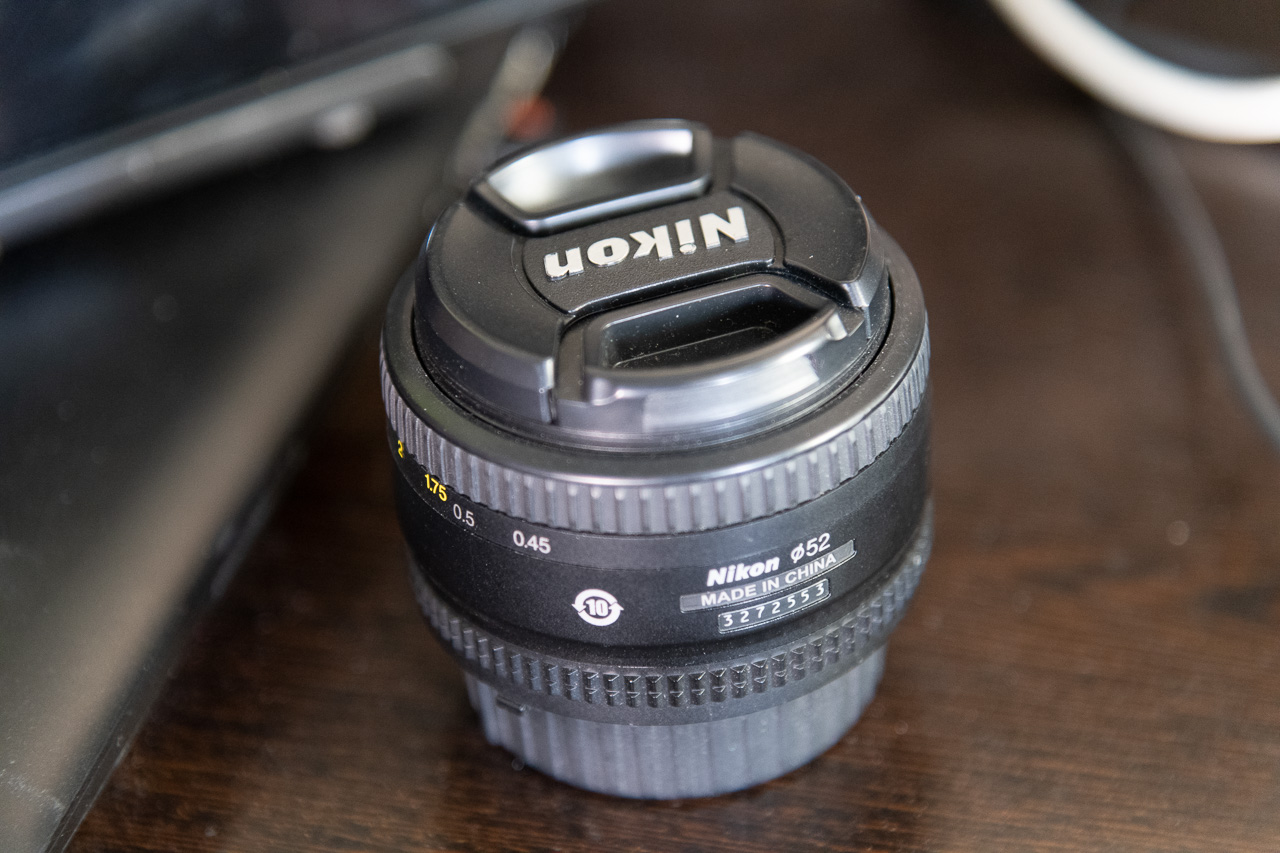
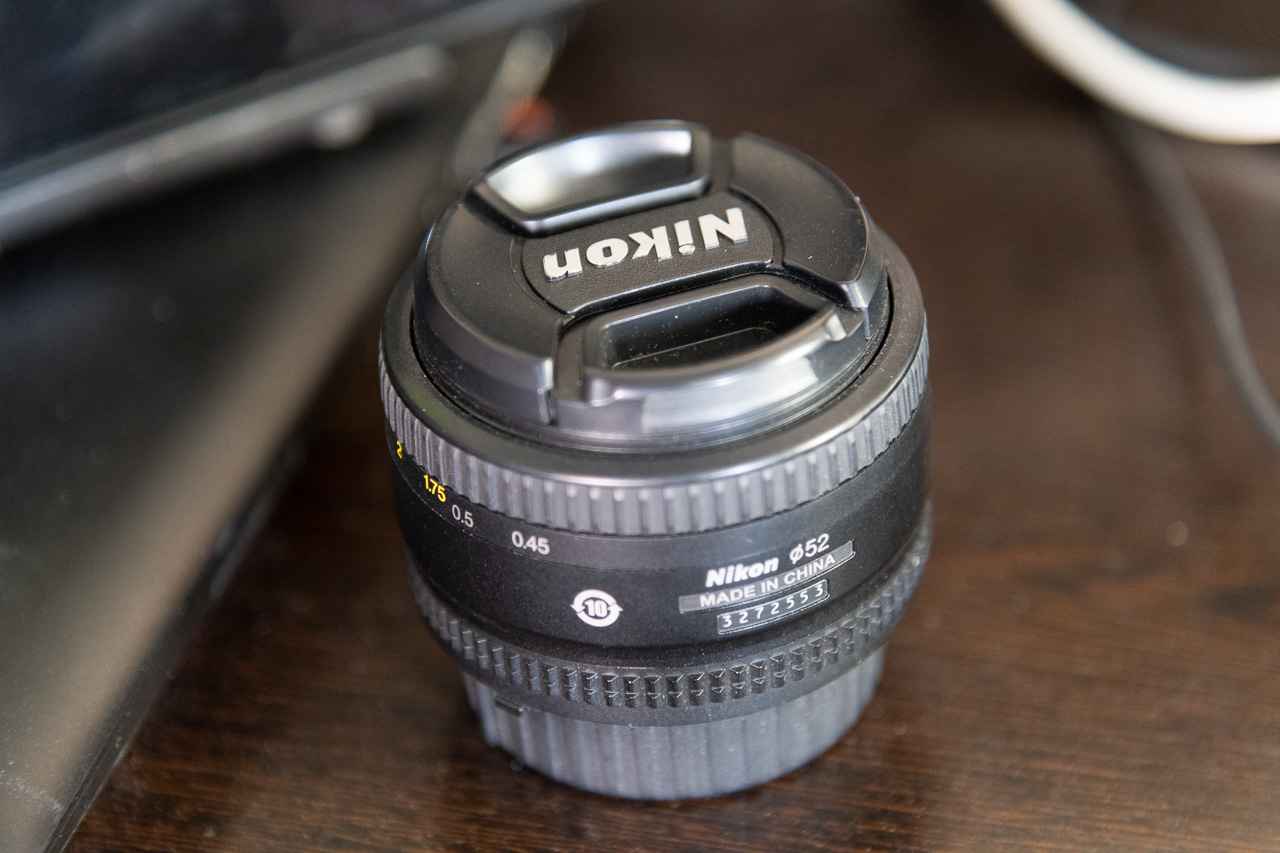
In this case, I uploaded the image with the serial number in focus.
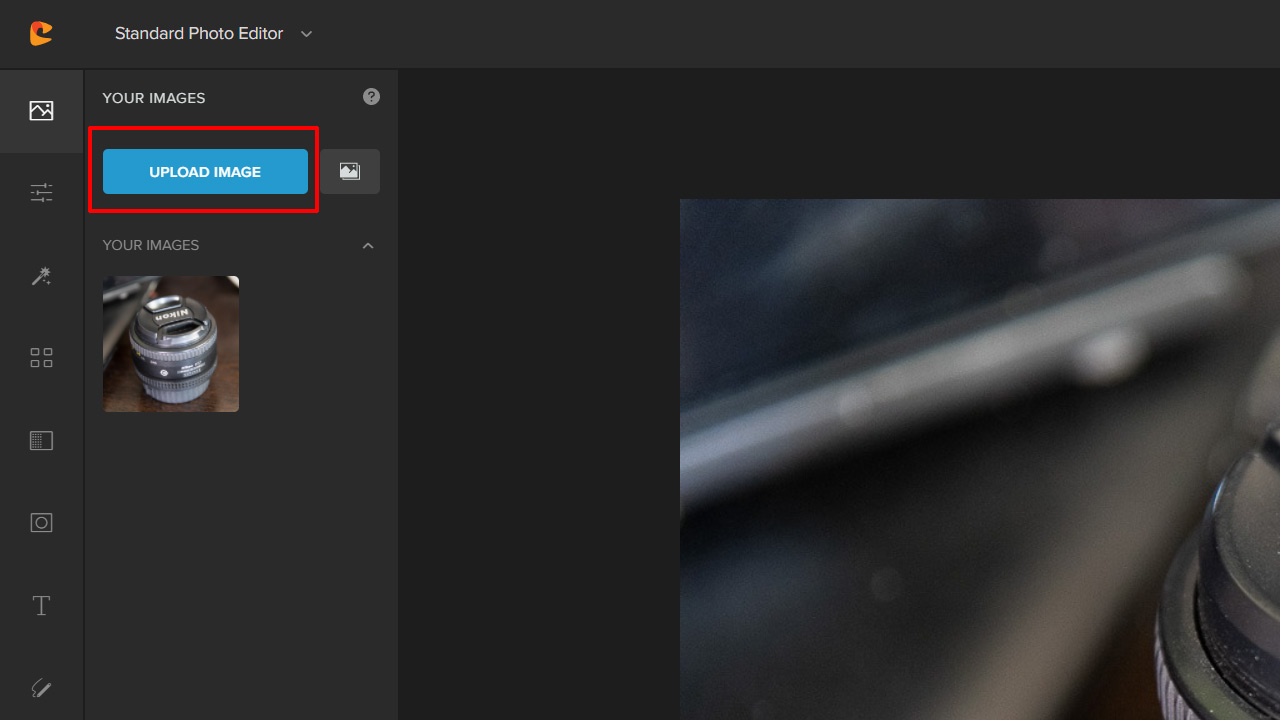
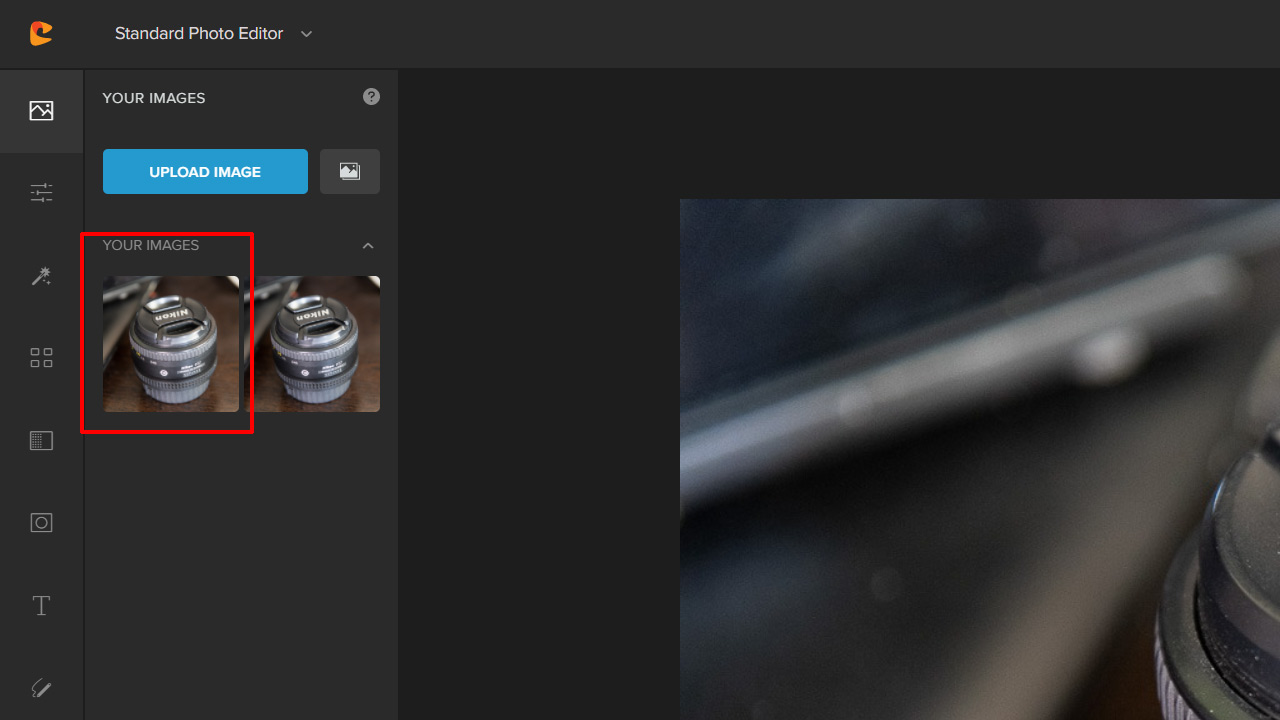
Step 2: Once the image is uploaded, click on Image Manager.
Step 3: Click the Upload Image button to upload the remaining images.
In this case, I uploaded the image with the logo in focus.
Step 4: Click on the second image you just uploaded or drag it to the project window.
Step 5: Change the Opacity of the blending mode to around 50% so that you can see what you’re doing.
Step 6: Drag the corner and align them. You have to eyeball this process.
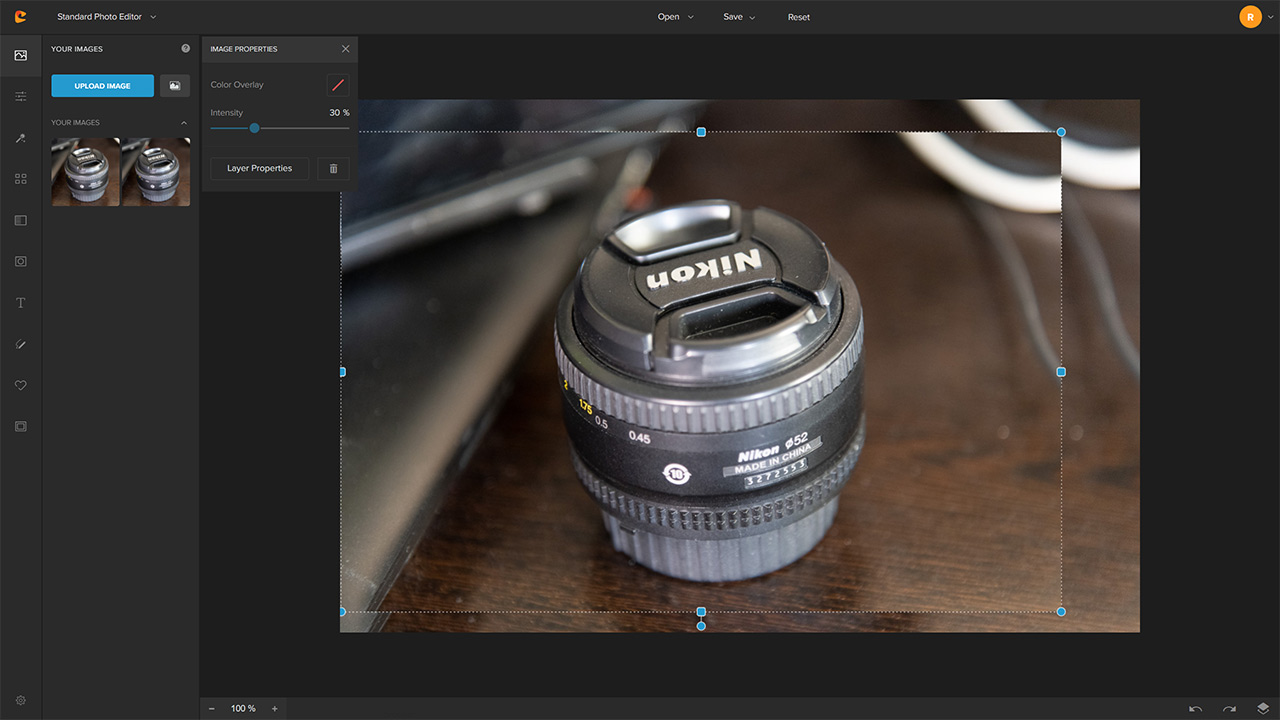
Step 7: Finally, change the Blending Mode to Soft Light. In this case, Soft Light works the best for me. You can play around with the other blending modes to see which one works best.
Here is the final image.

Limitations of Focus Stacking
Focus stacking cannot be used in every situation. As a matter of fact, focus stacking has only limited applications in photography. It can’t be used to photograph any moving object. Even the slightest bit of movement makes this technique unusable.
The wind is your enemy too. The slightest gust of air can move a flower inside the frame or make a bug span its wings and fly away while you are still making the exposures.
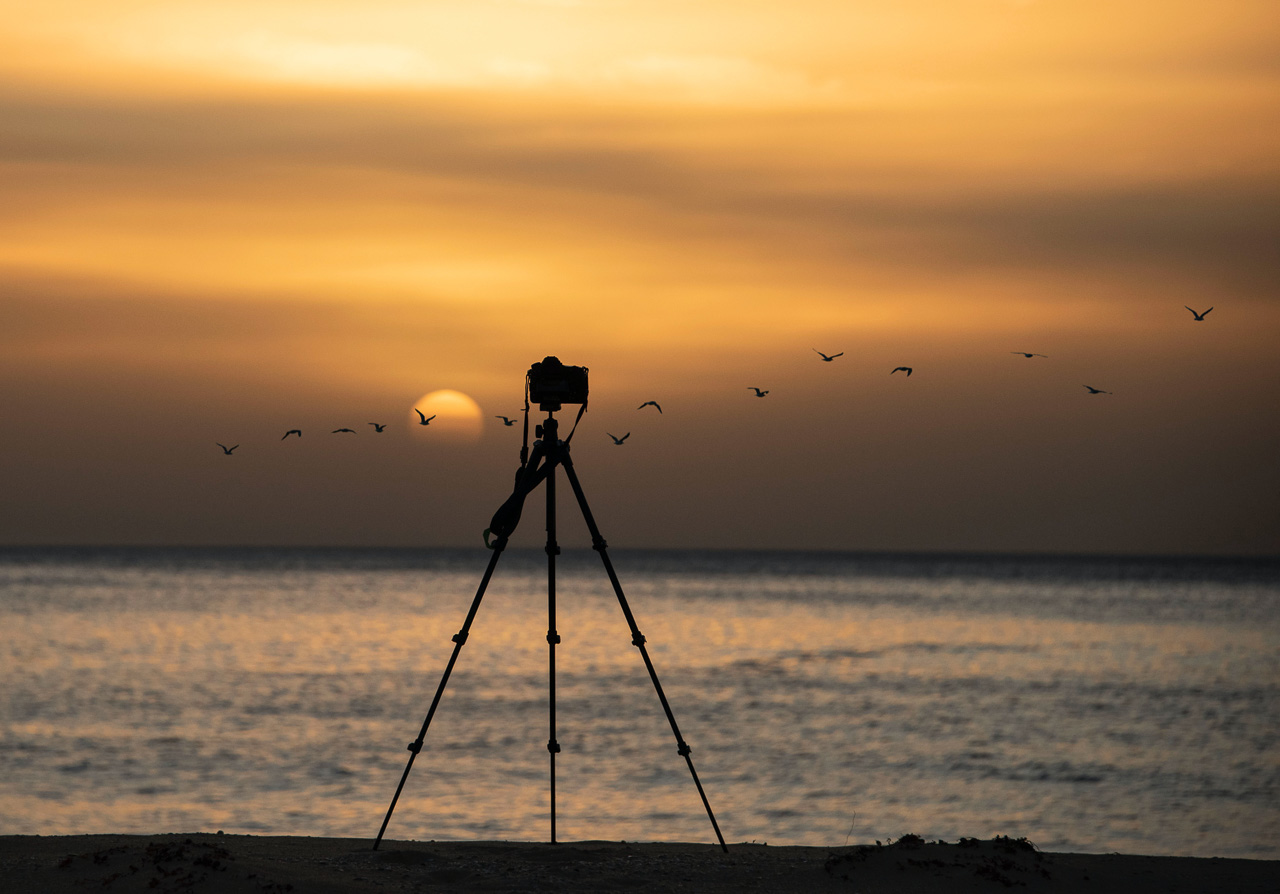
Plus, if your camera moves during the shot you risk wasting your images. Thus, it is imperative that you have a tripod to shoot with.
Concluding Thoughts
Blending your exposures is the only to go forward when the other traditional methods of capturing a large DoF are not feasible. Especially when shooting landscapes where you need a deep DoF, when multiple elements in the frame at different distances warrant sharp focus, or when the selected aperture is so wide that it’s impossible to have any significant depth of field with any other techniques.
For all such situations, focus stacking is the best and the most effective solution.


